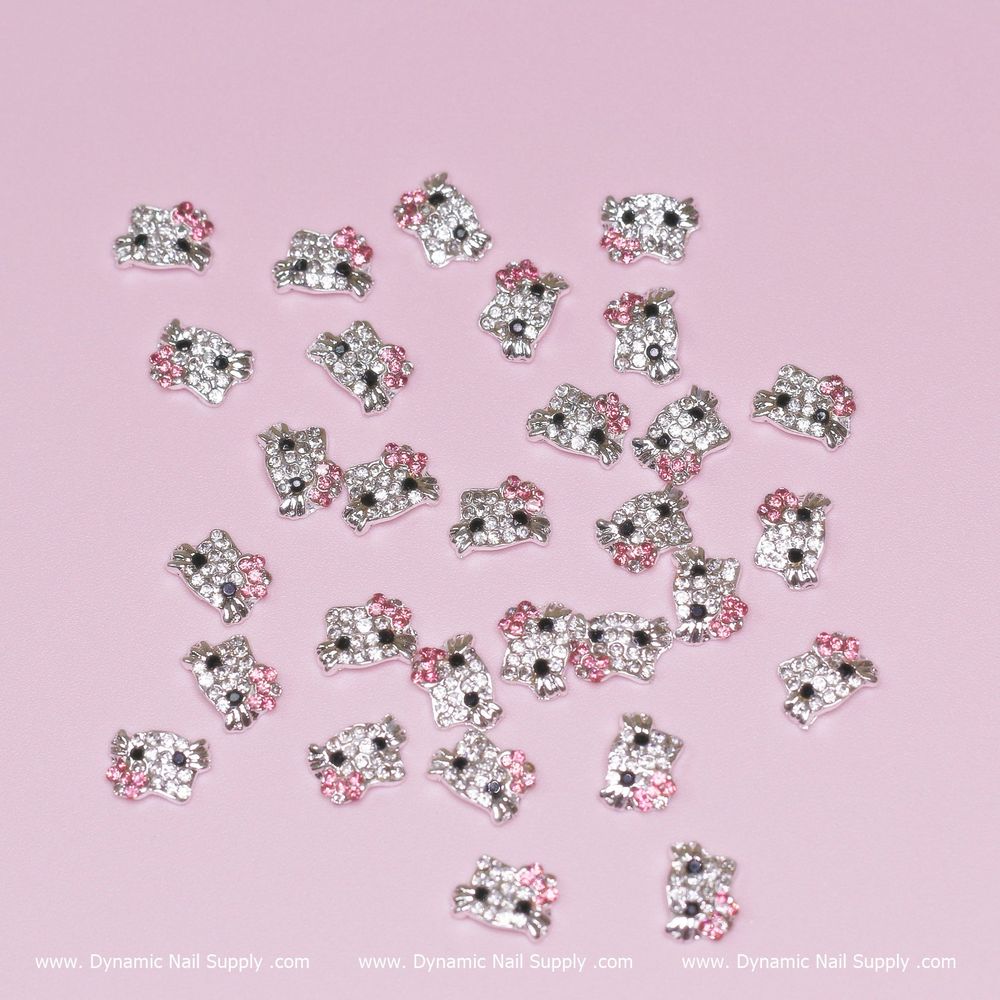
Small metal charms can elevate a manicure from pretty to professional when they’re chosen and applied with intent. This guide shows how to use a 30-piece set of light pink Hello Kitty nail charms (zircon alloy) to achieve lasting, salon-quality accents whether you’re working at home or in a full service studio.
Why these charms work for pro-level designs
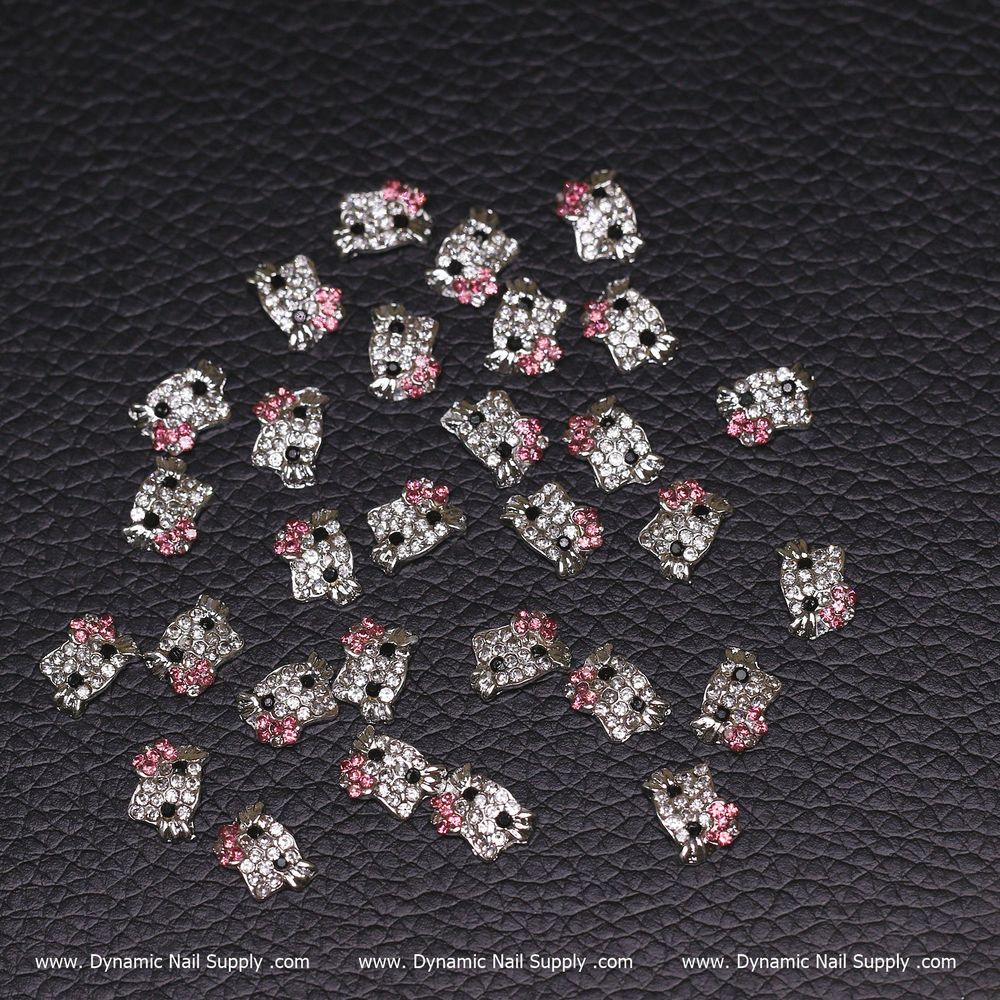
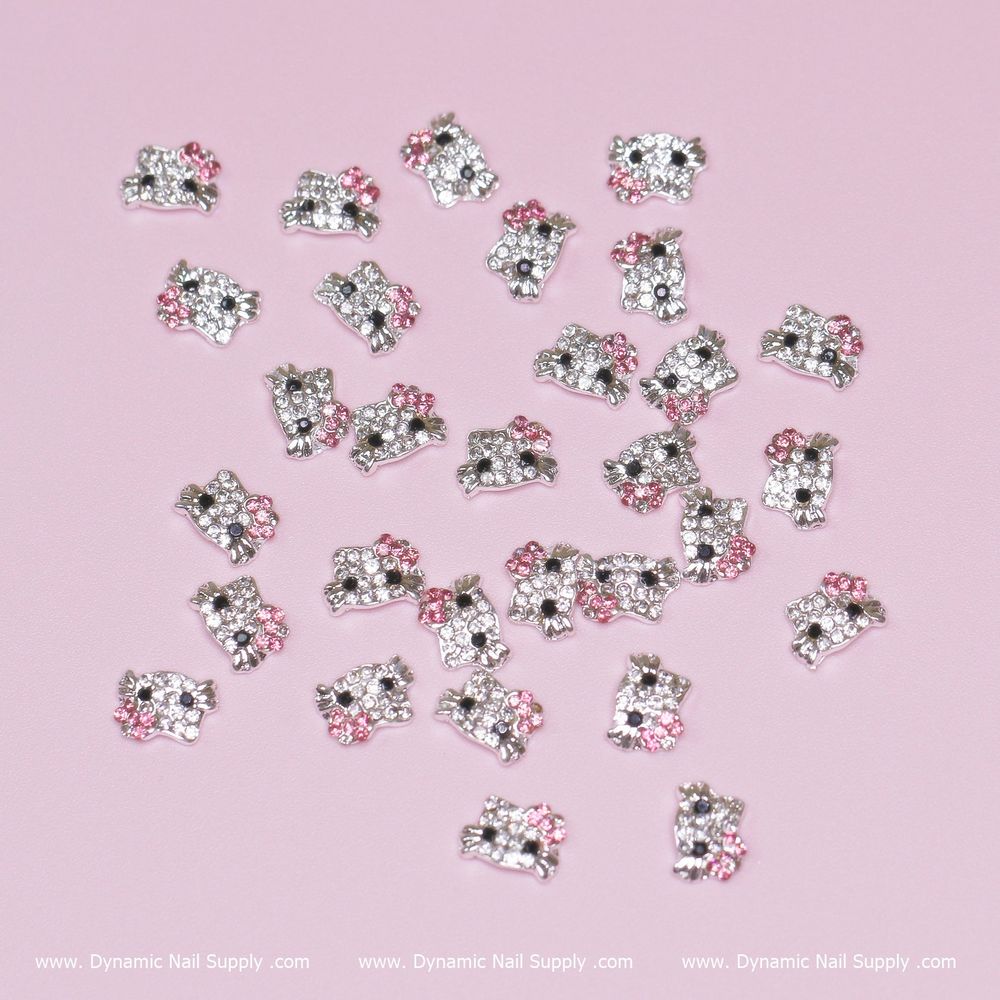
These charms are metal with zircon-alloy details and come in a compact 30-piece bag, making them convenient for repeat use on clients or in personal kits. The light pink finish lends a soft, kawaii focal point that pairs well with sheer bases, French variations, or full-color gel polish. Available from Dynamic Nail Supply for about $12.00, they’re affordable enough to stock multiple designs without overspending.
Prep and planning: the foundation of lasting placement
Good adhesion starts with proper prep. File and shape the natural nail or enhancement, then push back and remove excess cuticle so the charm can sit flat. Dehydrate and wipe the plate with a nail cleanser or isopropyl alcohol to remove oils. If you’re building in acrylic or gel, plan the charm placement before you finish the final layer so you can embed or glue with precision.
Step-by-step application techniques
Choose the method that matches your preferred system—glue-on or in-gel embedding are both common. For quick add-ons, use a thin bead of professional nail glue placed where you want the charm, then pick up the charm with a wax pencil or fine-tipped tweezers and press gently into position for a few seconds. For maximum security in gel or acrylic services, set the charm into a tack-free layer of builder gel or an uncured acrylic bead and cure or allow to set per your product instructions. If you want to check the product before buying, find the matching Nail Charms light pink.
Placement design ideas for salon and home
- Accent finger: Place a single Hello Kitty charm at the base or tip as a subtle statement.
- Mini gallery: Use 2–3 charms across the nail bed on a long square or coffin shape for a chandelier look.
- Cluster art: Combine a charm with small rhinestones or studs on a neutral background for textured contrast.
- French twist: Attach a tiny charm to the smile line of a French manicure for a playful update.
Tools and small tricks that make application easier
Keep a few inexpensive tools handy: fine-point tweezers, a wax picker, dotting tool, and a small dish with a drop of glue. When pressing charms into gel, use a flat-side applicator to flatten the charm’s back to the product without smudging the surrounding polish. Trim any excess filament or glue strings with a small scissors or clippers once cured or fully set.
Finishing and sealing for durability
To protect both the charm and the design, encapsulate it where possible—apply a thin layer of builder gel or a clear acrylic overlay around the charm edges, then cure or allow to set. For glued-on charms, seal the surrounding nail carefully with a thin rim of topcoat to reduce edge lifting; avoid covering textured details completely if you want the zircon sparkle to show. Always follow the cure times and layering techniques recommended by your gel or acrylic system.
Who these charms are best for
This 30-piece set suits busy nail techs who need fun, consistent accents as well as nail art enthusiasts building a kawaii collection. The light pink tone and Hello Kitty motif are especially well suited for clients seeking a soft, playful look—teen clients, themed event services, or anyone who loves cute character art.
Care, removal, and safety notes
Metal charms can snag fabrics or catch on long hair; advise clients to be mindful for the first day or two. For removal, gently pry up the charm after softening the surrounding adhesive with acetone if using glue—do not forcefully pull, which risks nail damage. Store charms dry and in their original bag to prevent loss or tarnish. As with all nail accessories, avoid getting charms caught under heavy manual work and replace any bent or damaged pieces.
Final tips for consistent salon results
Standardize your kit by keeping identical bags on hand so you always have matching accents. Pre-plan placements on a practice tip or swatch to show clients options before committing. Small visual guides and consistent application techniques reduce redo rates and keep services efficient.
With a steady hand and a simple routine—proper prep, careful placement, and secure sealing—these light pink Hello Kitty nail charms deliver professional-looking results every time.
Leave a Reply