Want salon-style designer nails without a long appointment? Luxury nail water decals offer a fast, low-cost way to add intricate patterns and brand-inspired looks to manicures. This guide breaks down key terms and walks a beginner through each step, from prep to finish.
What are water decals and how do they differ?
Water decals are thin printed designs on a carrier film that release when briefly soaked in water. Unlike peel-and-stick stickers, water decals are handled wet and slide off their backing, allowing you to position the design precisely on the nail surface. They’re commonly used as nail stickers for quick detailed art that would otherwise require freehand painting or stamping.
Key terms a beginner should know
- Carrier film: the clear, thin backing that holds the printed design until you wet and slide it off.
- Decal: the printed image itself, which transfers to the nail.
- Top coat: the protective polish layer applied over the decal to seal and protect it.
- Edge smoothing: pressing and sealing the decal edges so they don’t lift.
Before you start: simple prep
Good results begin with basic nail prep. File and shape nails, push back cuticles, and remove oils or residue with a nail polish remover or wipe. A smooth, dry polish base (or cured gel base) gives the decal something clean to adhere to. If you prefer natural nails, a sheer base coat works too.
Step-by-step application for beginners
-
Cut and size:
Trim the decal close to the design and place it over the nail to estimate fit. It’s easier to work with slightly oversized pieces you can trim later.
-
Soak the decal:
Using clean water (room temperature is fine), submerge the decal for a few seconds until the film begins to release from the backing. Time varies by decal thickness—watch for the edges to lift.
-
Slide onto the nail:
Carefully slide the design off its backing and onto the nail. Use tweezers or a damp brush for control. Position the decal before it dries.
-
Smooth and remove bubbles:
Gently press from center to edges with a silicone tool, cotton swab, or finger to remove water and bubbles. Blot excess moisture with a lint-free wipe.
-
Trim and tidy:
After the decal is mostly dry, file or trim any overhang at the free edge. Use a fine file and light strokes to avoid lifting the design.
-
Seal with a top coat:
Apply one or two thin layers of a clear top coat to seal the design and add durability. Allow drying between coats. For gel top coats, follow the product’s curing instructions if you use them.
Practical tips for neater results
- Work on one nail at a time so the decal doesn’t dry before placement.
- Use small scissors and a nail file to customize shapes for smaller nail beds.
- If edges lift later, press and reseal with a drop of top coat or clear builder gel in a salon setting.
- Keep tools and hands dry when placing decals to avoid sliding or wrinkling the design.
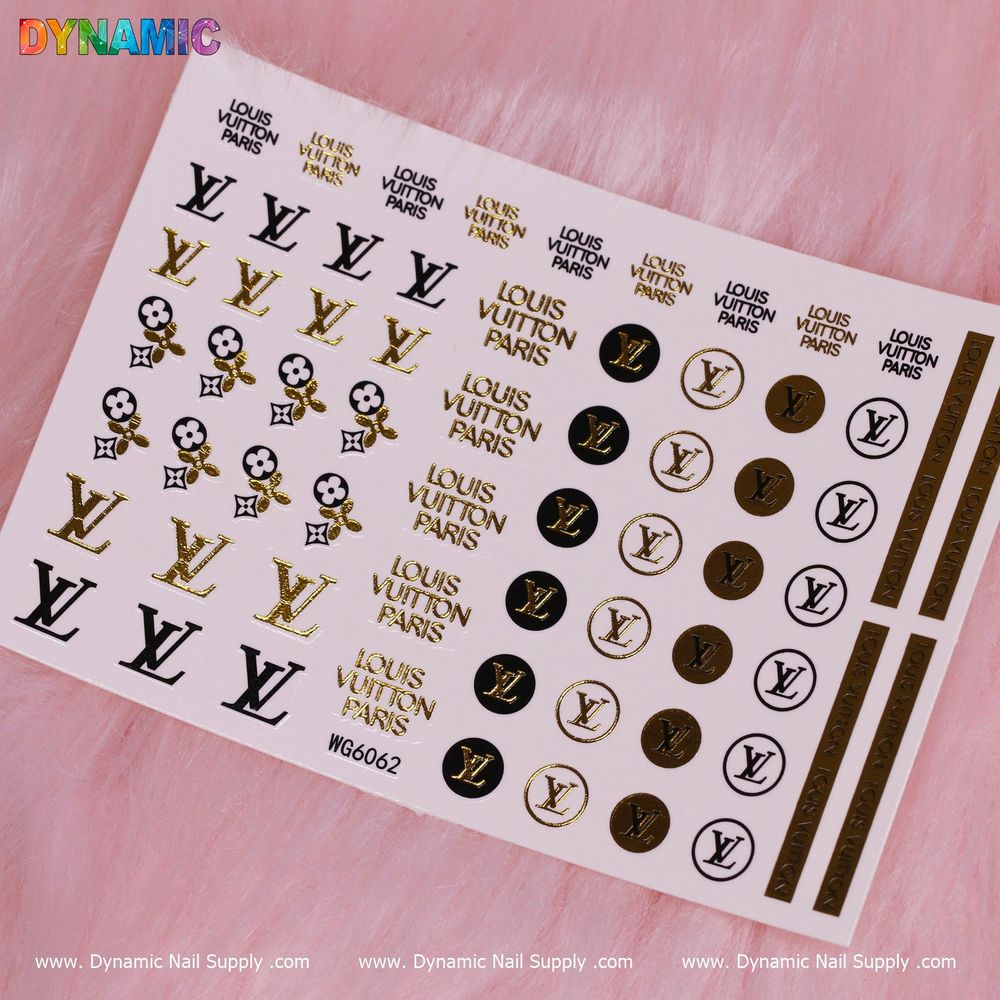
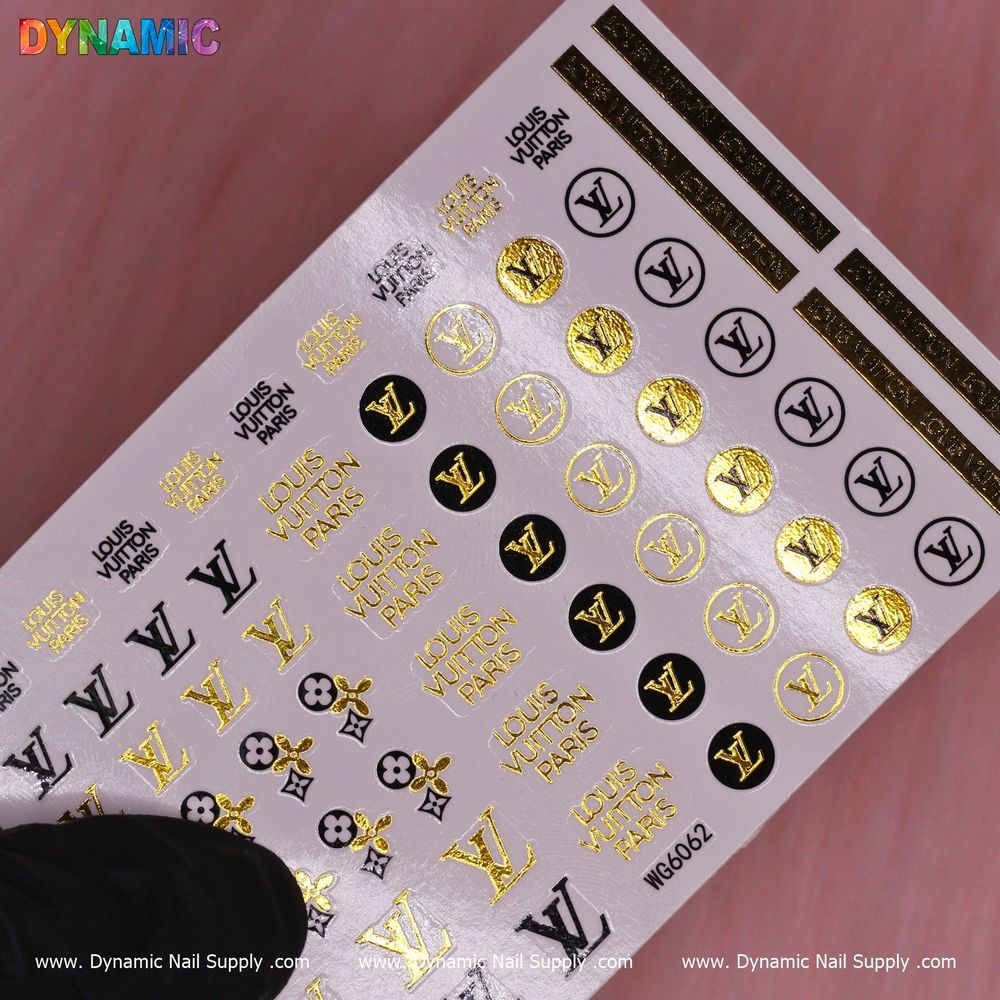
For an affordable, designer-inspired option, consider the Luxury Style Water Decal (WG6062); see luxury nail water decals sheet for the specific sheet and design details.
Key features in context
This product is a sticker-style water decal marketed as luxury or designer-inspired nail art. It’s offered as an economical single-item option — priced at $2.00 — making it an approachable choice for beginners and frequent DIYers. The thin, water-activated film lets you achieve fine detail without painting complex motifs by hand.
Who should use luxury nail water decals?
These decals suit a range of users: complete beginners who want instant designer flair, hobbyists building a nail-art toolkit, and busy technicians needing a fast decorative option between clients. They’re also useful for trialing a look before committing to more permanent or costly methods.
Care and safety notes
- Store decal sheets flat and away from heat or direct sunlight to prevent curling or fading.
- Avoid applying to irritated or broken skin. If irritation occurs, remove the decal and top coat and rinse the area.
- Keep small sheets and tools away from children and pets to prevent ingestion or choking hazards.
- Use non-acetone removers for gentle removal when possible; thicker or cured top coats may require soaking or professional removal methods.
Final thoughts
Luxury nail water decals are a quick, low-cost way to achieve complex patterns and a designer look without advanced painting skills. With simple prep, careful placement, and a good top coat, beginners can create polished, salon-quality results at home. If you’re experimenting with nail art basics, a single sheet like WG6062 is an easy first step — try one to see how water decals fit into your routine.
Available from Dynamic Nail Supply and priced affordably, these decals are a practical addition to any nail-art starter kit.
Leave a Reply