Blog

  • How to Use Holiday Sparkle Acrylic Powder for Salon Results

    How to Use Holiday Sparkle Acrylic Powder for Salon Results

    Bright, sparkly acrylic can elevate seasonal manicures from pretty to professional. The Holiday Sparkle Acrylic Powder collection was designed for festive looks that hold up—whether you’re a busy salon tech or a confident home nail artist. This guide walks through a reliable workflow to get durable, salon-quality results every time.

    What’s included and why it matters

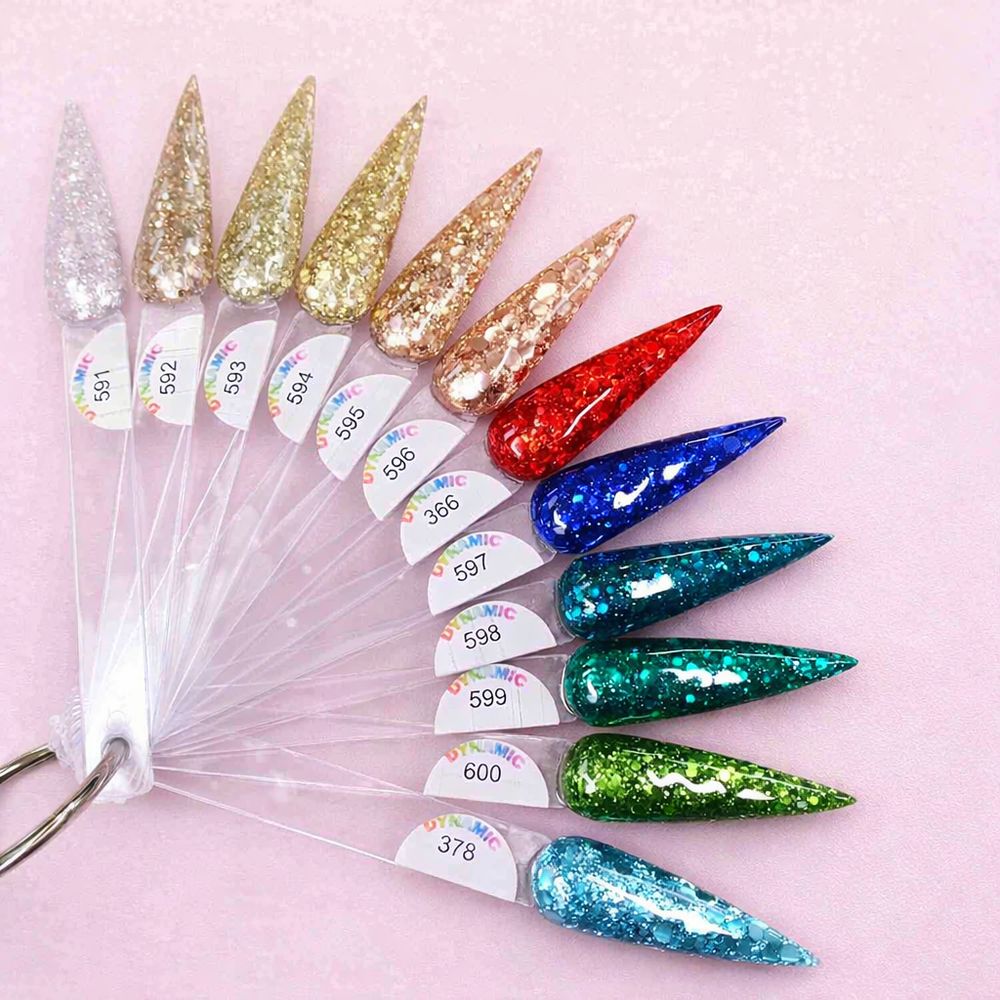
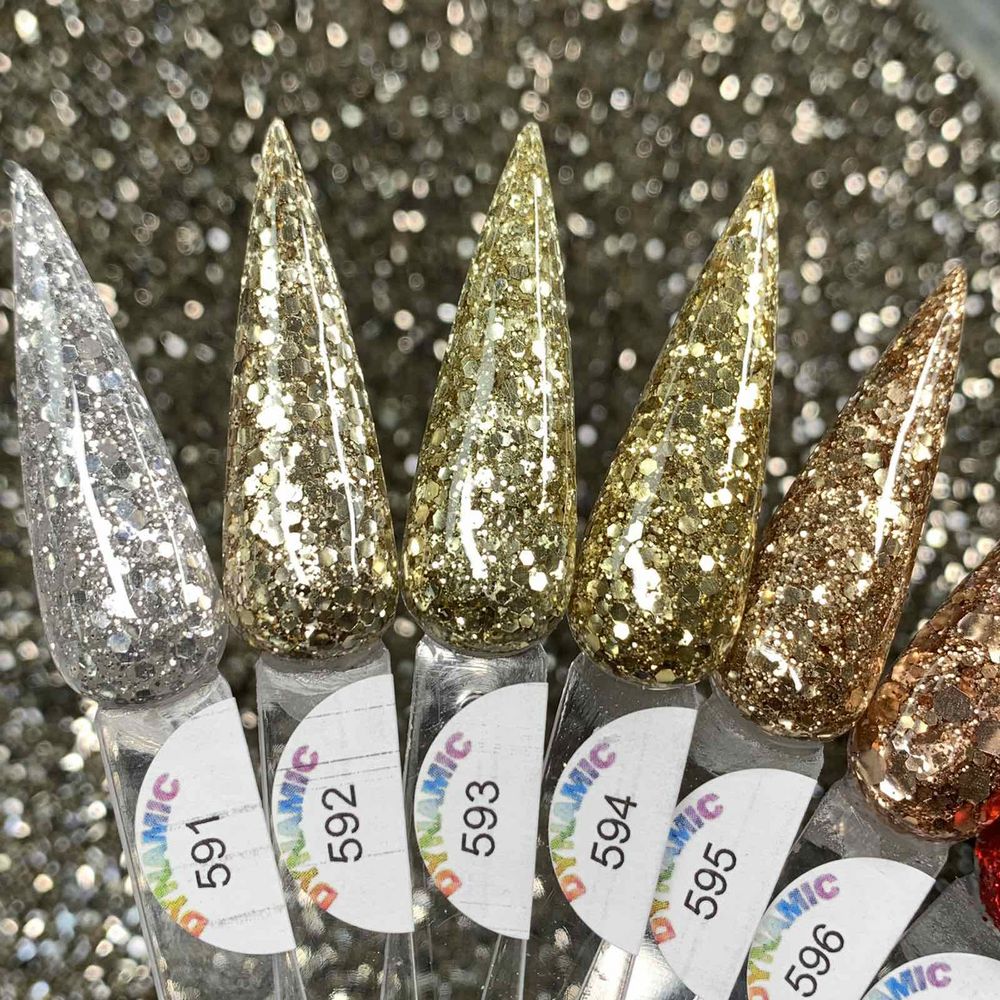
    The collection includes 12 color codes available as single jars or a full set, with 1 oz and 2 oz size options. Choose individual shades (codes like 591, 592, 593, etc.) or the Whole set of 12 colors depending on the range you need. Individual jars start at $6.00; full-set kits are also offered.

    These powders are made in the USA and marketed as non-toxic and odor-free with a no-crack guarantee for long wear. If you want to see the available formats and pick colors, check the product listing for the holiday sparkle acrylic powders.
    Holiday Sparkle acrylic powder jars - 2

    Salon-style prep: foundation for lasting acrylic

    1. Sanitize and organize. Clean your work area and sanitize tools. Lay out the jars you plan to use so the application flows without interruption.
    2. Natural nail prep. Push back cuticles, remove surface shine with a 180–240 grit file or buffer, and lightly dehydrate the nail plate. Proper prep improves adhesion and reduces lifting.
    3. Form or tip fit. If using tips or forms, ensure a snug, gap-free fit. Good contact at the nail junction prevents separation and gives a smooth apex when you build.
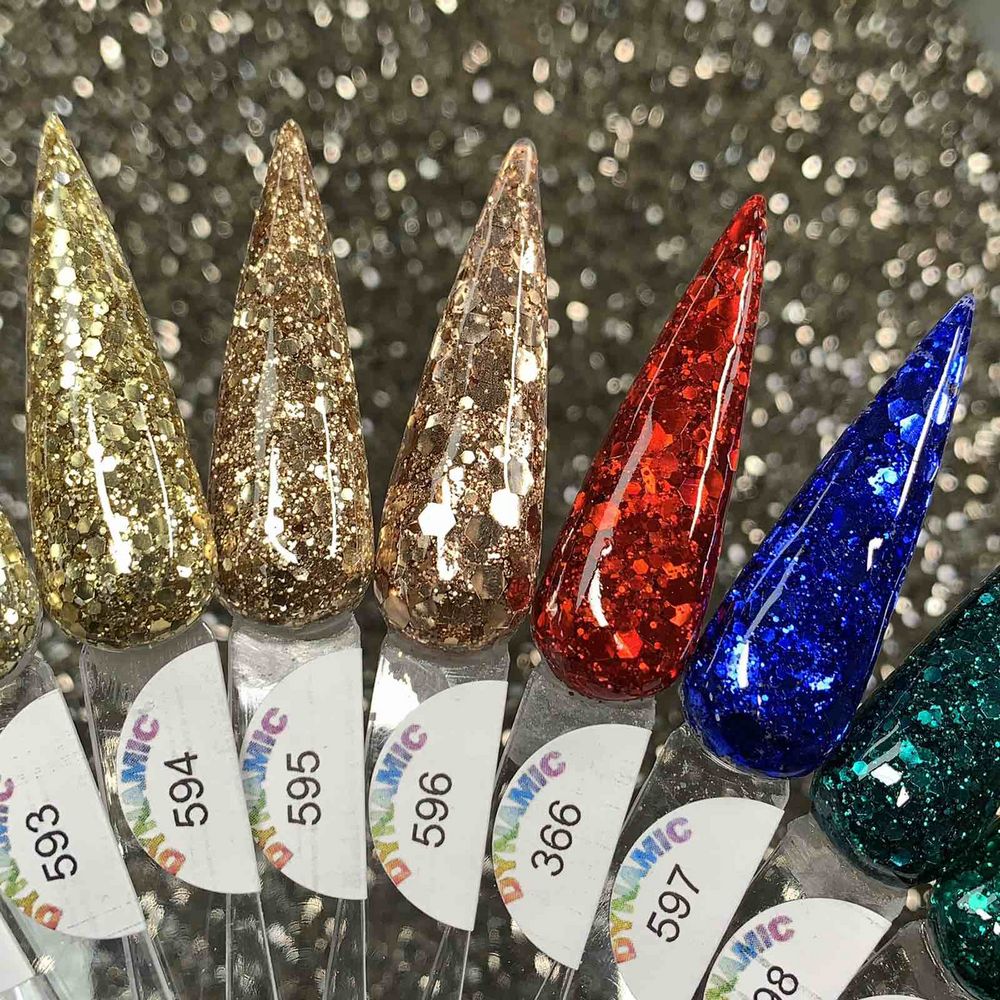
    Holiday Sparkle acrylic powder jars - 3

    Step-by-step application for pro results

    1. Primer and base. Apply a resin primer or bonding product appropriate for acrylics. Allow it to flash dry as directed.
    2. Mix and load. Dip your monomer brush into monomer, then into the Holiday Sparkle acrylic powder to form a medium bead. The powders are formulated for easy handling and predictable bead formation.
    3. Placement and sculpting. Place the bead just past the cuticle line and gently pat it toward the free edge. Build a tidy apex: a slightly thicker bead in the stress area helps create durability and a professional silhouette.
    4. Blend and refine. Use smaller beads to blend the cuticle area and smooth transitions. Work methodically—overnight hardening risks trapped imperfections, so shape while the acrylic is workable.
    5. File and finish. Once cured to hard, file to refine shape with progressive grits, then buff to remove dust. Seal with a top coat of your choice for shine and protection.
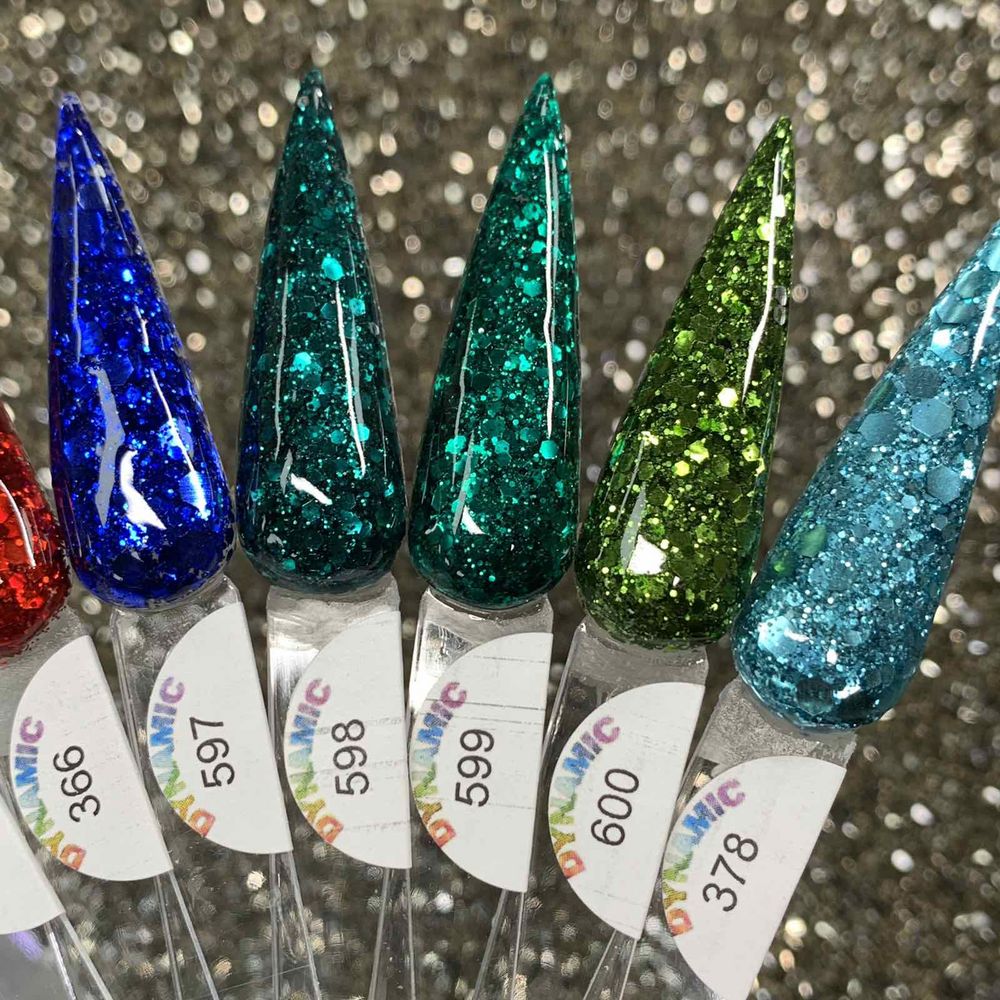
    Holiday Sparkle acrylic powder jars - 4

    Finishing touches that read professional

    • Glossy or matte. A high-shine top coat accentuates the sparkle and creates a salon-finish. For trendier looks, a matte top coat can mute shine while still showing color depth.
    • Edge sealing. Lightly seal the free edge with top coat to prevent chipping. The collection is described as chip-resistant when finished correctly.
    • Accent art. Use the finer powders from the set for encapsulated glitter or micro-detailed art beneath a clear overlay.
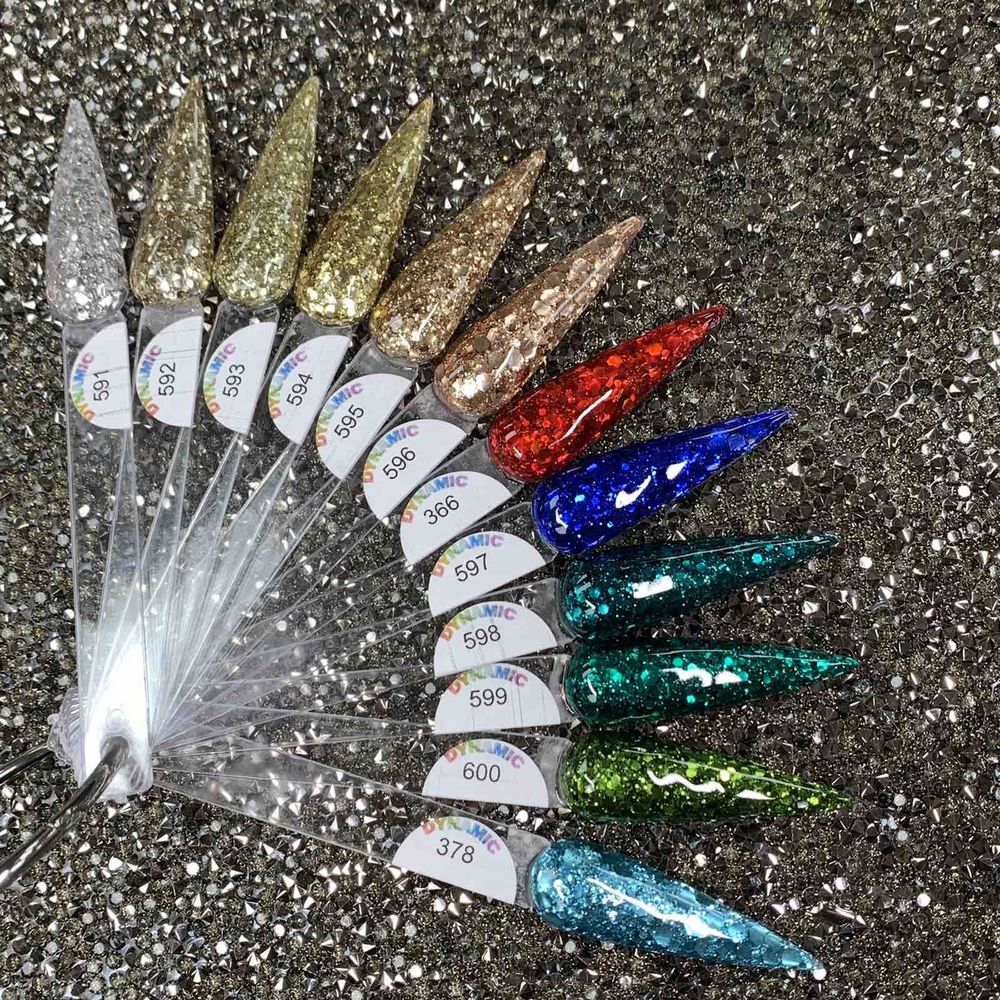
    Holiday Sparkle acrylic powder jars - 5

    Tips for faster service and consistent results

    • Batch prep jars. For salon days, open and organize jars you’ll use to speed selection and reduce downtime between clients.
    • Consistent bead size. Train to use consistent bead sizes for each zone (cuticle, midzone, apex) to maintain uniform strength and thickness across nails.
    • Work with the powder’s handling. These powders are formulated for easy handling; adapt your monomer ratio and brush pressure to the bead response rather than forcing faster cures.
    • Use appropriate grit progression. Start coarse for shaping and finish with a finer grit to reduce dust and obtain a smooth surface before top coat.

    Care, safety and storage notes

    These powders are labeled non-toxic and odor-free. Still, follow standard safety practices: ventilate your workspace, avoid skin contact with liquid monomer, and keep jars closed when not in use to prevent contamination. Store in a cool, dry place away from direct sunlight to preserve color integrity. Dispose of dust and used wipes according to local regulations.

    Who should use this collection?

    The Holiday Sparkle Acrylic Powder collection suits salon professionals seeking festive, durable color options and experienced home users comfortable with acrylic systems. The range of single-jar sizes and a whole-set option makes it practical for professionals building inventory and for enthusiasts wanting a variety of shades. For product ordering and availability, the collection is sold through Dynamic Nail Supply.

    With careful prep, controlled application and the right finishing steps, Holiday Sparkle powders can deliver long-lasting, chip-resistant nails with bright sparkle—perfect for holiday seasons or year-round glam. Follow the workflow here to get consistent, salon-caliber results every time.
  • How to Apply Light Pink Hello Kitty Nail Charms Like a Pro

    How to Apply Light Pink Hello Kitty Nail Charms Like a Pro

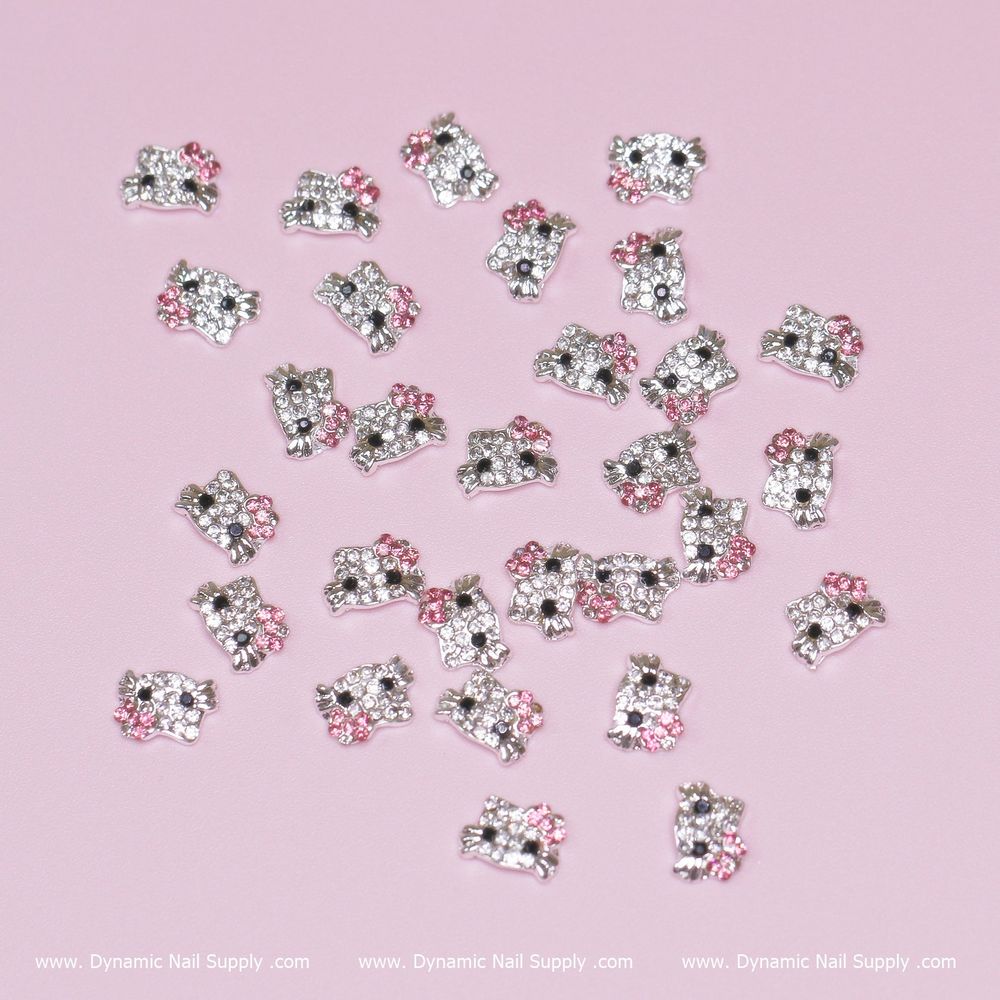
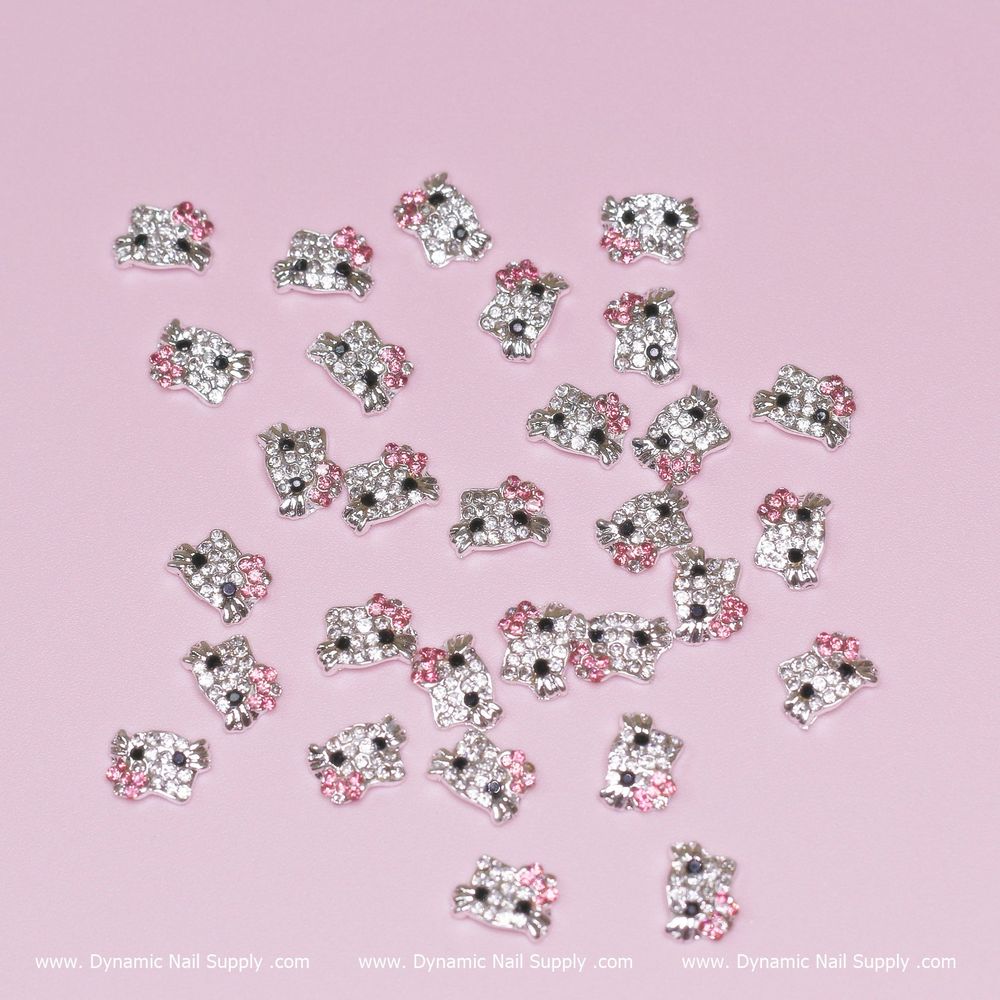
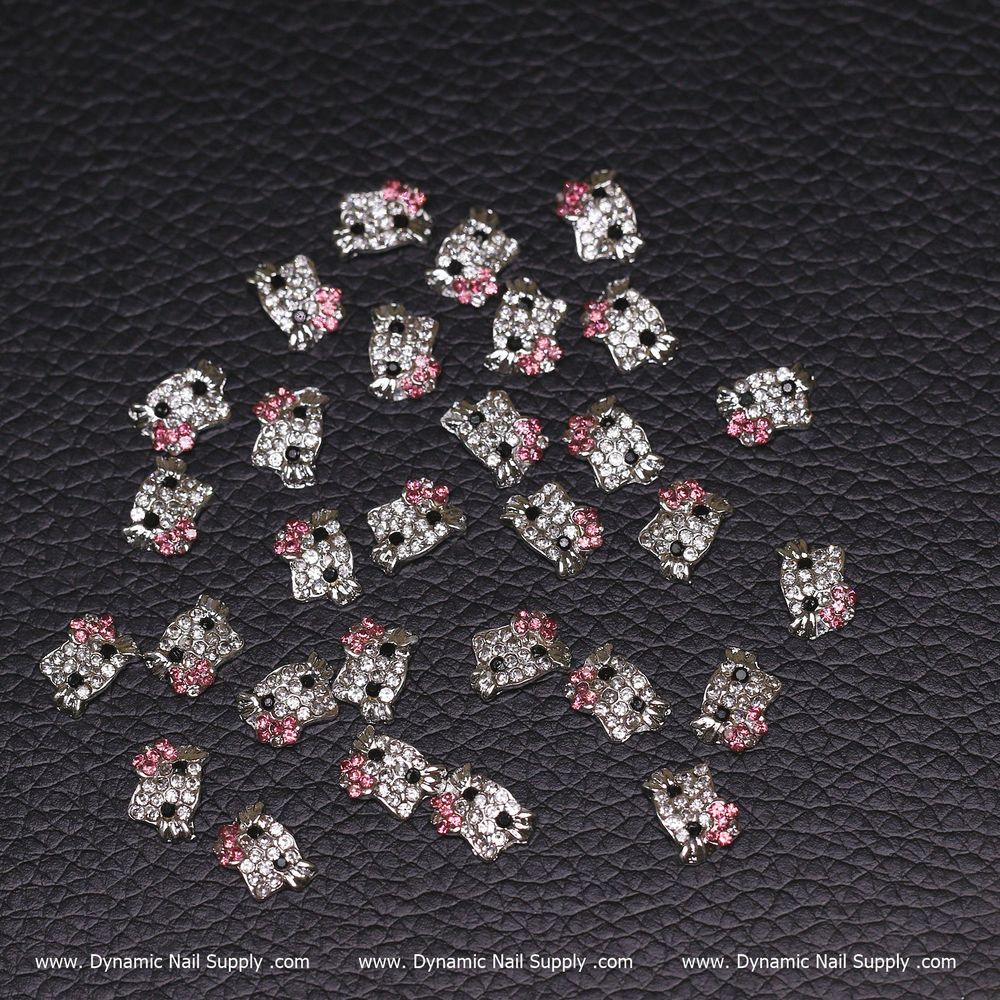
    Small metal charms can elevate a manicure from pretty to professional when they’re chosen and applied with intent. This guide shows how to use a 30-piece set of light pink Hello Kitty nail charms (zircon alloy) to achieve lasting, salon-quality accents whether you’re working at home or in a full service studio.

    Why these charms work for pro-level designs

    These charms are metal with zircon-alloy details and come in a compact 30-piece bag, making them convenient for repeat use on clients or in personal kits. The light pink finish lends a soft, kawaii focal point that pairs well with sheer bases, French variations, or full-color gel polish. Available from Dynamic Nail Supply for about $12.00, they’re affordable enough to stock multiple designs without overspending.

    Light pink Hello Kitty nail charms 30pcs - 2

    Prep and planning: the foundation of lasting placement

    Good adhesion starts with proper prep. File and shape the natural nail or enhancement, then push back and remove excess cuticle so the charm can sit flat. Dehydrate and wipe the plate with a nail cleanser or isopropyl alcohol to remove oils. If you’re building in acrylic or gel, plan the charm placement before you finish the final layer so you can embed or glue with precision.

    Light pink Hello Kitty nail charms 30pcs - 3

    Step-by-step application techniques

    Choose the method that matches your preferred system—glue-on or in-gel embedding are both common. For quick add-ons, use a thin bead of professional nail glue placed where you want the charm, then pick up the charm with a wax pencil or fine-tipped tweezers and press gently into position for a few seconds. For maximum security in gel or acrylic services, set the charm into a tack-free layer of builder gel or an uncured acrylic bead and cure or allow to set per your product instructions. If you want to check the product before buying, find the matching Nail Charms light pink.

    Placement design ideas for salon and home

    • Accent finger: Place a single Hello Kitty charm at the base or tip as a subtle statement.
    • Mini gallery: Use 2–3 charms across the nail bed on a long square or coffin shape for a chandelier look.
    • Cluster art: Combine a charm with small rhinestones or studs on a neutral background for textured contrast.
    • French twist: Attach a tiny charm to the smile line of a French manicure for a playful update.

    Tools and small tricks that make application easier

    Keep a few inexpensive tools handy: fine-point tweezers, a wax picker, dotting tool, and a small dish with a drop of glue. When pressing charms into gel, use a flat-side applicator to flatten the charm’s back to the product without smudging the surrounding polish. Trim any excess filament or glue strings with a small scissors or clippers once cured or fully set.

    Finishing and sealing for durability

    To protect both the charm and the design, encapsulate it where possible—apply a thin layer of builder gel or a clear acrylic overlay around the charm edges, then cure or allow to set. For glued-on charms, seal the surrounding nail carefully with a thin rim of topcoat to reduce edge lifting; avoid covering textured details completely if you want the zircon sparkle to show. Always follow the cure times and layering techniques recommended by your gel or acrylic system.

    Who these charms are best for

    This 30-piece set suits busy nail techs who need fun, consistent accents as well as nail art enthusiasts building a kawaii collection. The light pink tone and Hello Kitty motif are especially well suited for clients seeking a soft, playful look—teen clients, themed event services, or anyone who loves cute character art.

    Care, removal, and safety notes

    Metal charms can snag fabrics or catch on long hair; advise clients to be mindful for the first day or two. For removal, gently pry up the charm after softening the surrounding adhesive with acetone if using glue—do not forcefully pull, which risks nail damage. Store charms dry and in their original bag to prevent loss or tarnish. As with all nail accessories, avoid getting charms caught under heavy manual work and replace any bent or damaged pieces.

    Final tips for consistent salon results

    Standardize your kit by keeping identical bags on hand so you always have matching accents. Pre-plan placements on a practice tip or swatch to show clients options before committing. Small visual guides and consistent application techniques reduce redo rates and keep services efficient.

    With a steady hand and a simple routine—proper prep, careful placement, and secure sealing—these light pink Hello Kitty nail charms deliver professional-looking results every time.
  • Manicure Drill Bit Set: Salon Buyer’s Practical Guide

    Manicure Drill Bit Set: Salon Buyer’s Practical Guide

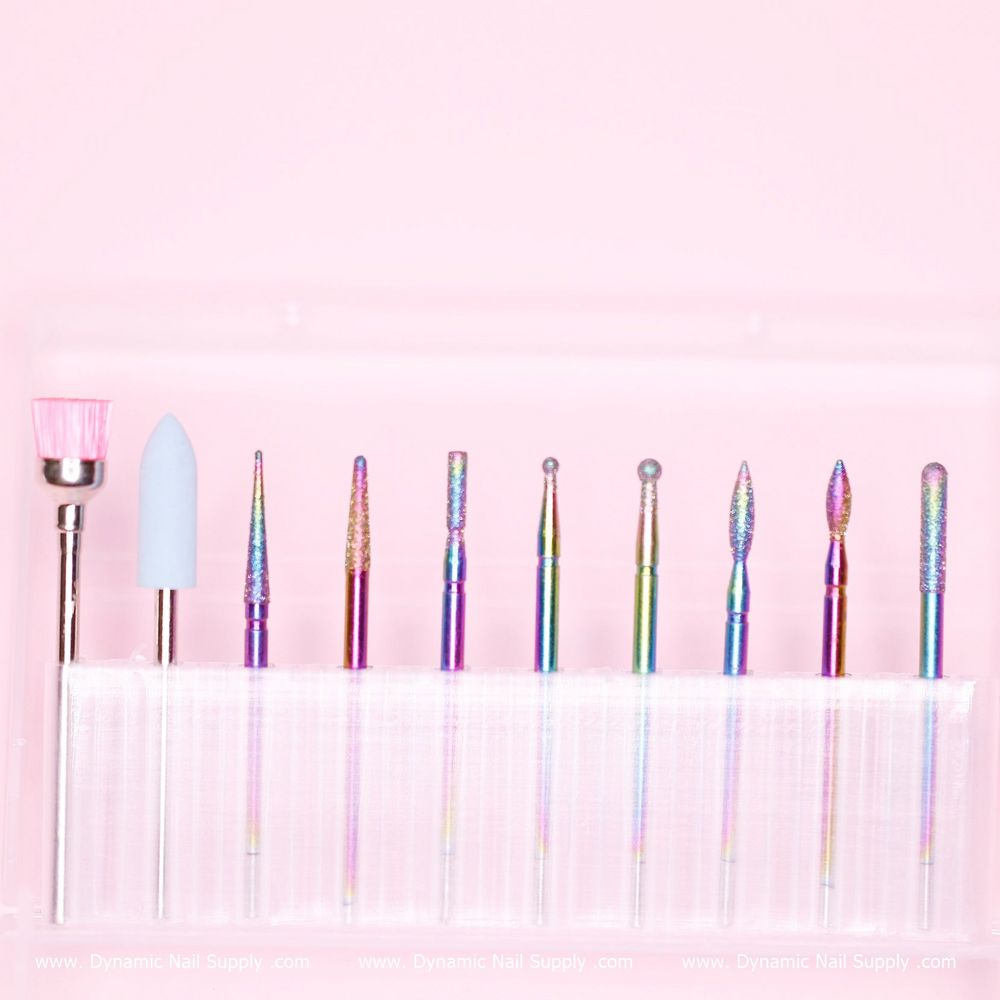
    Busy nail technicians need tools that save time and protect natural nails while preparing for enhancements. A 10-piece manicure drill bit set can streamline cuticle cleaning, dead-skin removal, and surface preparation for acrylic or gel. This guide walks through what to look for, how to use these bits safely in a salon setting, and practical care tips so the set lasts through multiple clients.

    What this set is designed to do

    These bits are made in a sanding/diamond style known for toughness and fine particle structure. They are intended primarily for prepping natural nails, cleaning the cuticle area, and removing dead skin before applying acrylic or gel. The manufacturer recommends a drill speed in the 5,000–10,000 rpm range for typical prep work.

    10-piece manicure drill bits set - 2

    Key features to evaluate (and why they matter)

    • Material and grit: The bits use a fine abrasive surface that is less aggressive on skin than coarse files, which helps reduce client discomfort during cuticle cleaning.
    • Durability: The bits are described as rust-free and long-lasting; the supplier indicates they may withstand roughly 10–15 uses before showing dulling.
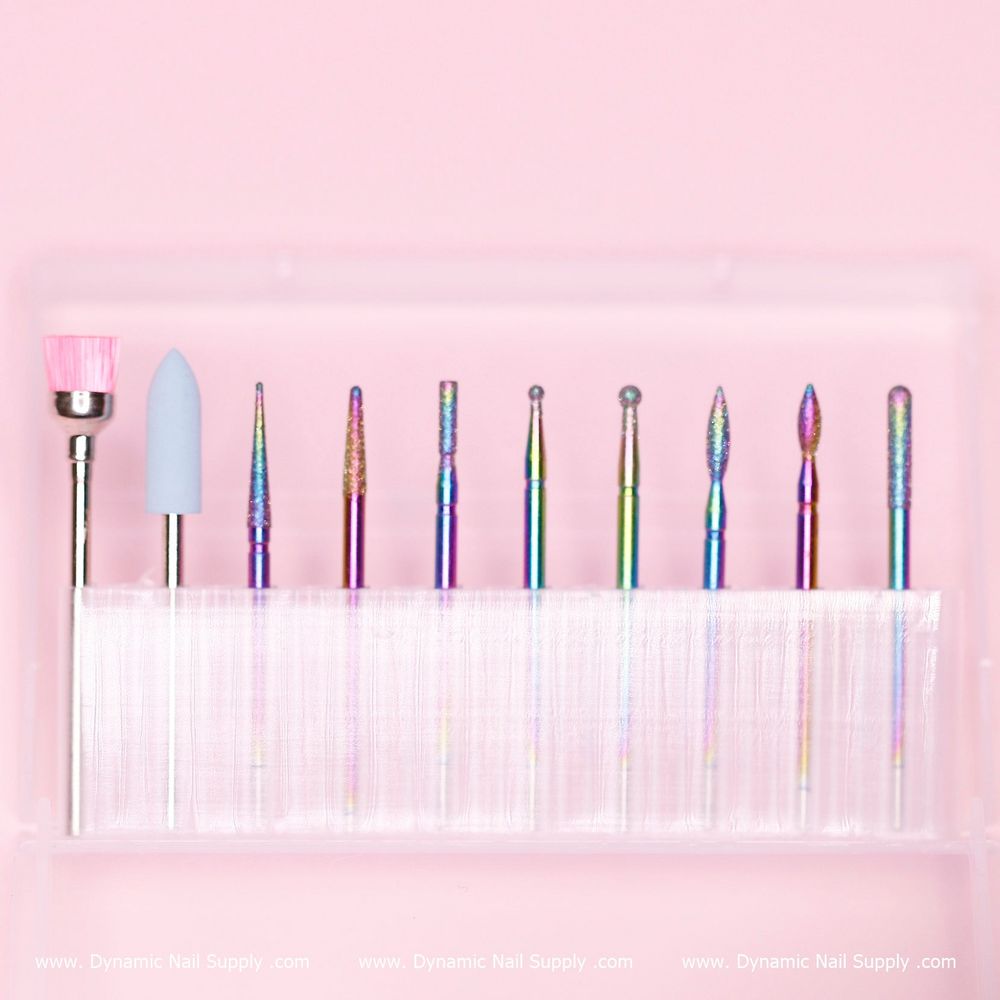
    • Set composition: A 10-piece assortment gives a range of small shapes and profiles suited for detailed cuticle work and surface prep across different nail sizes.
    • Recommended speed: Using a lower to mid-range RPM (about 5k–10k) helps maintain control and prevents over-filing on natural nails.

    Who should consider this manicure drill bit set

    This set is aimed at nail technicians and salon owners who need an economical yet versatile collection of bits for routine nail prep. It’s useful for technicians who do frequent cuticle cleaning and dead-skin removal prior to enhancements, and for salons that want a multi-piece starter kit available at the workstation.

    Practical usage tips for salon efficiency

    • Match speed to task: Start at the lower end of the recommended range for delicate cuticle work and increase slightly for thicker dead skin or resin removal.
    • Light pressure: Let the bit do the work—use gentle, controlled passes rather than forcing the drill into the skin to avoid heat and irritation.
    • Use the right shape: Round and tapered bit profiles are typically better for cuticle beds and lateral folds, while cylindrical finishes help smooth an acrylic surface before sealing.
    • Switch frequently: Rotate through bits as they collect debris; a fresh abrasive face improves control and reduces friction.

    Care, lifespan and safety notes

    The bits are promoted as rust-free and built to endure multiple uses; however, their abrasive surface will eventually dull. Inspect bits regularly for wear and replace when performance declines to avoid increasing friction or trauma to the nail plate. Because they are designed with fine particles to be less abrasive and more comfortable for clients, you can expect gentler contact than with coarse metal burs, but always monitor client feedback during use.

    Follow your salon’s accepted sterilization and hygiene protocols for reusable bits. If you’re stocking multiple sets for daily service, rotate and label them so each technician has a clean set available.

    Buying tips and what to check before purchasing

    When comparing 10-piece sets, confirm the bit profiles included and ensure the set matches your common service needs (cuticle work, dead-skin removal, surface prep). If you want to inspect a compact 10-piece set suitable for cuticle and dead-skin work, check the nail tools carbide option at Dynamic Nail Supply. The listed price for this particular set is $15.00, but prices may change, so verify current pricing at checkout.

    Questions to ask your supplier

    • Can you provide a list of the specific bit shapes and diameters in the kit?
    • Are replacement bits or single items available if one dulls faster than the rest?
    • What cleaning and sterilization methods does the manufacturer recommend?

    Quick checklist for salon adoption

    1. Confirm drill compatibility and collet size with your handpiece before buying.
    2. Train staff on recommended RPM range (5k–10k) and proper pressure techniques.
    3. Label and rotate sets to keep a fresh supply for back-to-back clients.
    4. Inspect bits after roughly 10–15 uses and replace as needed to maintain quality.

    Choosing the right manicure drill bit set is about matching bit profile, grit and durability to your daily services. For salons that prioritize efficient, comfortable cuticle and dead-skin work ahead of acrylic or gel, a 10-piece sanding-style set provides a flexible, cost-effective solution.

  • White Bow Nail Charms — Elegant Valentine Nail Accents

    White Bow Nail Charms — Elegant Valentine Nail Accents

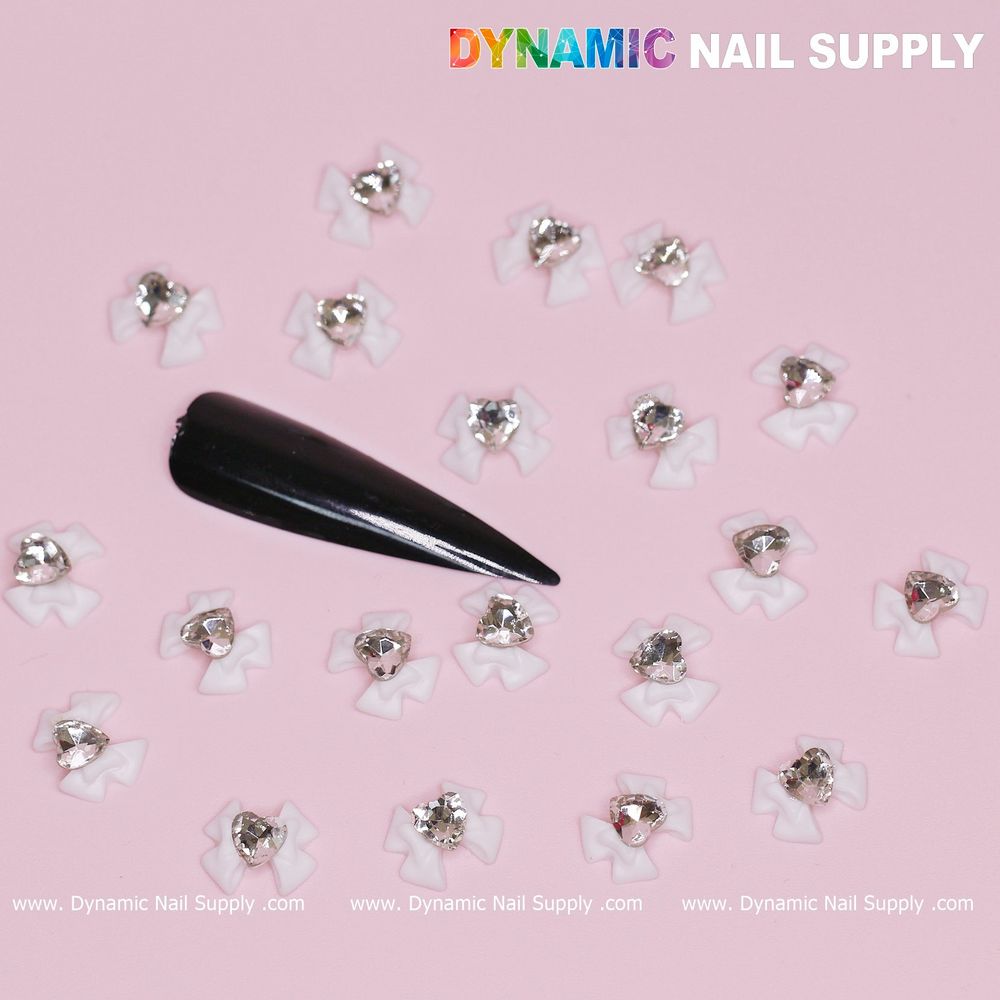
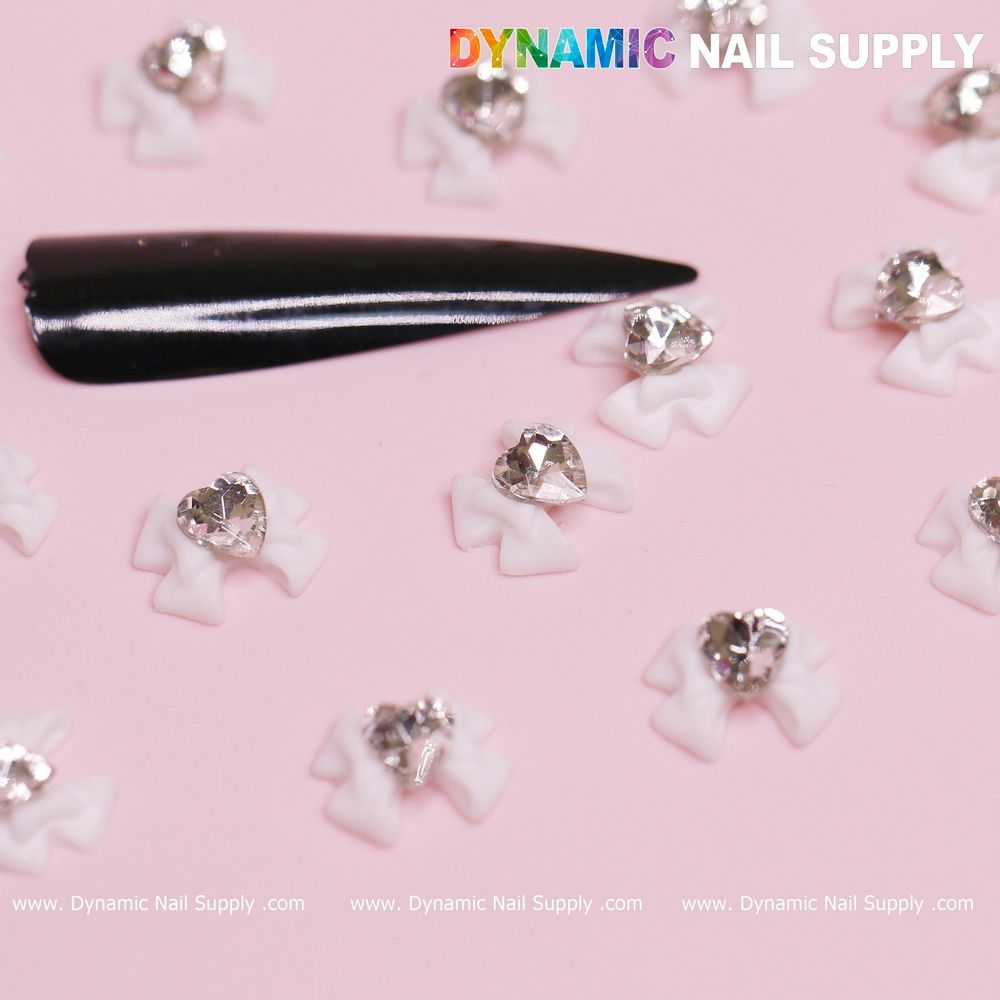
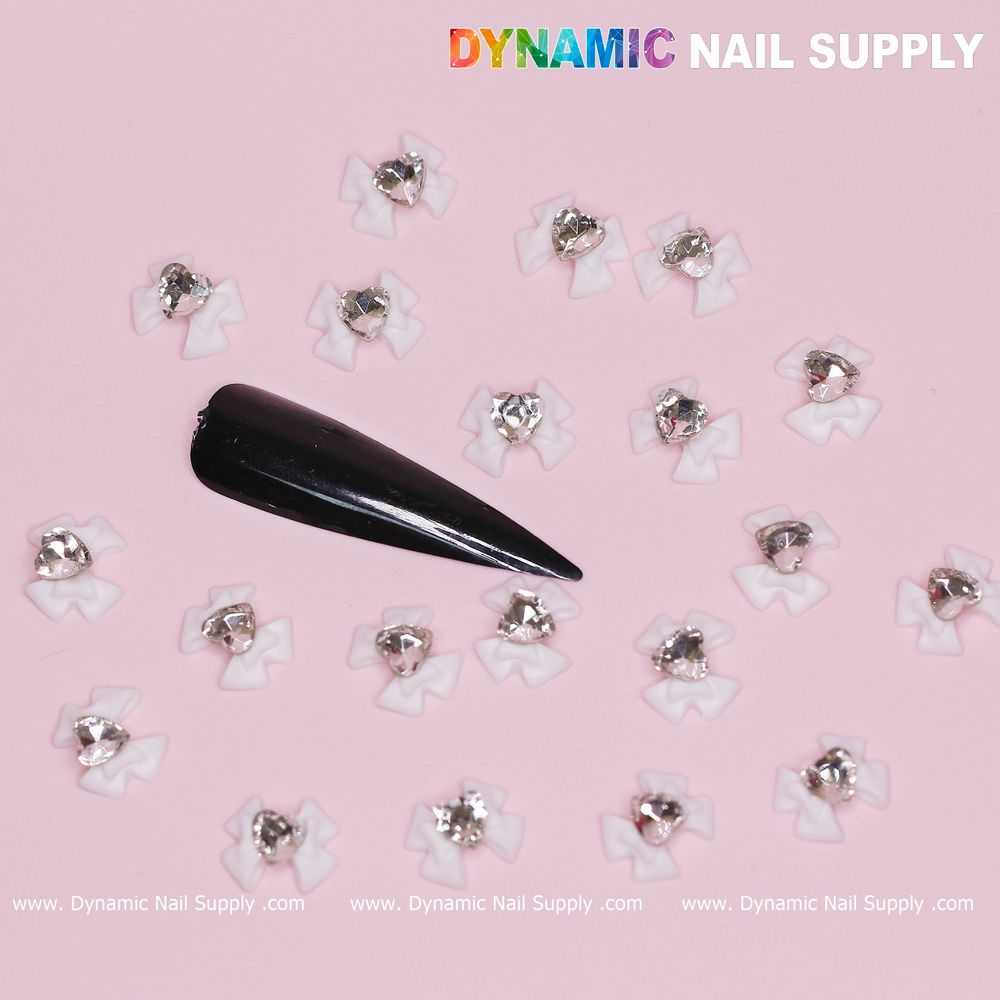
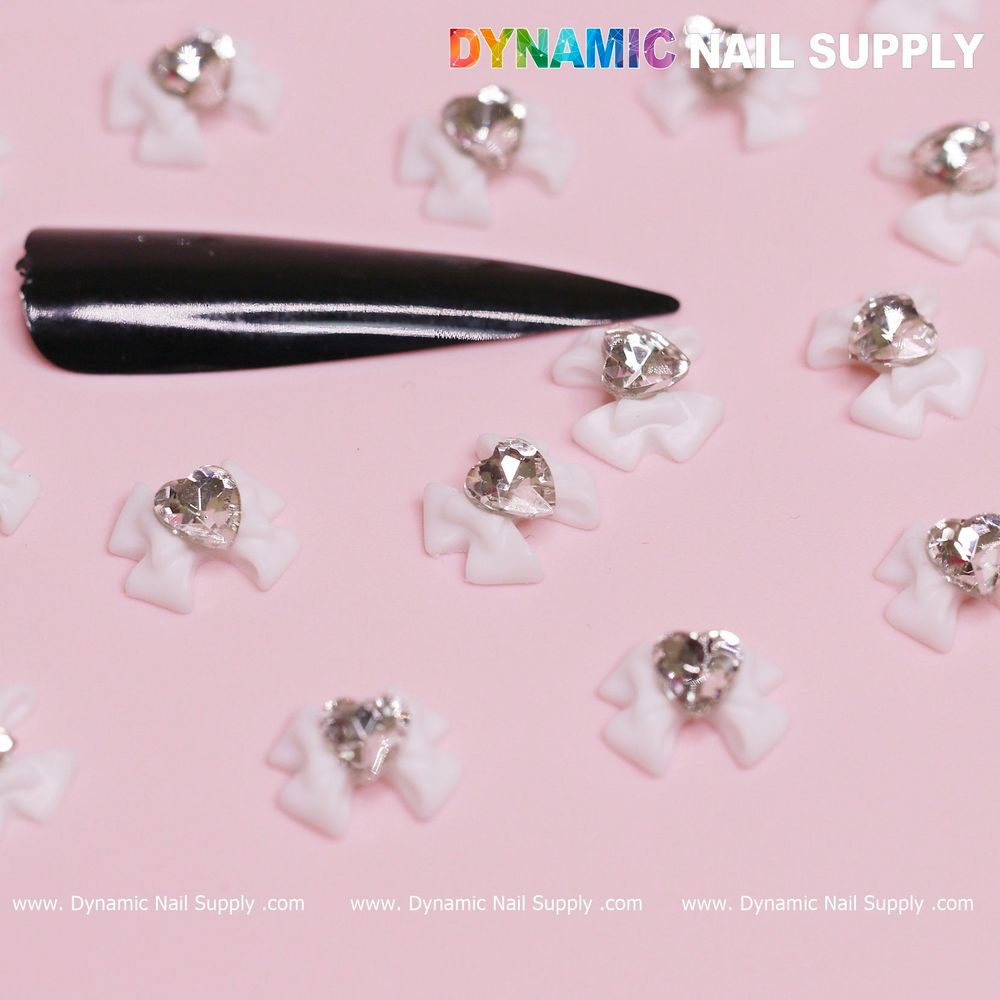
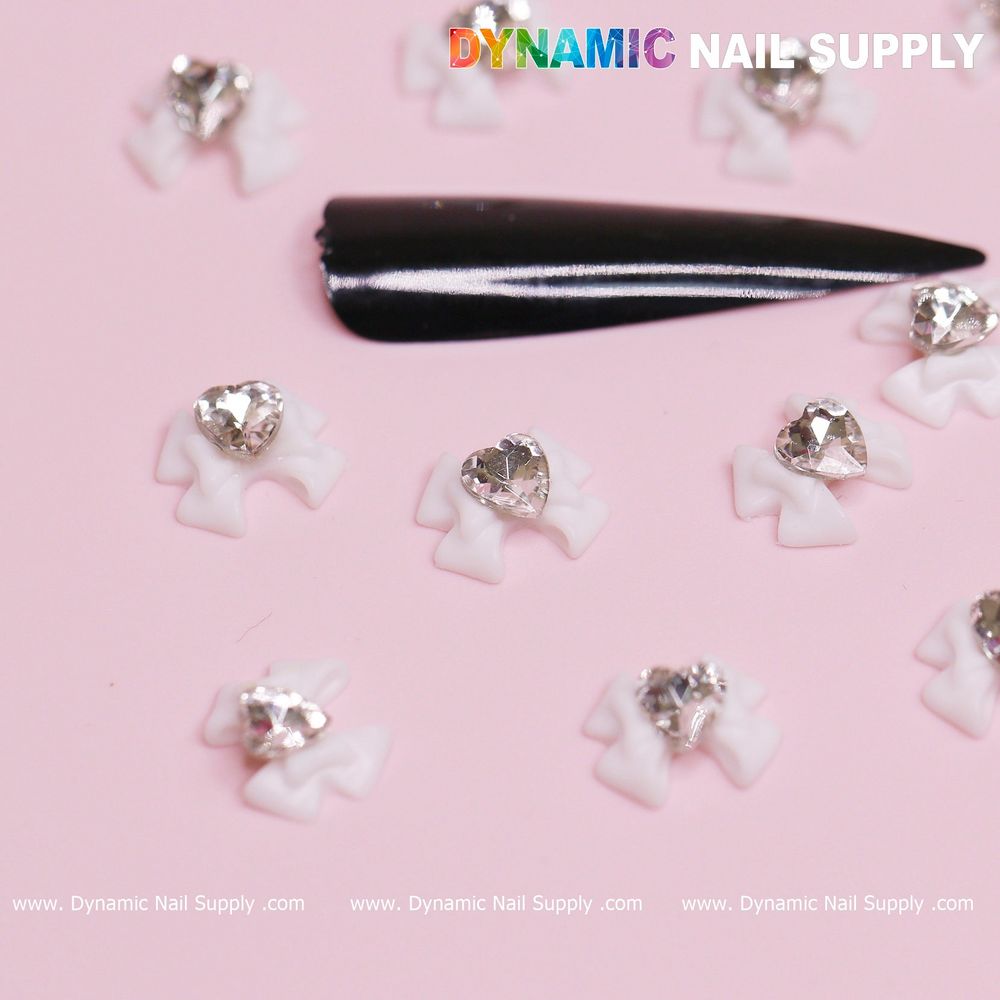
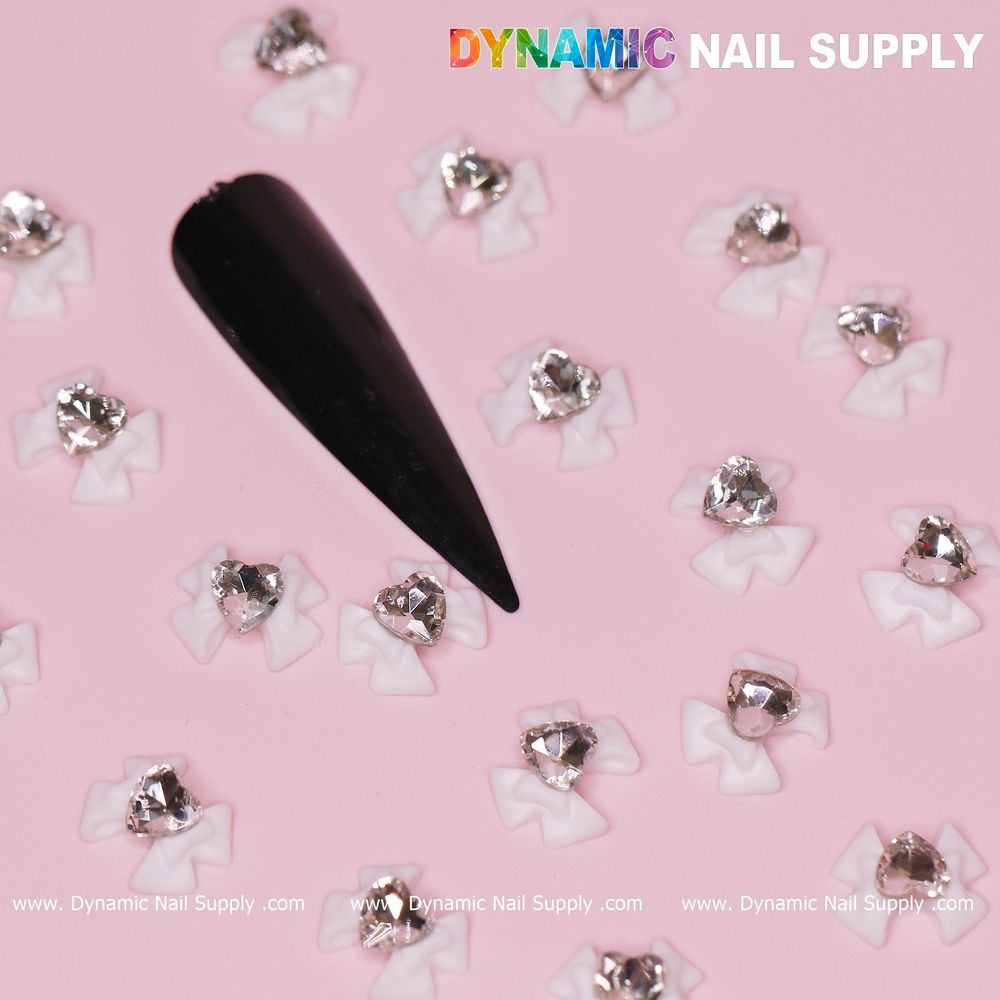
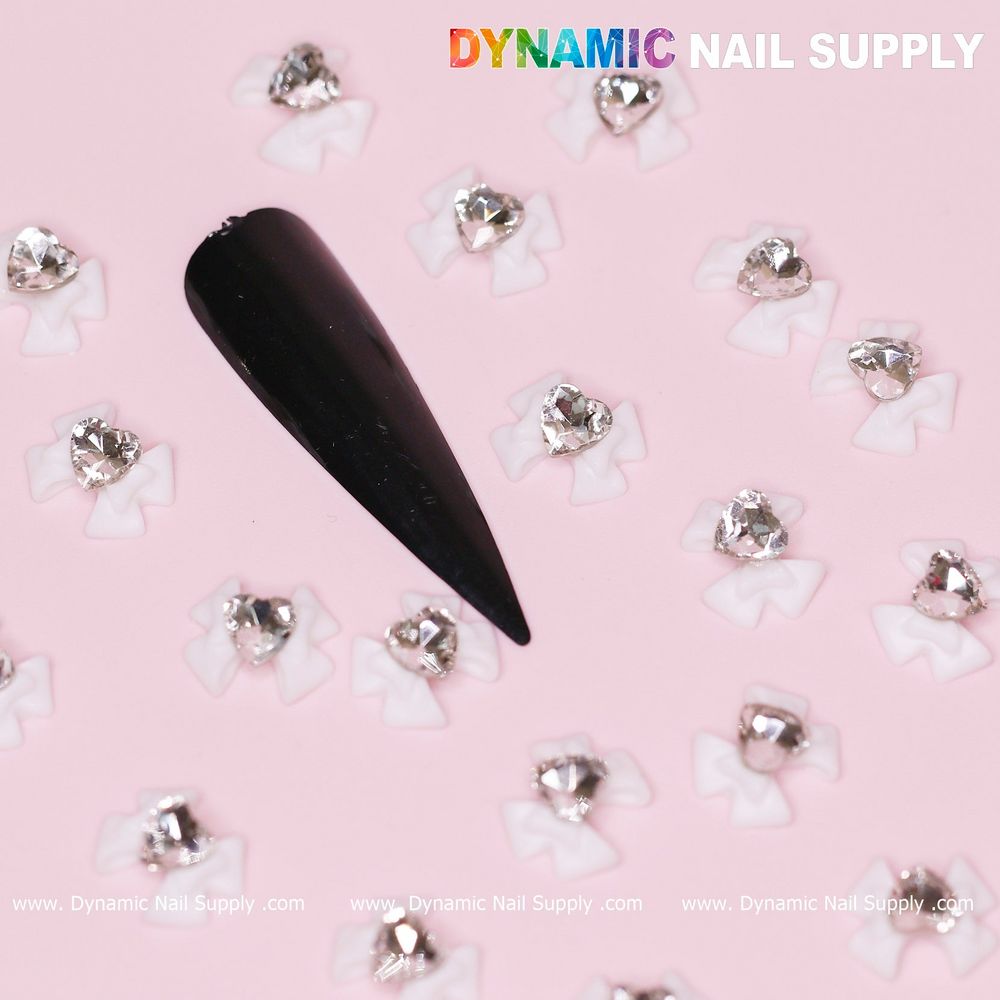
    Small accents can change a manicure from pretty to memorable. This set of 20 white bow nail charms, each engraved with a crystal-clear heart, is positioned as a seasonal embellishment for Valentine-themed looks and everyday designs that need a delicate focal point.

    What this set includes

    The kit contains 20 individual white bow-shaped charms with a clear heart engraving. They arrive as a ready-to-use collection for nail artists, hobbyists, or salons that want a consistent batch of matching accents. Sold by Dynamic Nail Supply, the set is offered at a price of $5.99, which may vary over time.
    white bow charms with heart - 2

    Design details that matter

    The charms combine a classic bow silhouette with a tiny heart engraving in a crystal-clear finish. That contrast—white base with a clear heart—helps the motif read well against colored polishes or textured backgrounds. Because the pieces are all the same style, they make it easy to plan coordinated sets across ten fingers or for multiple clients.

    white bow charms with heart - 3

    How to use these charms

    These bow accents are intended to be applied to finished nails as decorative elements. Nail technicians typically secure similar charms using nail adhesive, a dab of builder gel, or by embedding them into a tacky layer of gel before final curing. If you want a subtler look, place a single charm on an accent nail; for bolder, symmetrical designs, mirror the placement across both hands.

    If you’re updating a Valentine’s set, consider these bow nail charms.

    white bow charms with heart - 4

    Practical usage tips

    • Placement planning: Lay out the 20 pieces before adhering to ensure balanced spacing and consistent orientation across nails.
    • Adhesion: Use a small amount of quality nail glue or a gel medium to prevent lifting; press gently and allow adequate setting time.
    • Topcoat choice: A thin topcoat over and around the charm can help smooth edges and increase staying power without dulling the engraved heart.
    • Mix-and-match: Combine a bow charm with rhinestones or metallic foils from the same theme to build layered, textured designs.
    white bow charms with heart - 5

    Who should consider these charms?

    This set is suited for nail technicians, salon owners stocking seasonal supplies, or DIY enthusiasts working on Valentine’s Day collections. Because there are 20 matching pieces, it’s practical for full-hand designs, multiple clients in a short window, or creative projects that require repetition of the same element.

    white bow charms with heart - 6

    Care and handling notes

    Handle the charms with tweezers or a wax picker to avoid fingerprints and to place them precisely. Store unused pieces in a small, dry container to prevent loss and keep finishes intact. As with all small nail decorations, keep them away from children and pets.

    white bow charms with heart - 7

    Value and packaging

    The set’s modest part count—20 pieces—makes it a focused selection rather than a bulk assortment. That quantity fits creative uses where matching accents are needed without excess. The compact format is convenient for traveling kits and salon stations where space is limited.

    Final thoughts

    For nail artists aiming to add a romantic, feminine detail to Valentine or everyday manicures, these white bow nail charms deliver a consistent motif across multiple nails. They’re straightforward to integrate into standard application workflows and offer an economical way to elevate seasonal collections or bespoke client sets.

  • Religious Nail Charms Set for Vintage Icon Mani Trends

    Religious Nail Charms Set for Vintage Icon Mani Trends

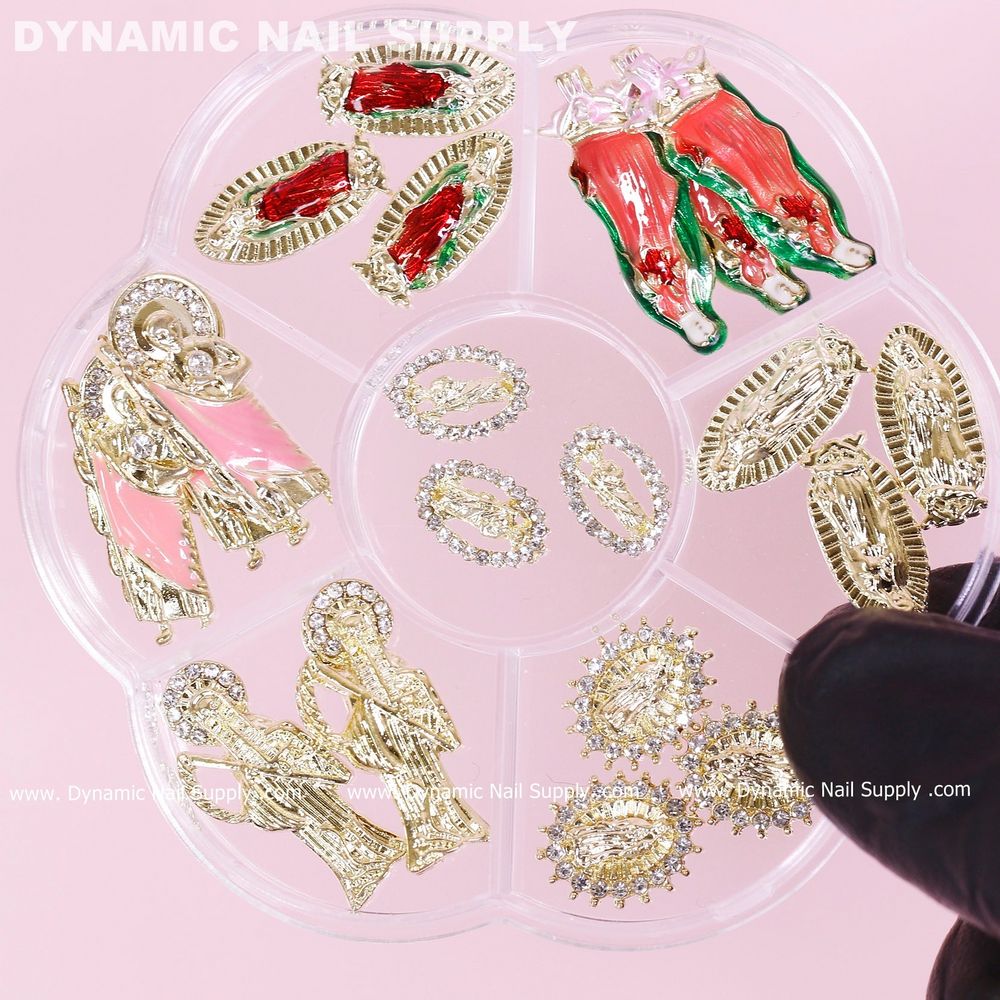
    This season, vintage religious iconography is popping back into nail trends—think delicate saintly silhouettes, tiny medallions and antique gold accents that anchor both minimalist and maximalist manicures. A religious nail charms set offers a quick way to tap that look: one kit supplies multiple icons so you can mix, match and layer motifs across fingers and toes.

    Why religious charms are on-trend now

    Runways and street style have nudged nostalgic religious motifs into mainstream accessory language, and nails are an ideal small-scale canvas. These charms convert familiar symbolism into wearable micro-art that complements neutral gels, translucent milk tones and rich jewel shades popular this season. Because the pieces are tiny focal points, they work equally well with short, natural shapes or longer sculpted nails.

    mixed religious nail charms set - 2

    What’s in the set and how the pieces read on the nail

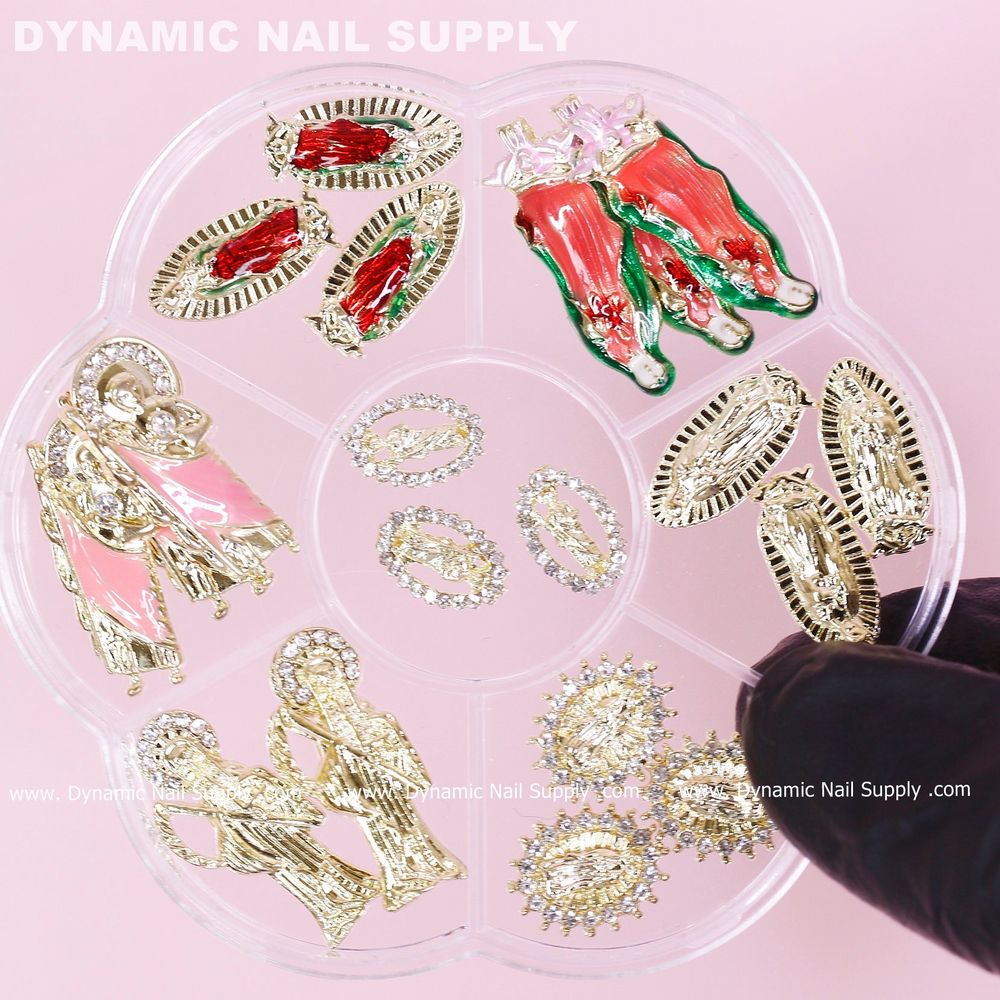
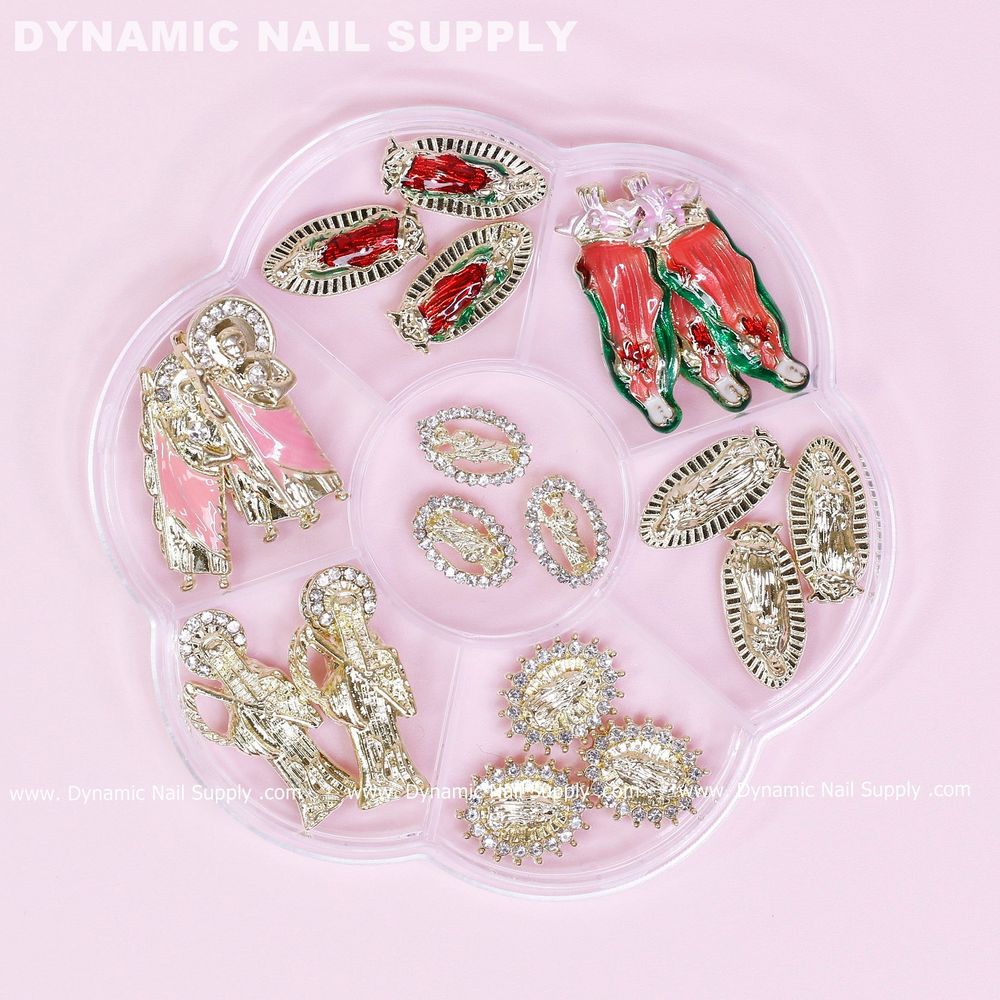
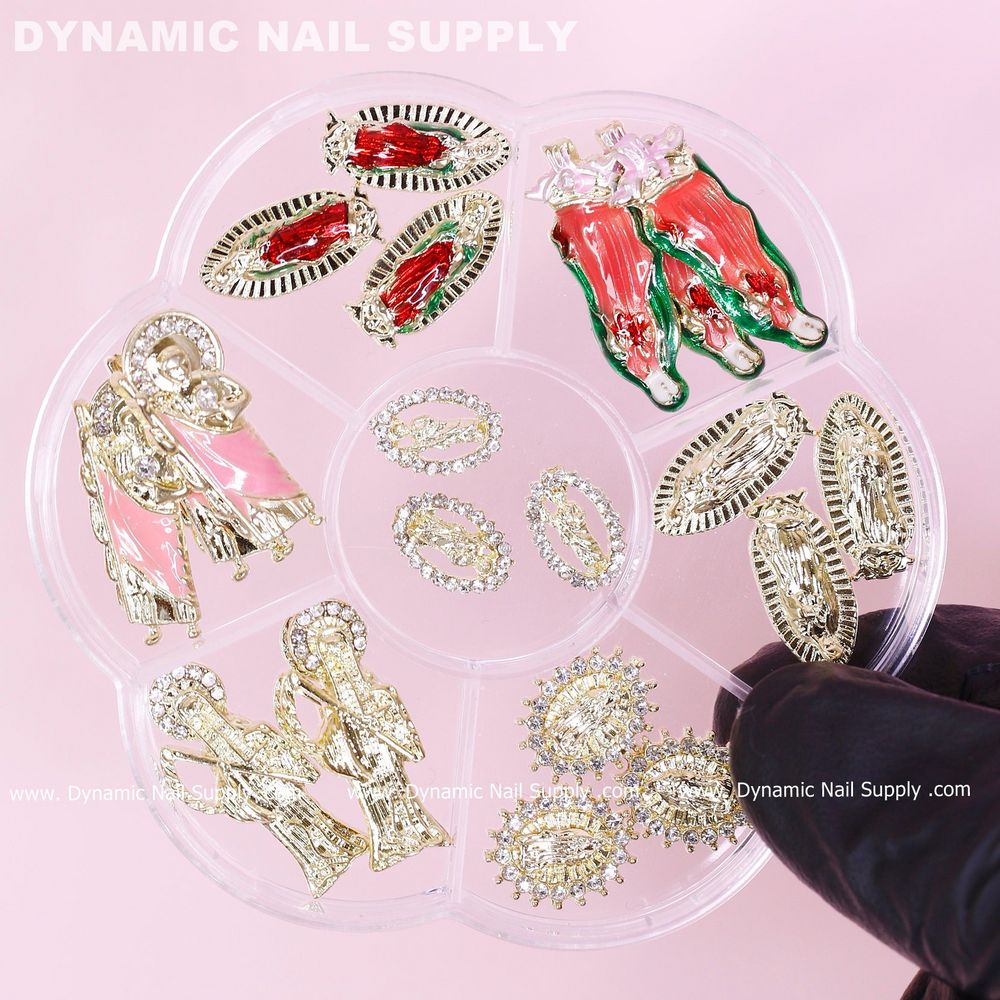
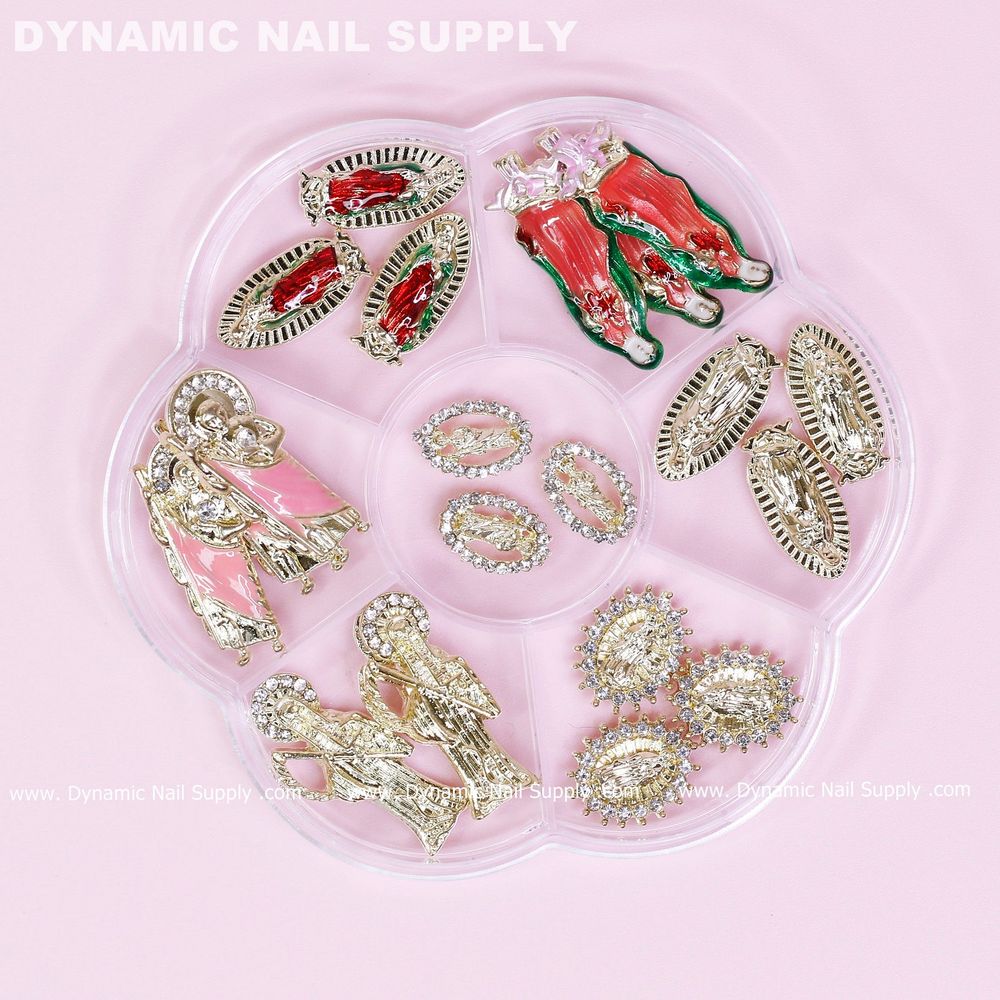
    The collection includes 20 mixed charms featuring San Judas, the Virgin Mary and Santa Muerte in a vintage aesthetic. Many of the designs are inspired by traditional devotional imagery and the tag list highlights antique and gold-tone styles, so they pair especially well with warm metallics and aged finishes. Because the set mixes icon types, you can create cohesive stories across a hand—alternate saints, place a central Virgin Mary on the ring finger, or stack a tiny medallion at the base of a nail.

    mixed religious nail charms set - 3

    Seasonal styling ideas

    Use these charms to interpret current color and texture trends:

    • Soft spring revival: Lavender or sheer pink bases with a single gold saint charm for a subtle devotional accent.
    • Summer festival: Layer multiple tiny charms over ombré or negative-space nails for playful symbolism.
    • Autumn vintage: Deep oxblood or forest green gels topped with matte topcoat and a single ornate Virgin Mary charm for an heirloom feel.
    • Holiday luxe: Combine charms with micro-foil and rhinestones on an accent nail to convert devotional motifs into luxe holiday details.
    mixed religious nail charms set - 4

    Application techniques that hold all season

    Placement and secure adhesion make the difference between a fleeting look and a long-wearing mani. For best results, position charms on a tack-free cured gel layer or a cured builder surface, then secure with a bead of builder gel or a resin adhesive and fully cure under LED/UV. Edge-seal the surrounding area with a thin layer of topcoat to reduce snags; for a raised look, set the charm on a small mound of gel and cure before finishing. Use fine-tipped tweezers or a wax pencil for precise placement.

    mixed religious nail charms set - 5

    Practical tips for pro and at-home use

    • Plan composition: Arrange charms dry on a practice hand to test balance before committing on nails.
    • Scale matters: Reserve larger icons for longer nails or thumb accents; use the smallest medallions for pinky or transitional placement.
    • Protect finishes: Matte or antique effects look authentic, but add a thin glossy topcoat over edges if you expect heavy wear.
    • Removal: Gently lift the design with acetone soak or filing—avoid prying to preserve the charm detail.

    Who this set is for

    This religious nail charms set suits nail artists building seasonal collections, techs who offer vintage-inspired manicures, and hobbyists experimenting with icon-led designs. It’s also useful for clients seeking culturally resonant accents; because the assortment mixes recognized figures like San Judas, the Virgin Mary and Santa Muerte, it supports a range of aesthetic directions from devotional authenticity to fashion-forward reinterpretation.

    Care, safety and presentation notes

    These decorative charms are intended for external nail application only. Keep small pieces away from children and pets and avoid ingesting. If you apply solvents or heavy chemicals during wear, consider an extra protective top layer to prevent tarnish or loss. For retail display or client consultations, show one prepped sample nail to illustrate placement, scale and how the charms read under different topcoats.

    Where to buy and pricing

    For professional nail techs and DIYers who want to try this look, check product listings and social previews—Dynamic Nail Supply posts visuals and a product video on Instagram to demonstrate styling options. For a quick purchase and full product details, see these religious nail charms. The set is listed at $7.99 but prices may change.

    Final thoughts

    Mixing religious charms into seasonal nail work is an easy way to refresh your menu with a nostalgic, statement-making element. Whether you aim for quiet devotion or bold theatricality, a 20-piece mixed set gives the variety you need to experiment across clients and looks. Keep a few prepped sample nails on hand so you can show clients how a single saint or medallion transforms a mani into an on-trend vintage icon statement.

  • Manicure Armrest Pillow: Achieve Pro Results at Home

    Manicure Armrest Pillow: Achieve Pro Results at Home

    Whether you’re doing a quick at-home mani or running a busy salon station, the right arm support changes the game. A well-designed manicure armrest pillow stabilizes the hand, reduces fatigue, and creates a consistent working plane so finishes look cleaner and last longer.

    Why a quality armrest matters for pro results

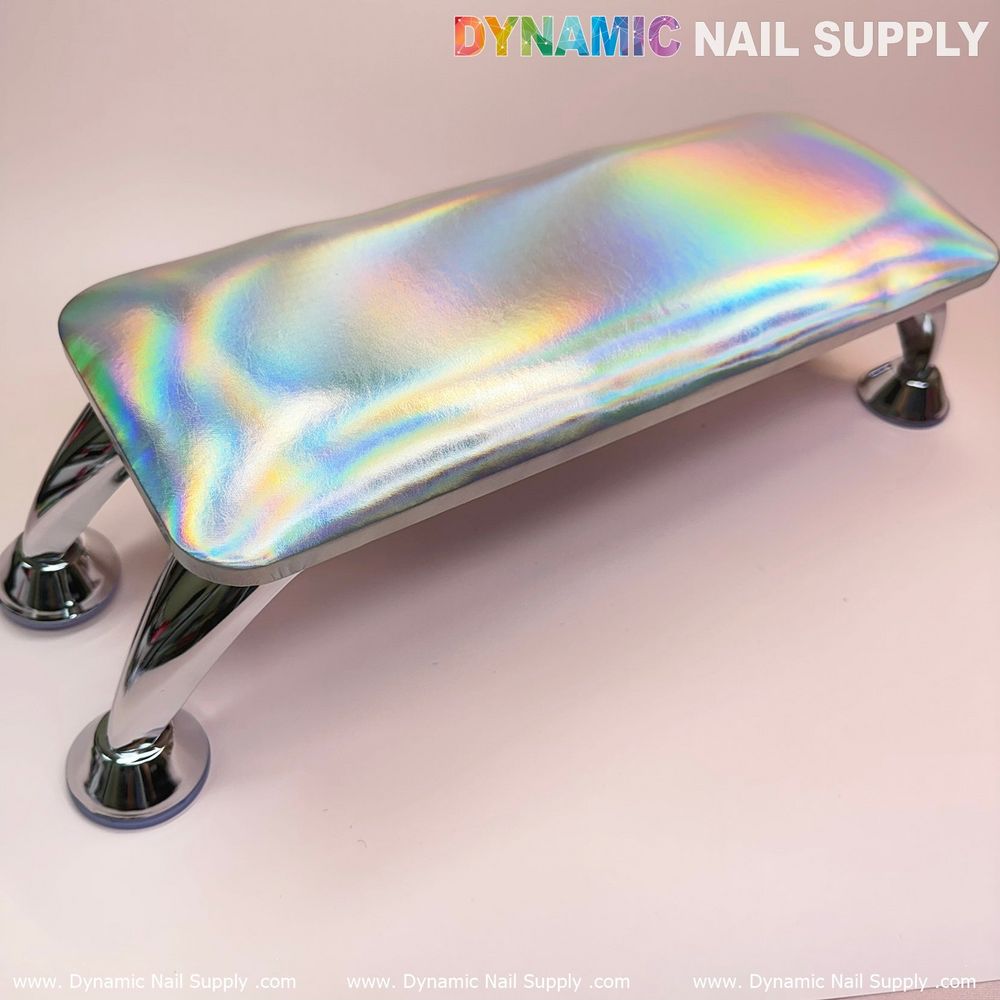
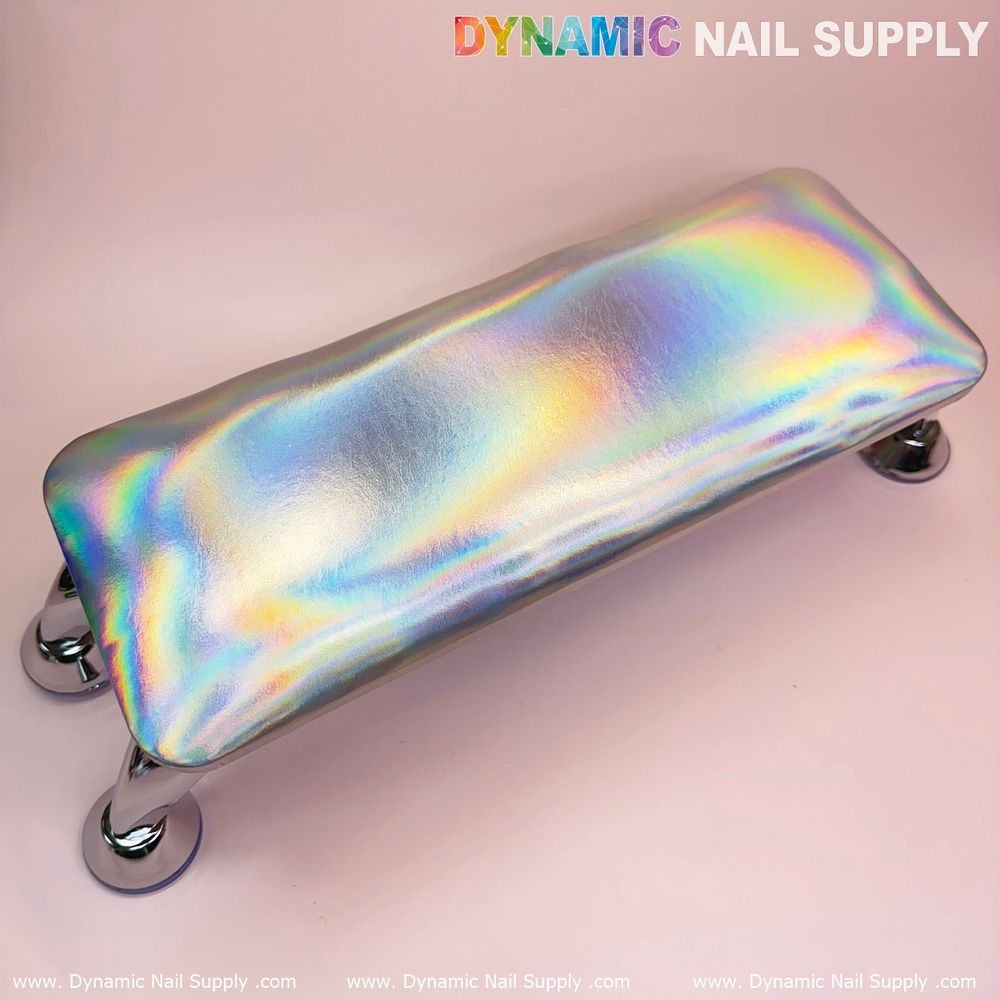
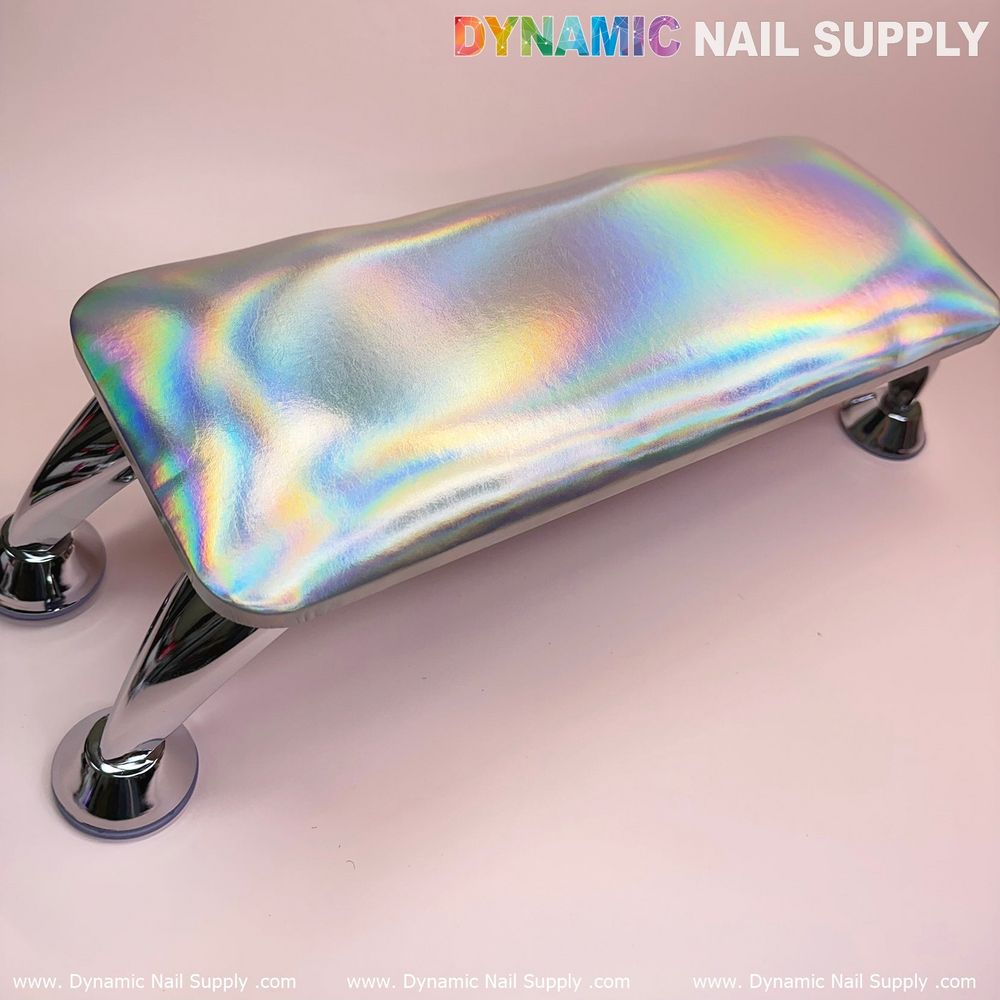
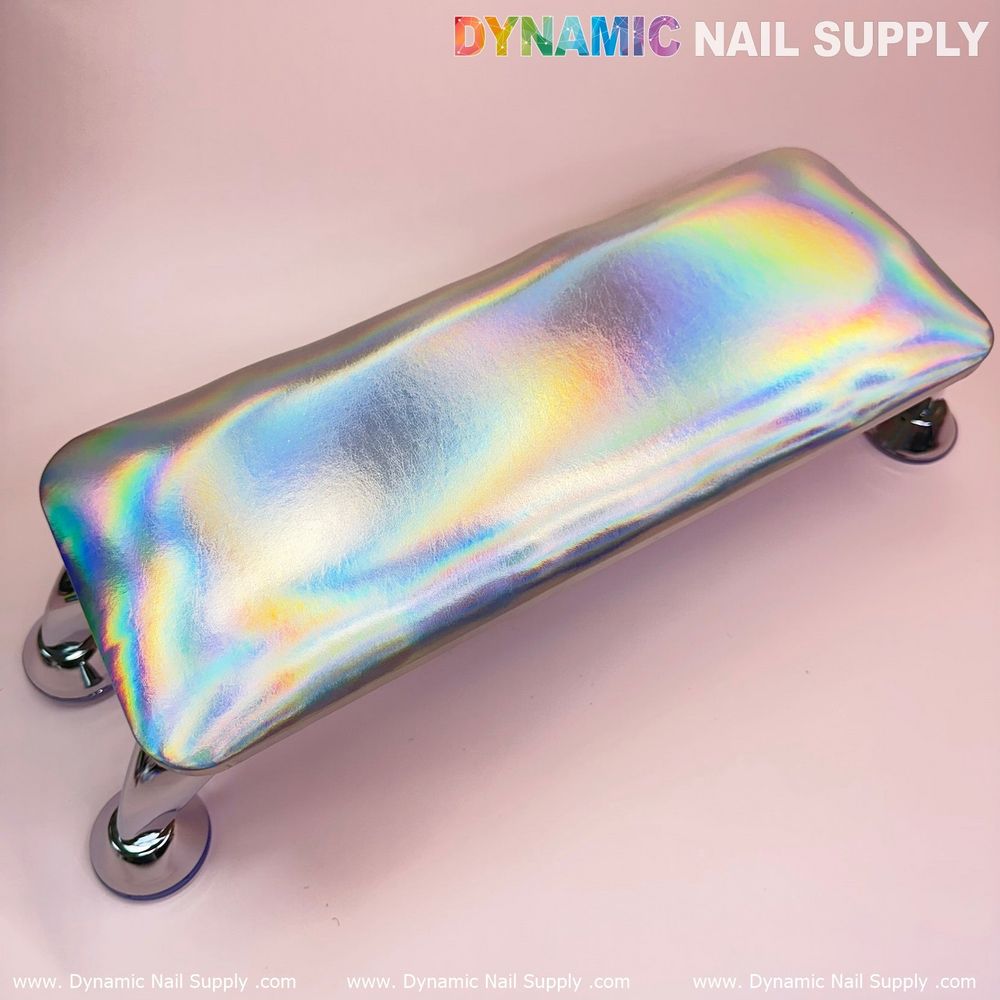
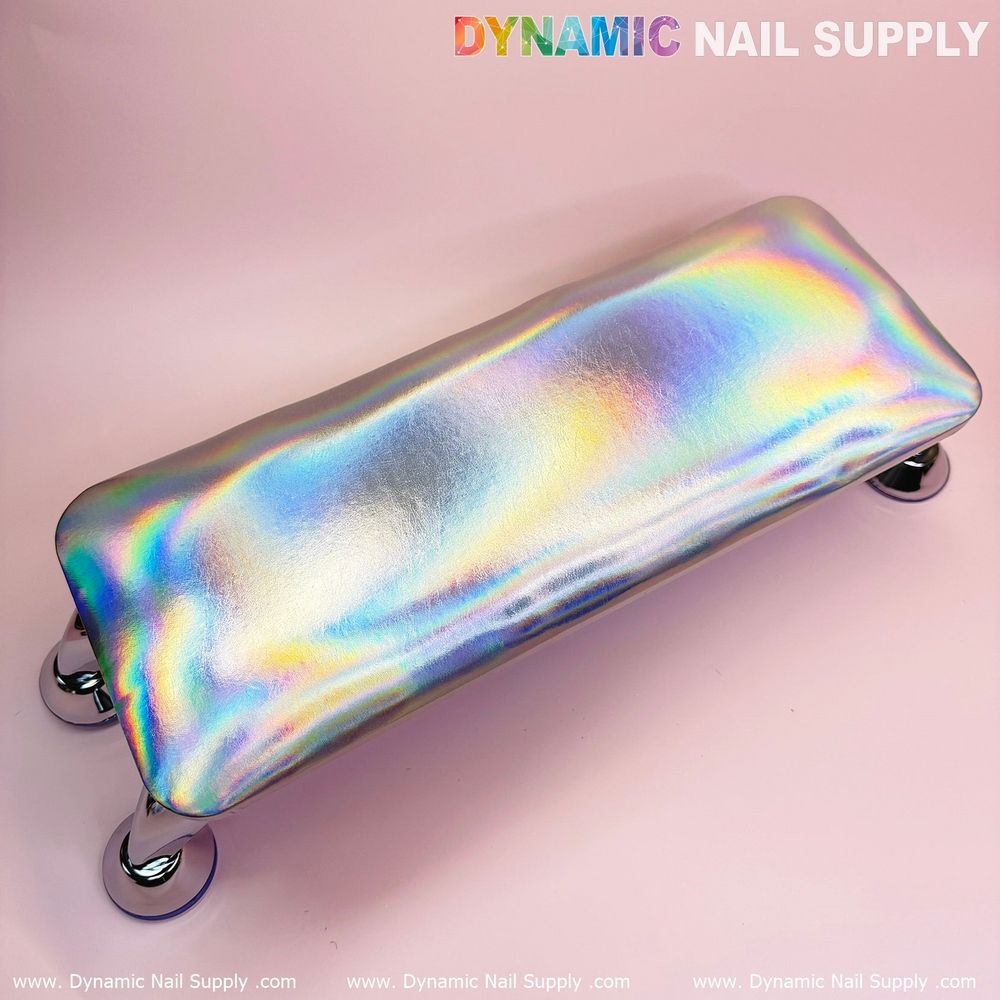
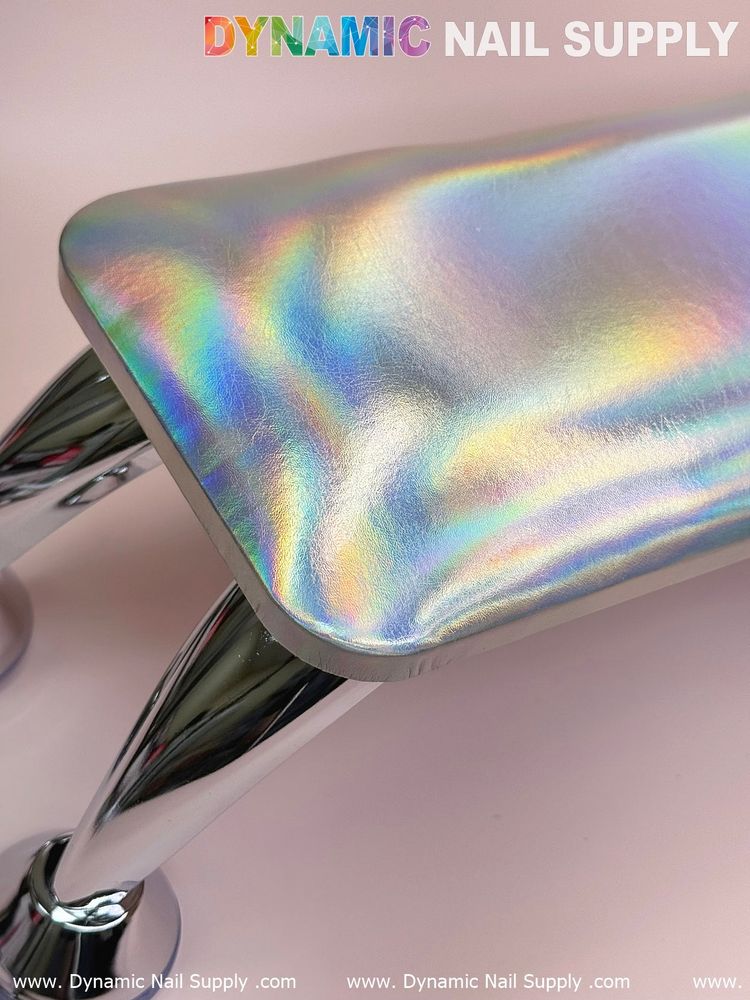
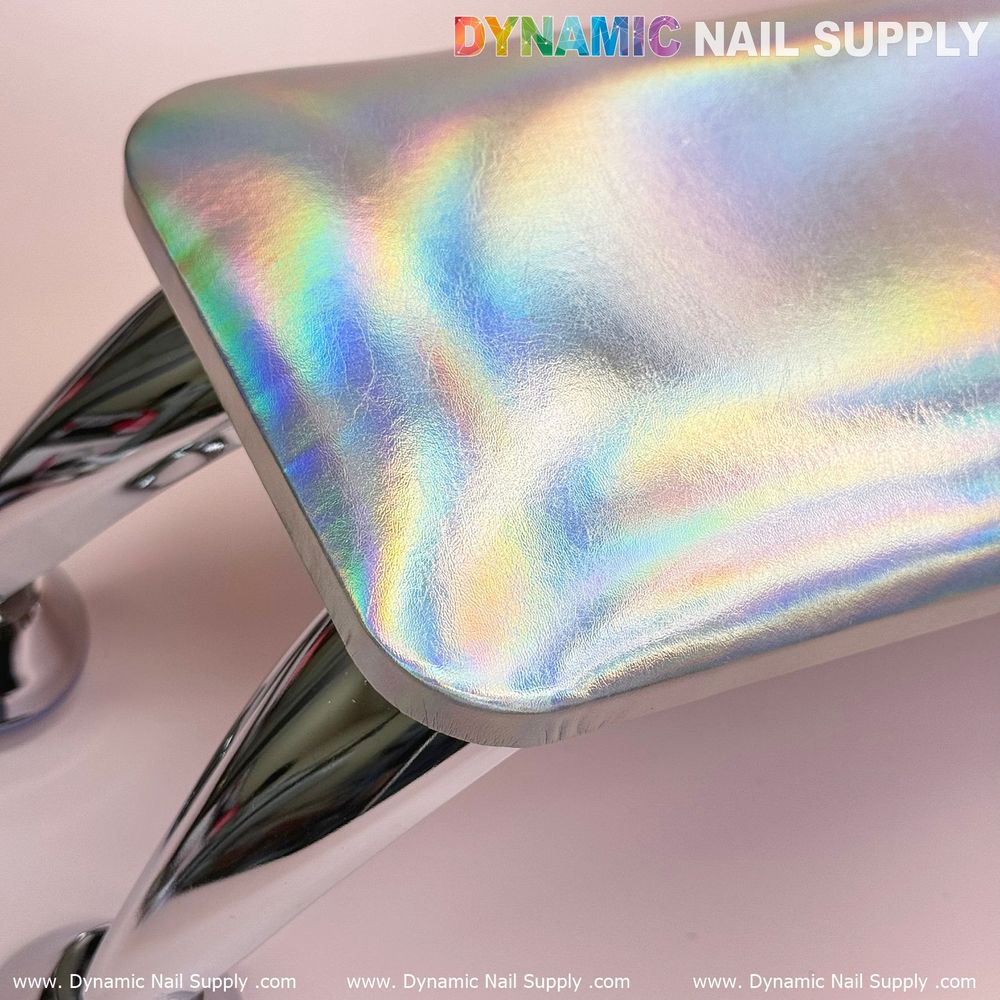
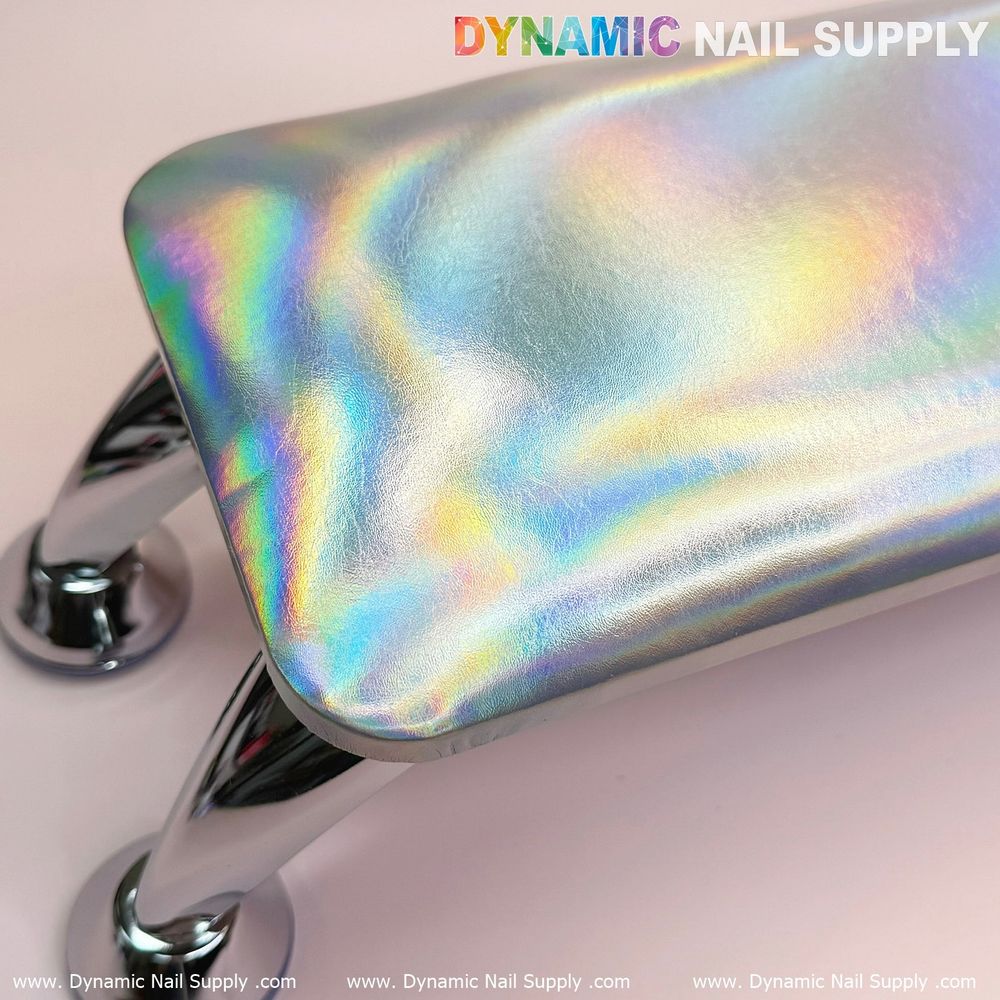
    A padded armrest gives the nail tech control: steady hands, uniform pressure, and fewer smudges. It also helps clients stay comfortable during longer services, which is important for detailed work like nail art or gel applications. The leather cushion option combines a soft sponge core with a smooth surface that’s simple to wipe down between clients.

    holographic leather manicure armrest pillow - 2

    Quick setup: fit, height, and lamp clearance

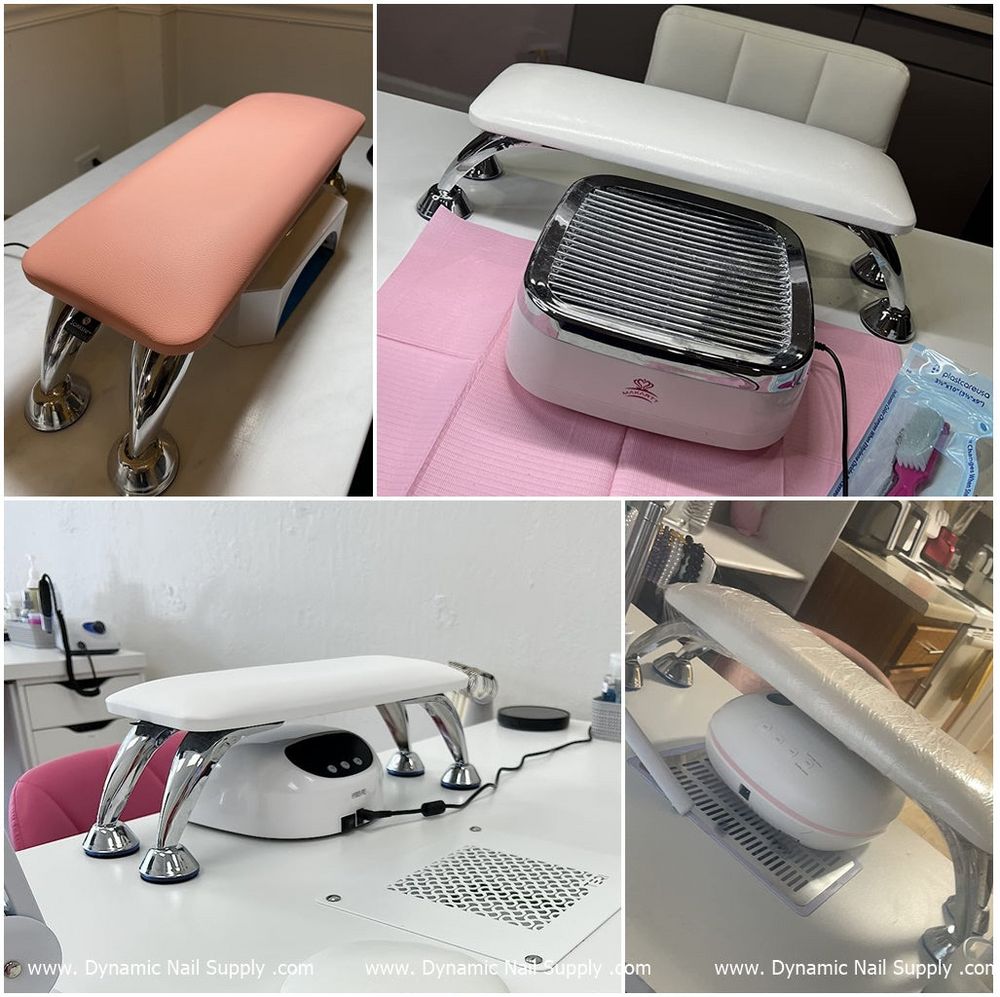
    Before you begin a service, place the armrest where the technician can reach the entire nail bed without stretching. This product is designed large enough to offer stable support and tall enough to allow a UV lamp to be positioned underneath—compatible with most lamps on the market. If space is tight, its compact profile still makes it easy to slide a lamp under the cushion so you can cure nails without moving the client.

    For those shopping, consider the manicure armrest pillow cushion manicure armrest pillow cushion to streamline your station layout and make curing convenient.

    holographic leather manicure armrest pillow - 3

    Step-by-step: using the armrest for salon-quality manicures

    1. Position the client: Have the client rest their forearm on the cushion with the elbow slightly off the back edge so the hand naturally lays on the top surface.
    2. Align your tools: Keep the lamp, files, and brushes within arm’s reach. Use the anti-slip bracket to prevent the cushion from shifting during filing or buffing.
    3. Work in sections: Support the hand and rotate the client’s wrist, not your shoulder. A stable base makes freehand lines and gradients easier to control.
    4. Cure without interruption: Slide the compatible lamp under the cushion to cure without changing the hand position, preserving the finish and reducing smudges.
    holographic leather manicure armrest pillow - 4

    Key features and how they help your process

    • Soft sponge core: Provides cushioned support that reduces pressure on the forearm during extended services.
    • Leather surface: Smooth and easy to clean between clients, which helps maintain hygiene without harsh chemicals.
    • Space-conscious design: Allows a nail lamp to fit underneath so curing steps don’t require repositioning the hand.
    • Anti-slip bracket: Keeps the armrest steady while you file, paint, or sculpt, improving precision.
    • Wide application: Useful for hand-rest, arm-rest, manicure, and pedicure work—versatile across services.
    holographic leather manicure armrest pillow - 5

    Who should use this armrest pillow?

    This cushion suits busy salon professionals who need a reliable station accessory, and home users who want salon-style ergonomics. Because it helps prevent back and wrist strain, it’s especially helpful for technicians who perform many services per day and clients who prefer extra comfort during long treatments.

    holographic leather manicure armrest pillow - 6

    Care, cleaning, and safety notes

    The smooth leather surface wipes clean quickly after each client; use a mild disinfectant recommended for salon equipment. The foam interior keeps its shape while offering support, but avoid soaking or prolonged exposure to harsh cleaners. The anti-slip bracket reduces movement, but always check stability before using an electrical curing lamp beneath the cushion to ensure safe placement.

    holographic leather manicure armrest pillow - 7

    Practical tips to get the best results

    • Keep a small towel or disposable cover on the cushion for clients with wet hands; this protects the leather surface between cleanings.
    • Train assistants to position the lamp under the armrest when moving between stations—consistent curing helps finishes look uniform.
    • Use the cushion as a fixed reference point for measurements or nail length checks: a steady base makes comparative judging easier.
    • If you travel for mobile services, note that assembly is straightforward and the compact footprint fits most setups.
    holographic leather manicure armrest pillow - 8

    Where to buy and price note

    This armrest is available through select professional suppliers; Dynamic Nail Supply lists a competitive price of $39.00, though prices may change. Look for a leather, sponge-filled cushion with an anti-slip bracket to match the features outlined above.

    holographic leather manicure armrest pillow - 9

    Conclusion

    Adding a padded leather manicure armrest pillow to your station is a small change that yields neater results, happier clients, and less physical strain for technicians. Its easy-to-clean surface, lamp-friendly clearance, and anti-slip stability make it a practical upgrade for both at-home nail enthusiasts and salon professionals.

  • Salon Workflow with Carbon Steel Cuticle Nippers

    Salon Workflow with Carbon Steel Cuticle Nippers

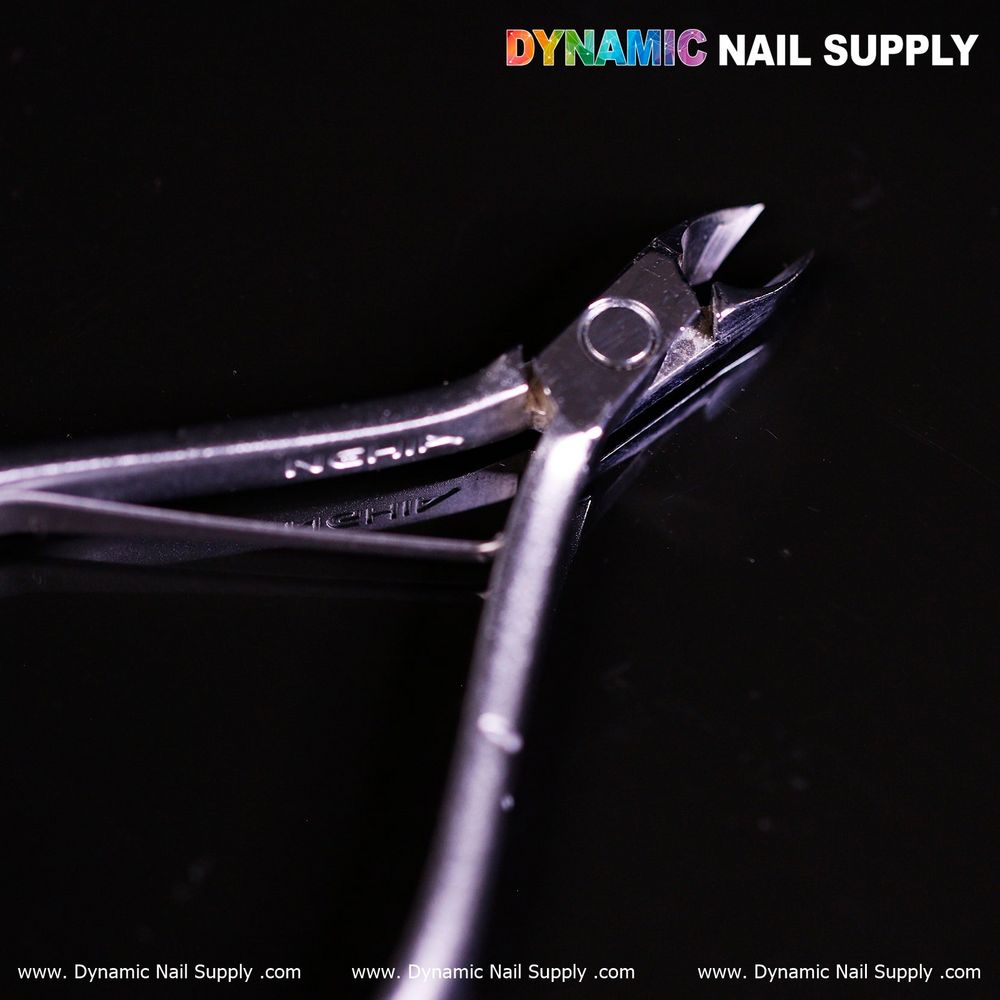
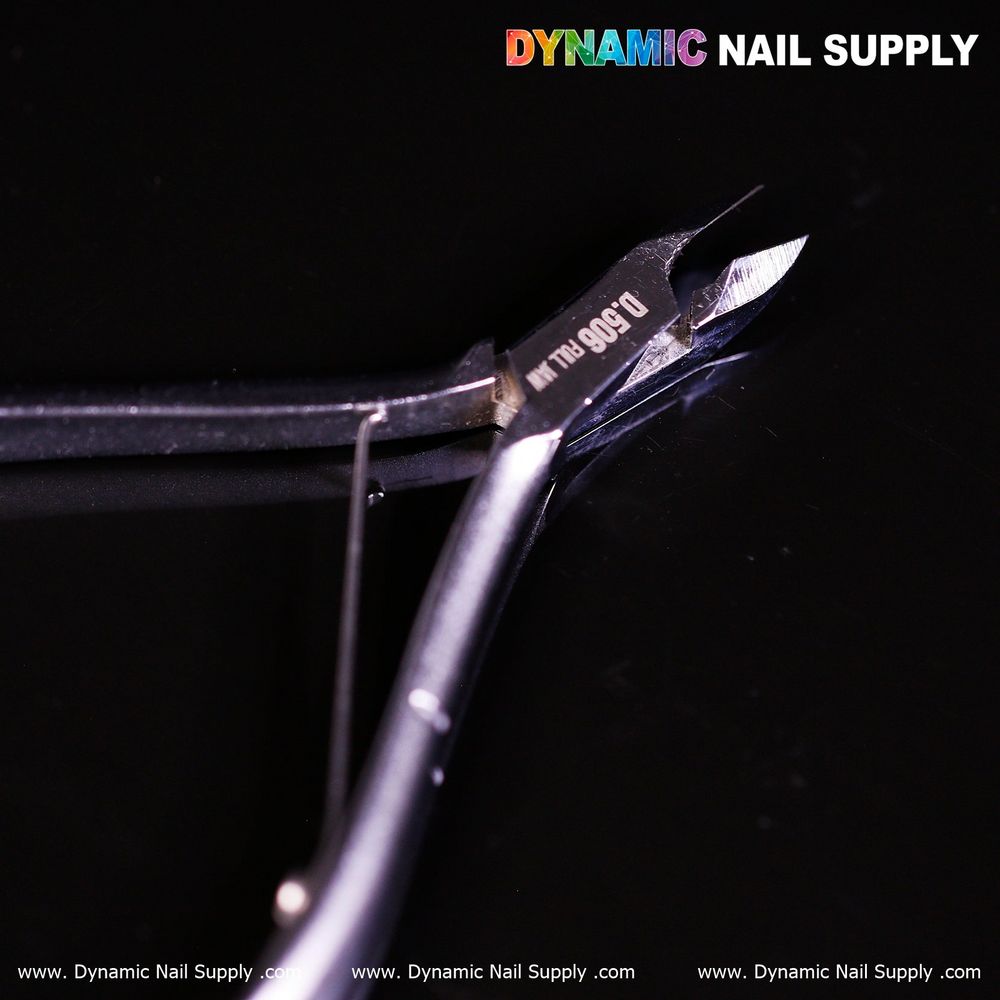
    Efficient nail prep shapes client satisfaction. When integrated thoughtfully into a salon routine, carbon steel cuticle nippers become the tool that speeds services while improving finish quality. This article shows where the nippers fit into common manicure and pedicure workflows, which jaw sizes match each service, and practical tips to keep them performing reliably.

    Start of Service: Tool choice and setup

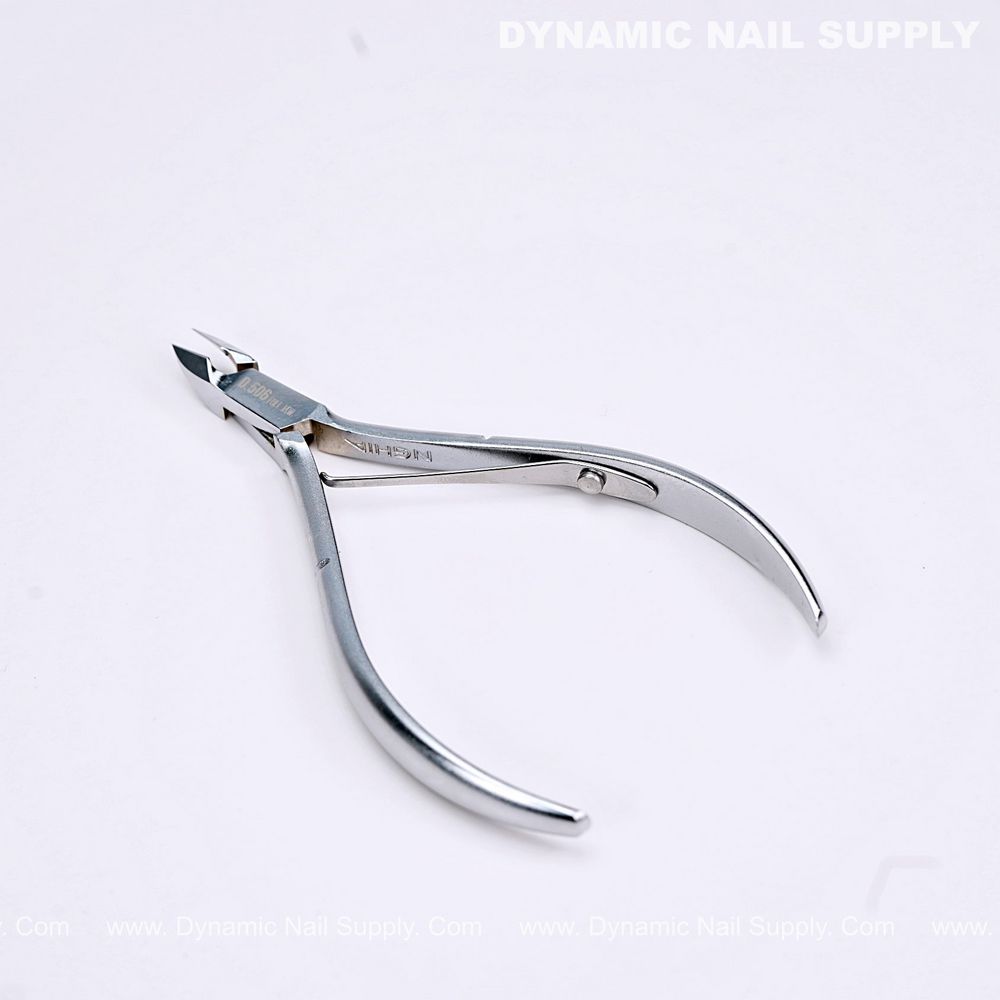
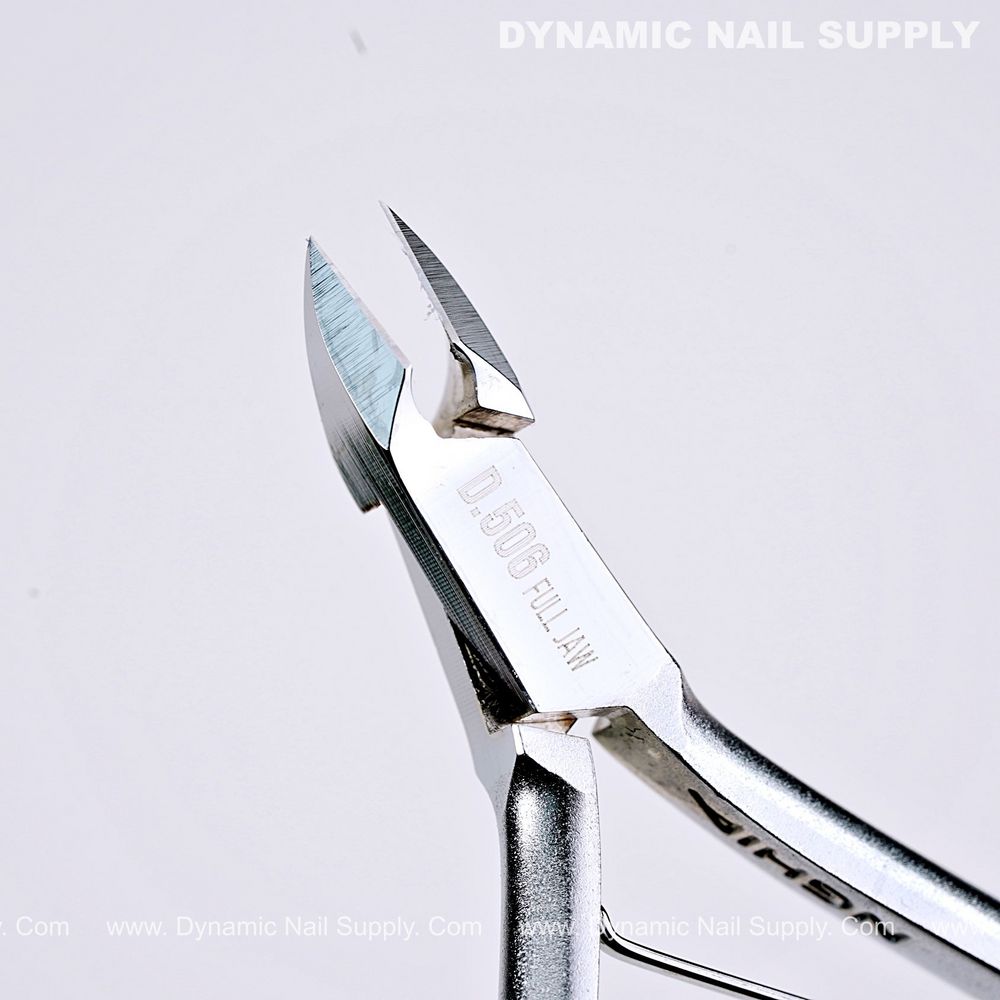
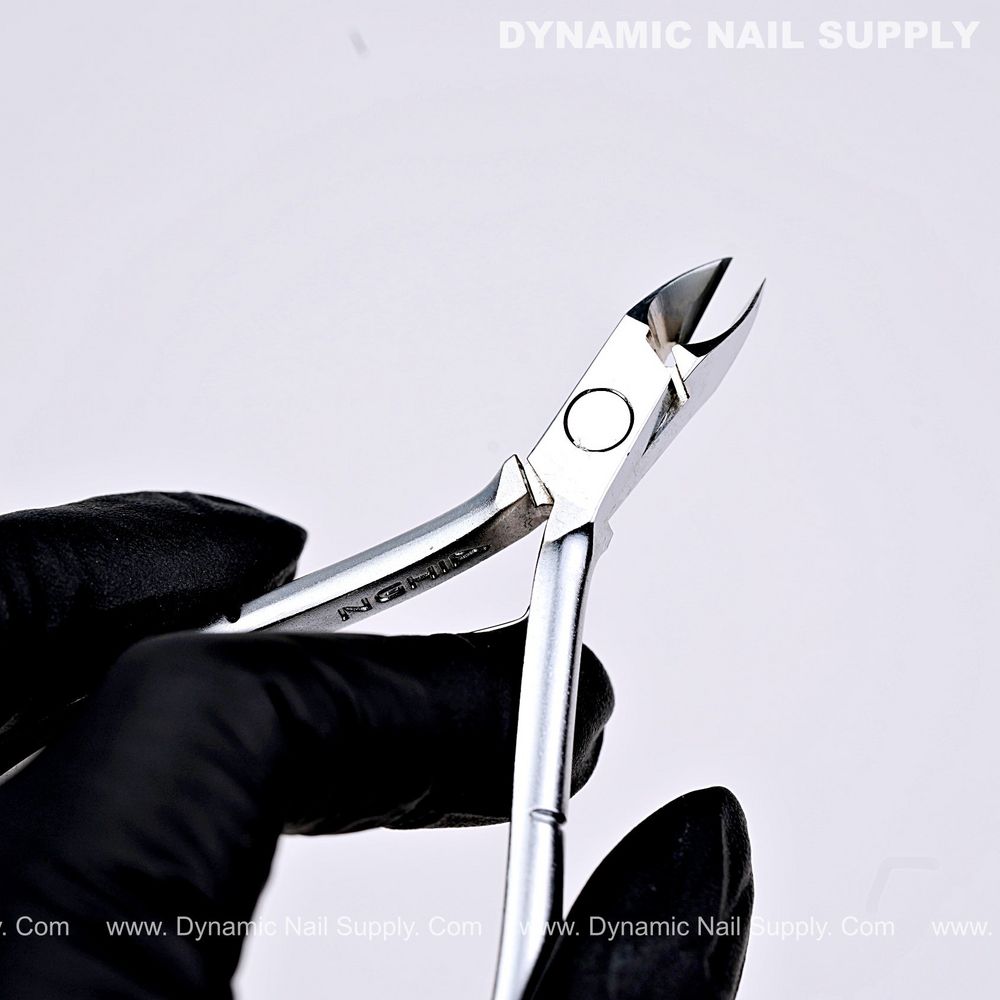
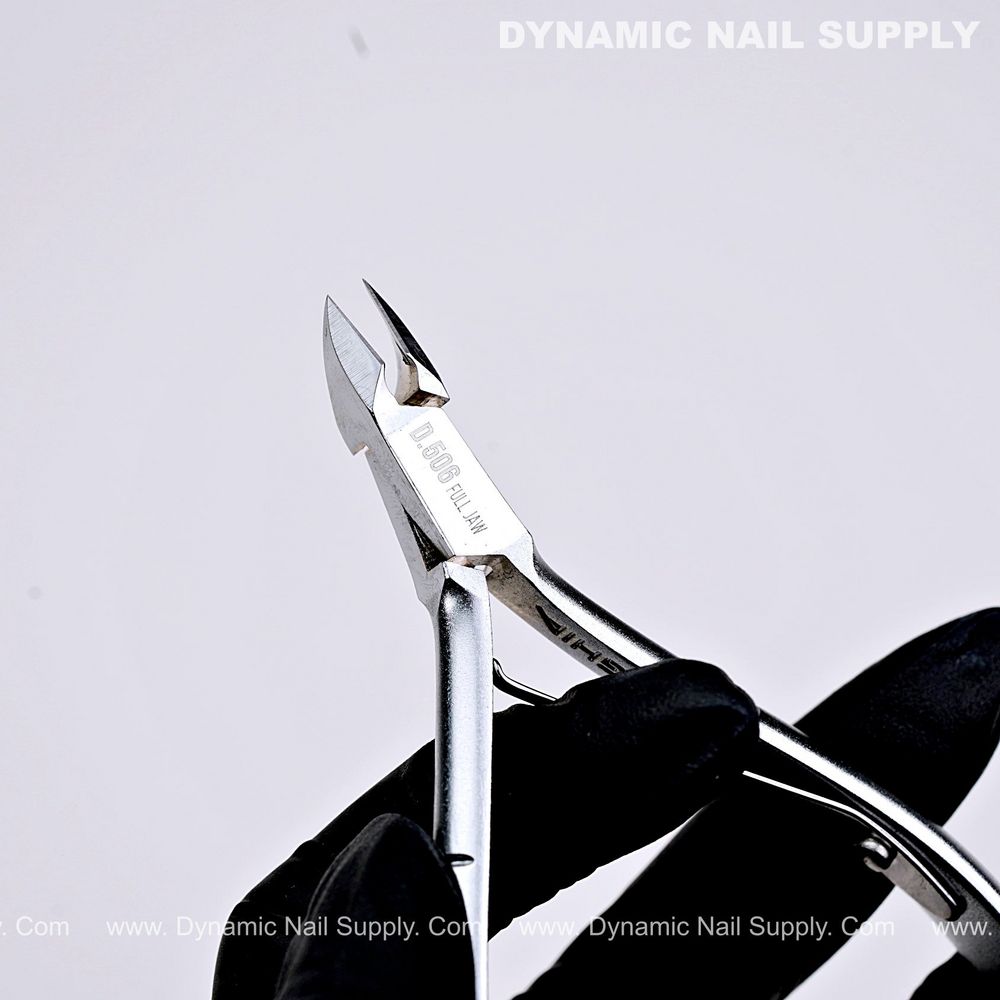
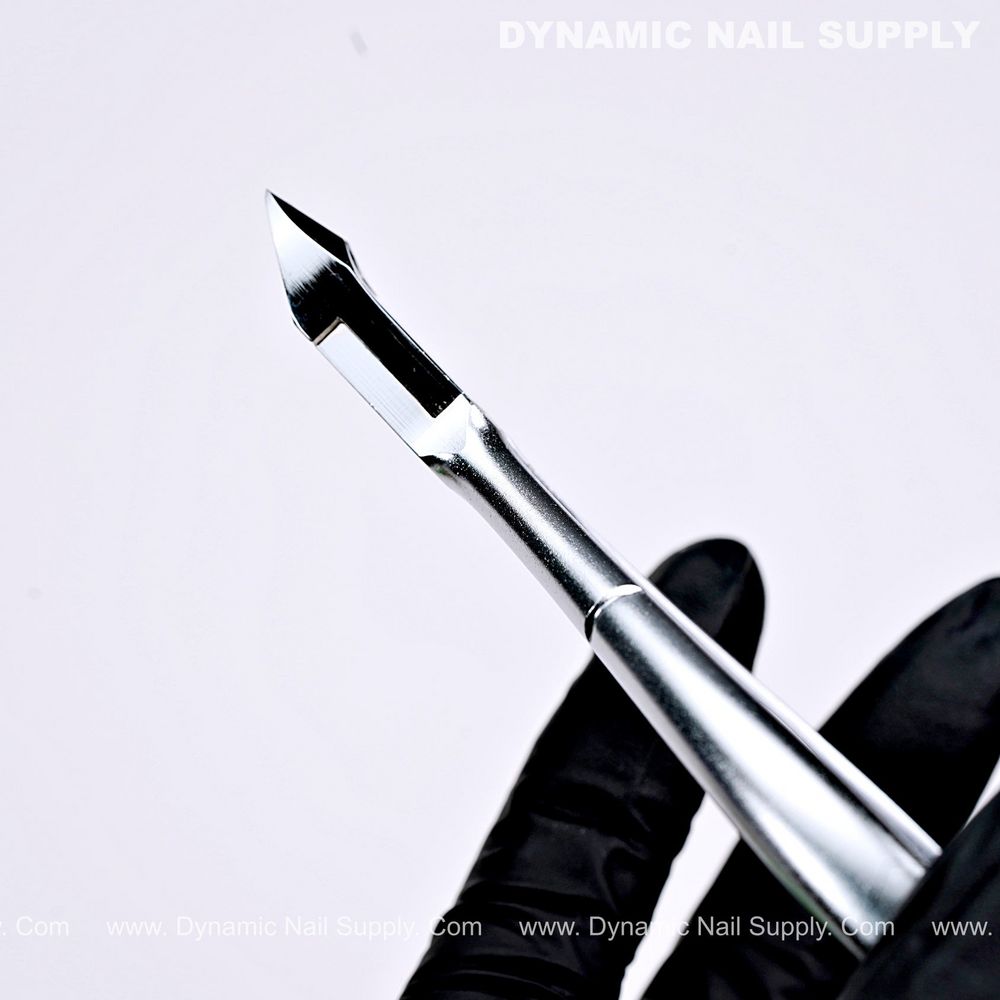
    Begin every appointment with the right instrument in hand. For cuticle trimming and removing dead skin in the nail fold area, choose carbon steel cuticle nippers that match the job depth you expect to do. Keep a sterilized pair on the tray and a back-up nearby so transitions between clients are smooth. For quick reference during tool selection, see professional carbon steel cuticle nippers for product details.

    carbon steel cuticle nippers - 2

    Where these nippers sit in a typical salon flow

    Place cuticle nippers after soaking and pushing back cuticles and before filing and polish application. Typical sequence:

    • Sanitize hands and client consult.
    • Soak nails or use a wrap to soften cuticles.
    • Gently push cuticle back and remove obvious debris.
    • Use the cuticle nippers for precise trimming and dead skin removal.
    • Finish with shaping, buffing, and polish or enhancement application.

    Positioning the nippers at this stage preserves the nail plate, prevents product interference, and gives technicians a clean canvas for nail art or enhancements.

    carbon steel cuticle nippers - 3

    Matching jaw size to the service

    Jaw size changes how much tissue you can remove in a single cut. The available sizes cover a useful range for salon work:

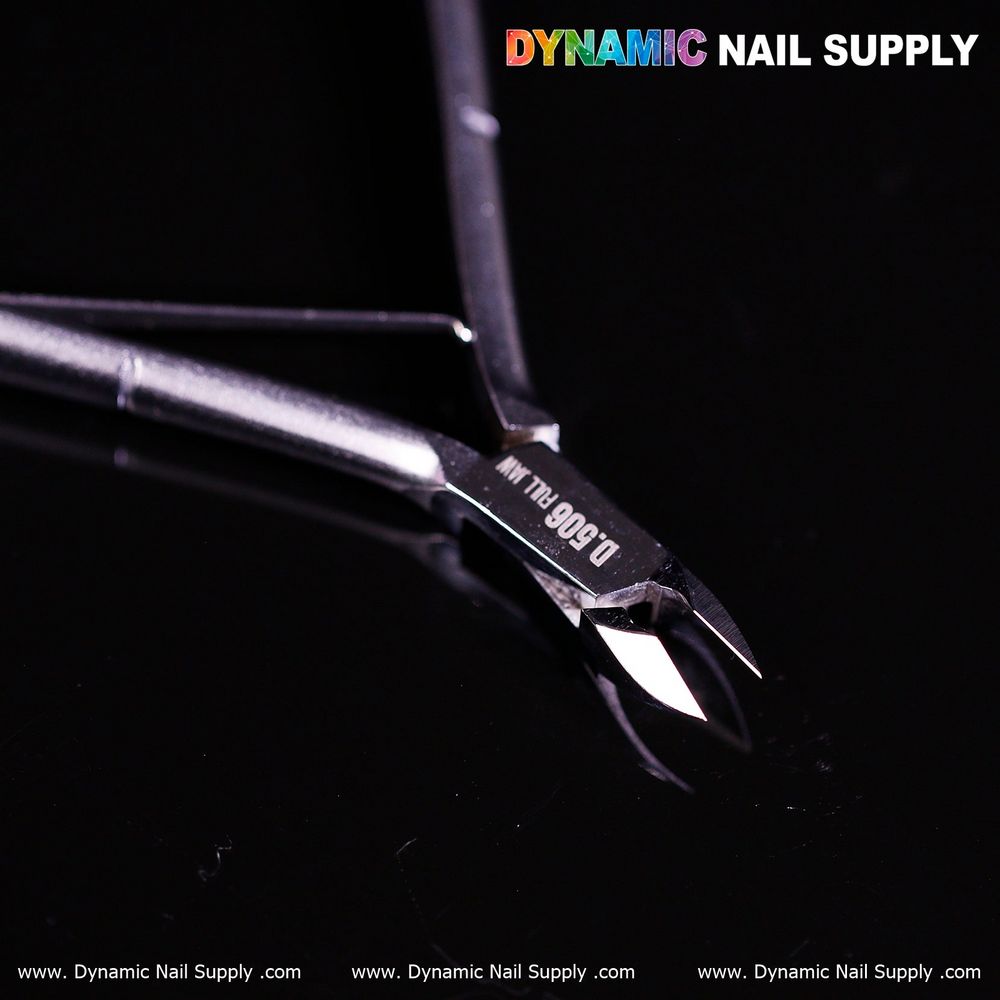
    • Jaw 12 (4.5–5.5 mm) — a narrow jaw best for light trimming and precise spots; great for beginners and tidy home use.
    • Jaw 14 (5.5–6.5 mm) — a medium option that balances control and capacity; useful for general manicures and thin nail trimming.
    • Jaw 16 (6.5–7.5 mm) — the largest jaw for deeper cuts, thicker cuticles, and addressing ingrown edges; suited to experienced mani/pedi specialists.

    Selecting the right jaw reduces passes and lowers the risk of nipping healthy skin, keeping clients comfortable and appointments on time.
    carbon steel cuticle nippers - 4

    Key features in salon context

    Understanding the tool’s attributes helps technicians apply it safely and effectively:

    • Hand-filed, ultra-sharp blades: Deliver clean, accurate cuts without tugging or tearing, which speeds up finishing and minimizes client discomfort.
    • Ergonomic handle: Improves grip and control during repetitive motions, reducing hand fatigue across a busy shift.
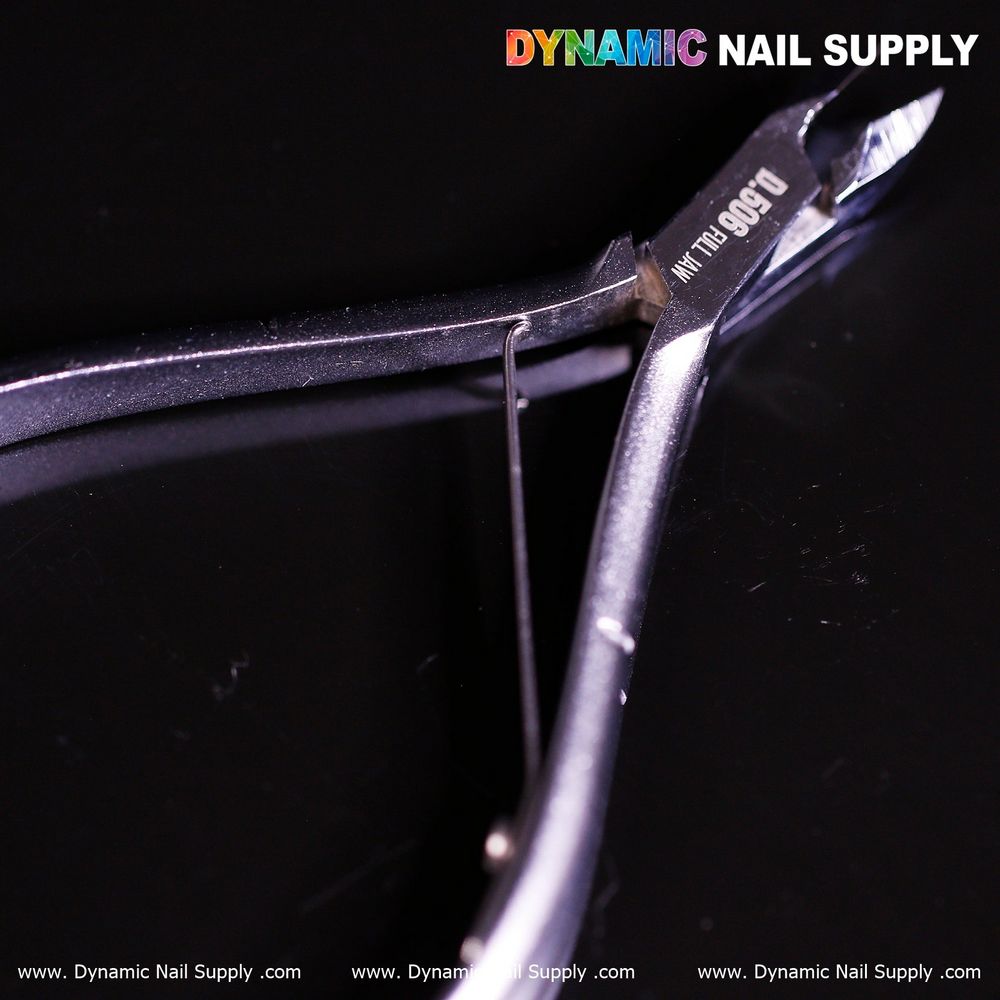
    • Smooth spring and joint: Allow flexible, quiet trimming so technicians can make calculated, single cuts instead of multiple nips.
    • Protective coating: Adds rust resistance and supports long-term use in a salon environment when tools are cleaned regularly.
    • Carbon steel construction: Provides durability and maintains sharpness over time, suitable for daily professional use.
    carbon steel cuticle nippers - 5

    Practical usage tips for faster, safer services

    1. Soften cuticles first. Brief soaking or a professional cuticle softener reduces resistance so the blade glides rather than tears.
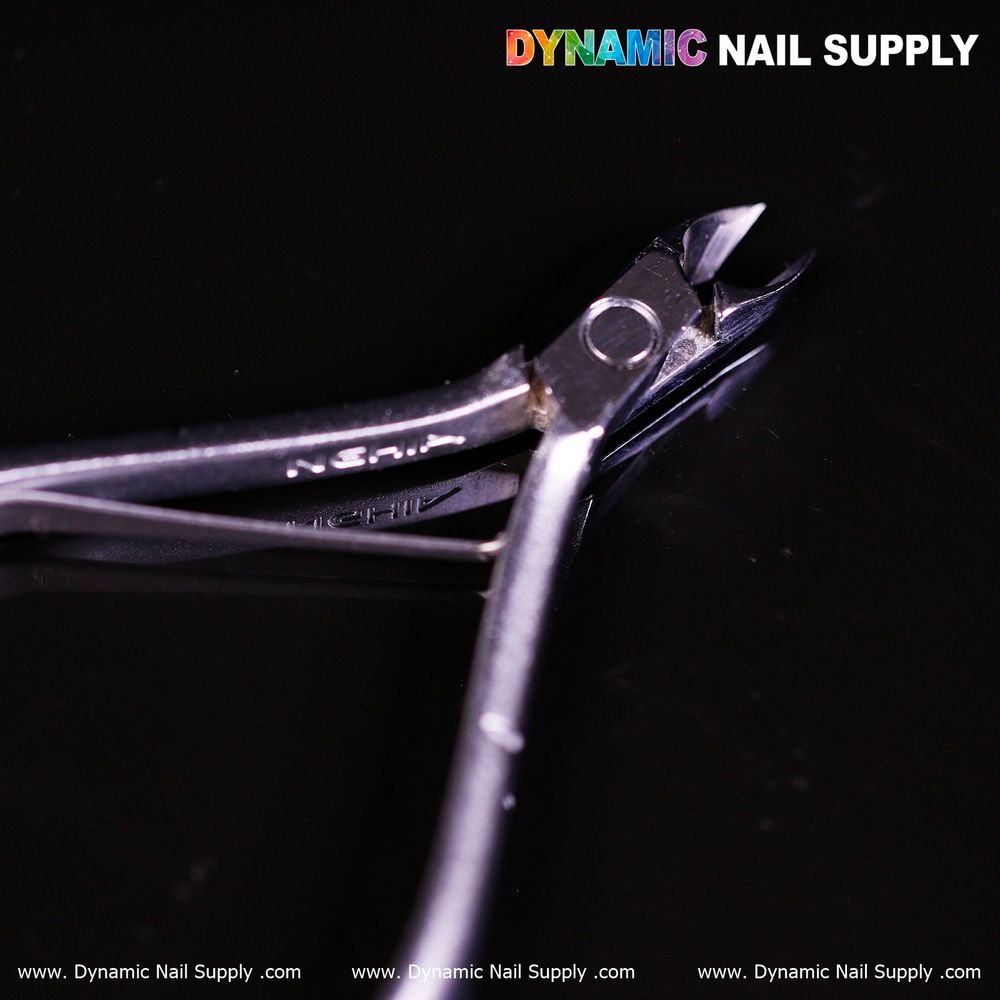
    2. Work in small sections. Take conservative cuts and inspect between nips to avoid over-trimming.
    3. Angle the jaws parallel to the nail fold for the cleanest cut and to protect the adjacent skin.
    4. Use the ergonomic grip to stabilize the hand; rest your knuckle on the client’s finger to steady delicate maneuvers.
    5. Reserve the largest jaw sizes for thick tissue or ingrown nail edge work; the medium and small jaws are better for routine manicures and precision detail.
    carbon steel cuticle nippers - 6

    Care, sterilization, and safety notes

    Proper maintenance extends tool life and keeps the salon hygienic. After each use, clean away organic debris and follow your salon’s approved sterilization protocol. The protective coating enhances rust resistance, but thorough drying is still important. Regularly inspect the spring and joint for smooth action, and re-sharpen by a qualified technician if you notice bluntness. Avoid attempting home repairs that could affect blade alignment.

    carbon steel cuticle nippers - 7

    Who should keep a pair on their station?

    These carbon steel nippers are suited to a range of users in salon settings: seasoned mani/pedi specialists who need deeper trimming capability, technicians working with enhancements who require precise edge work, and nail academies teaching cuticle control. They’re also an option for at-home users who prefer professional-style tools. The product is priced at $12.00 at the time of listing; prices may change.

    carbon steel cuticle nippers - 8

    Quick workflow summary and final tips

    Integrating carbon steel cuticle nippers into your routine streamlines prep: soften, push back, trim conservatively, then proceed to shaping and polish. Keep at least two sizes on hand to match a variety of clients, maintain blades and joints for consistent performance, and consult product details when selecting jaw sizes and features.

    Used properly, these nippers balance precision and durability to make salon services faster and cleaner—qualities that improve client trust and daily throughput. If you stock professional tools, a reliable pair of carbon steel cuticle nippers is a practical addition to any manicure or pedicure station.

  • HEMA-free Gel Polish: Beginner’s Guide to Shimmery Shades

    HEMA-free Gel Polish: Beginner’s Guide to Shimmery Shades

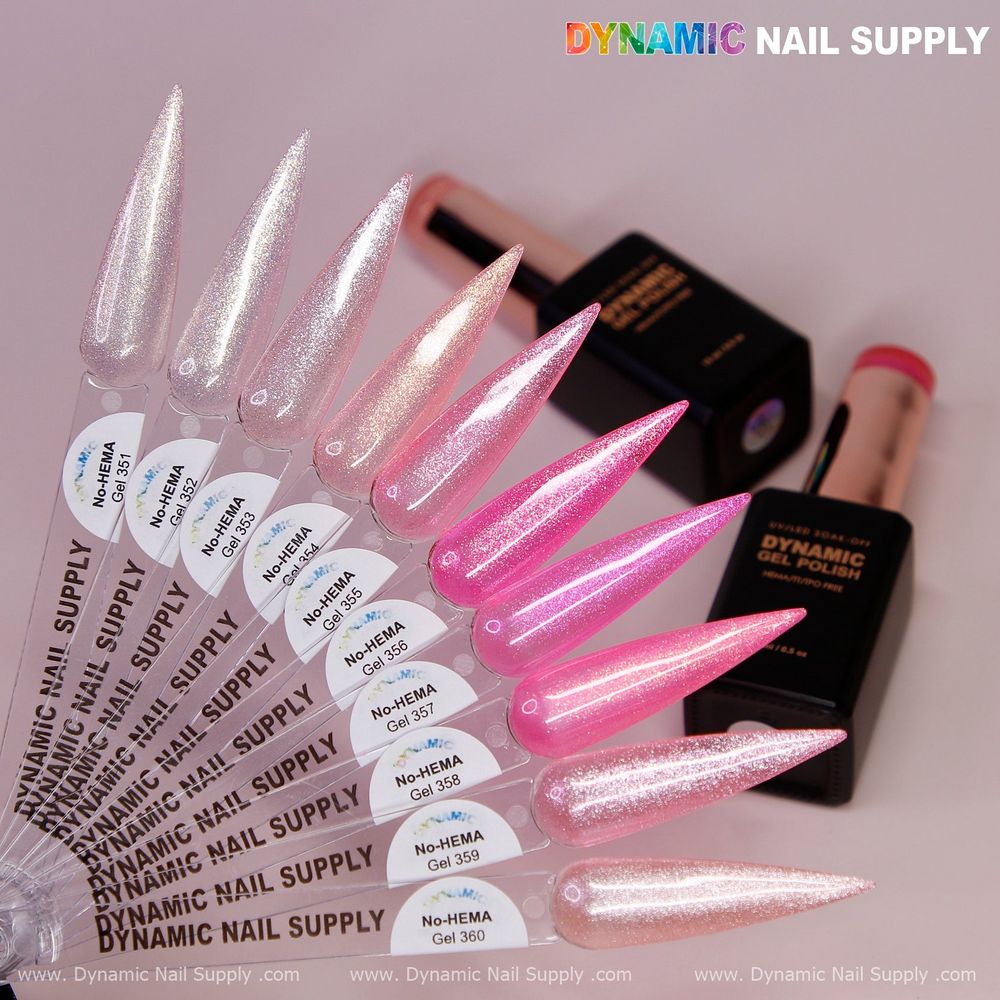
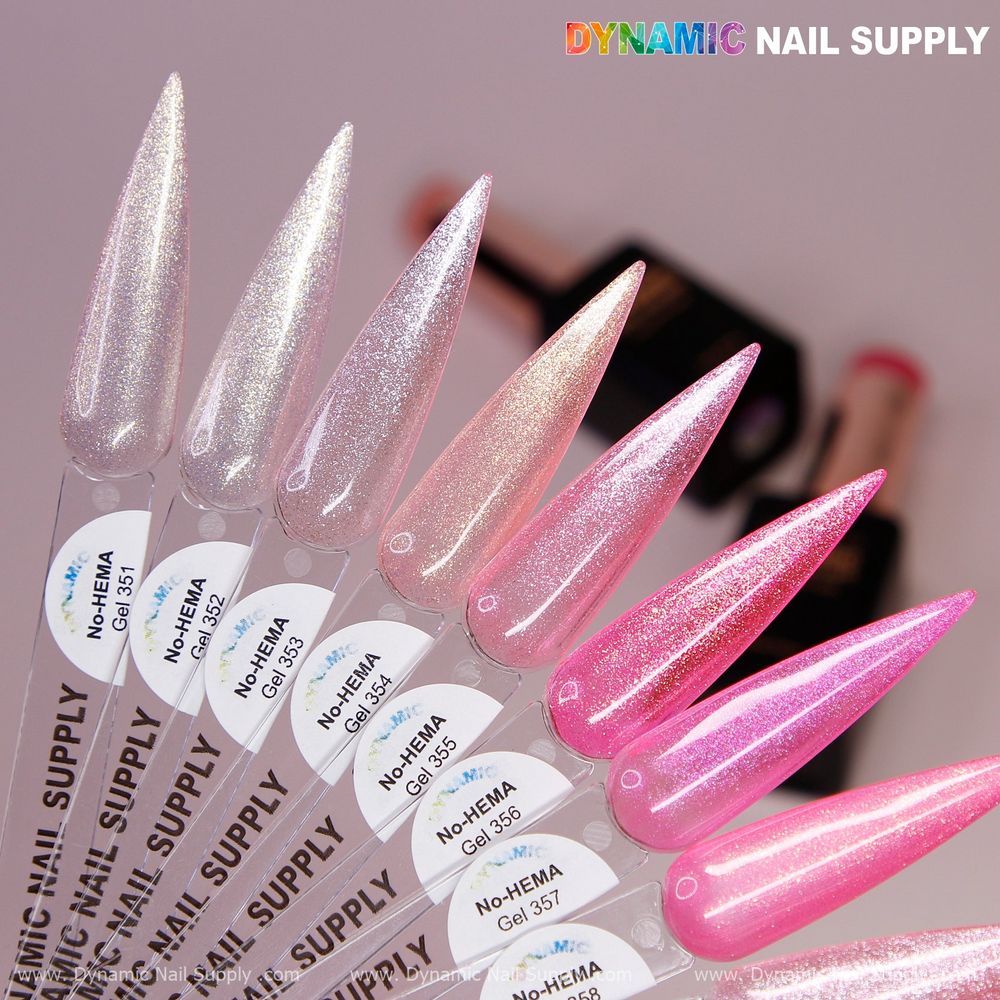
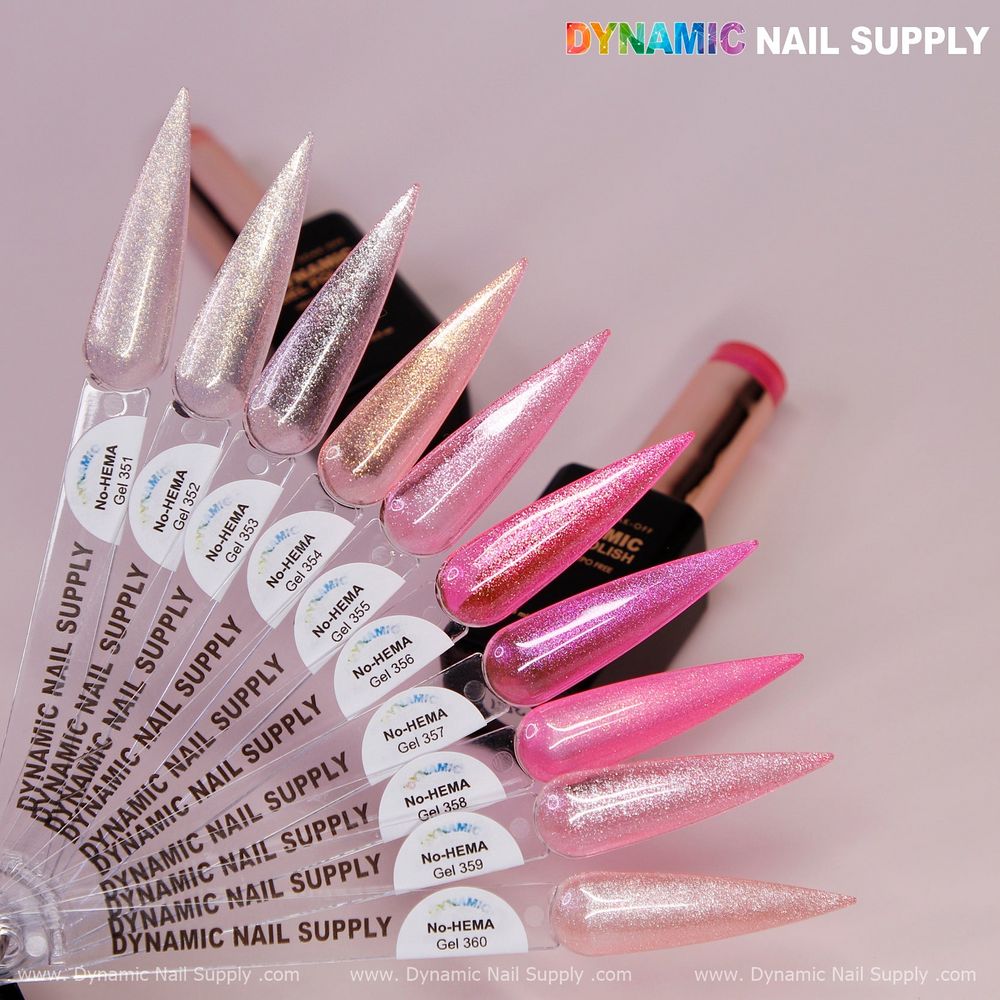
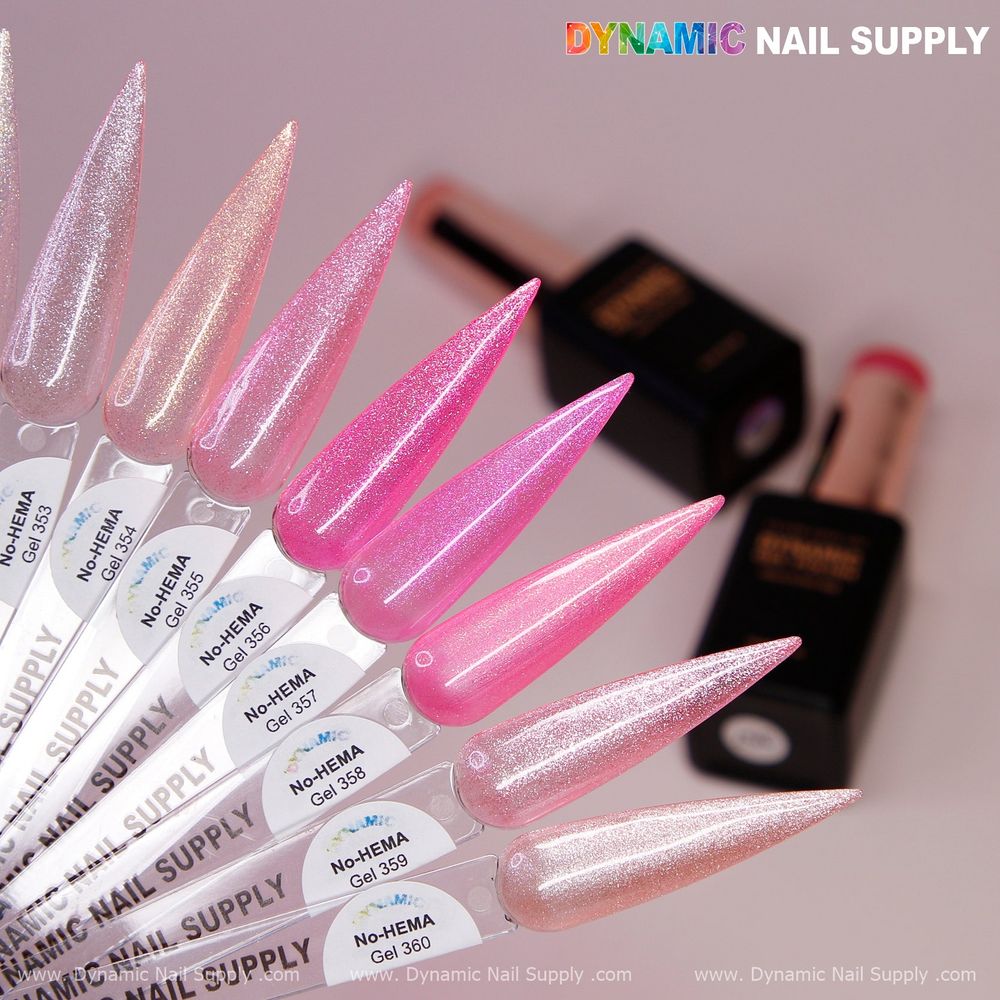
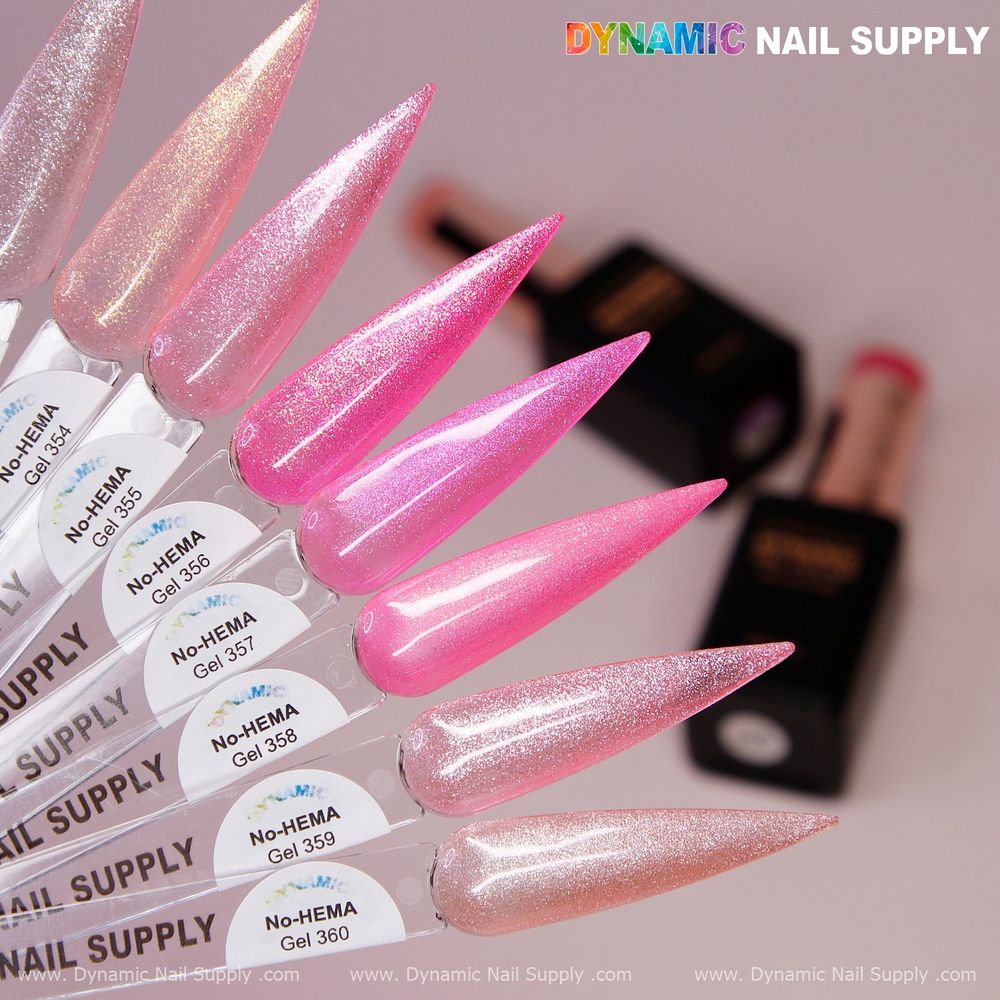
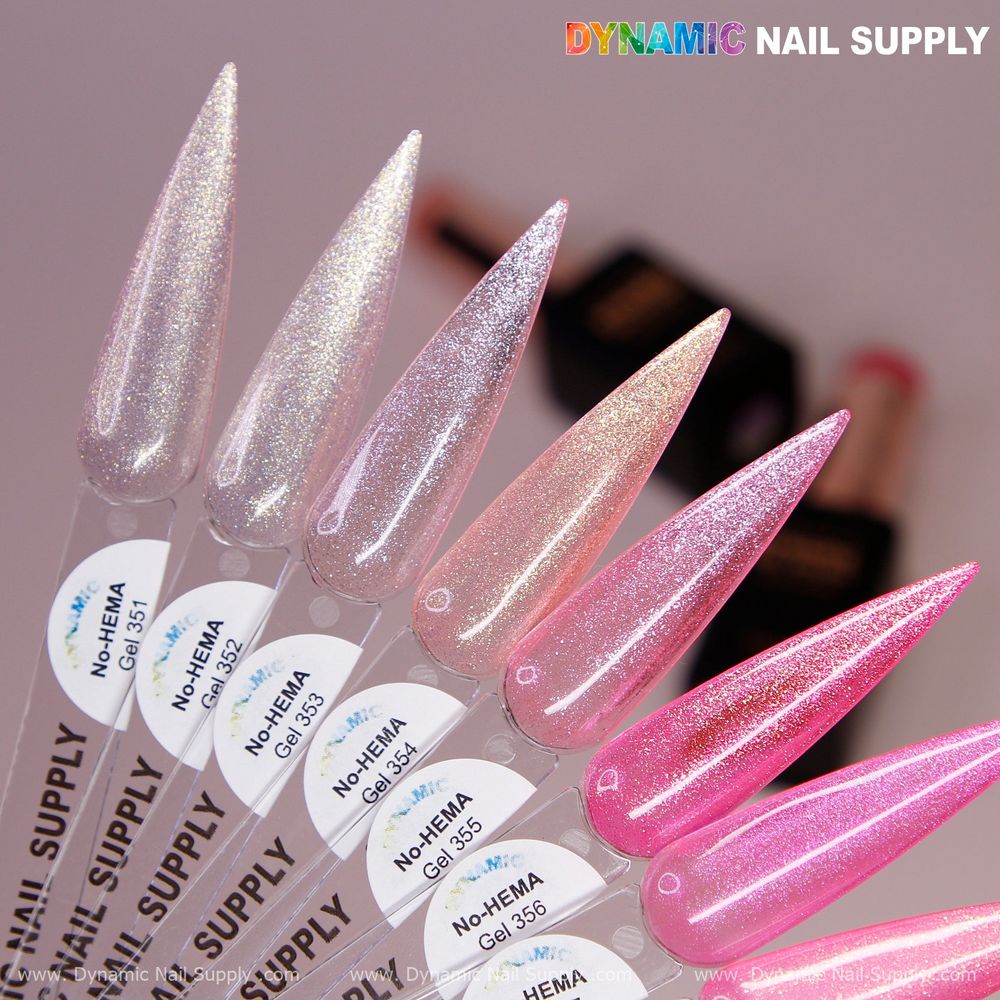
    If you’re new to gel manicures and sensitive to common nail ingredients, HEMA-free gel polish is a smart place to start. This guide explains what HEMA-free formulations are, defines basic terms, and walks you step by step through applying Dynamic’s shimmery shades (No-HEMA Gel 351–360).

    What “HEMA-free” means and why it matters

    HEMA is an ingredient used in many traditional gel polishes. Removing HEMA from a formula is intended to lower the chance of skin sensitivity or allergic reactions and make the product gentler on natural nails. HEMA-free gel polish aims to provide similar durability and shine while reducing potential irritation for clients and technicians.

    No-HEMA gel polish bottles - 2

    Key product facts at a glance

    • Available shades: No-HEMA Gel 351 through No-HEMA Gel 360 (pretty shimmery colors).
    • Size: 15ml bottle.
    • Thick base formulation that’s easy to apply and covers well.
    • High pigmentation with a no-chip, no-crack finish.
    • Curing time: 60–120 seconds under a UV/LED lamp.

    Pick any shade from No-HEMA Gel 351–360 and view swatches on the Gel Polish shimmery colors Gel Polish shimmery colors. These shimmery tones are designed for a polished, eye-catching finish.

    No-HEMA gel polish bottles - 3

    Tools and prep you’ll need

    Before you begin, assemble the basic tools: an LED/UV lamp rated for gel curing, nail cleanser or alcohol wipes, a pH-balanced nail dehydrator (optional), nail files and buffers, cuticle pusher, and lint-free wipes. For best results work on clean, dry nails free of oils and lotions.

    No-HEMA gel polish bottles - 4

    Step-by-step application for beginners

    1. Prep the nail: Gently push back cuticles, file to desired shape, and lightly buff the nail surface to remove shine. Clean nails with a lint-free wipe and nail cleanser or alcohol.
    2. Apply a thin base: Use a thin layer of a compatible base coat. The No-HEMA gel shades have a thick, easy-to-cover base that works well with a standard gel base coat.
    3. Cure the base: Cure under your lamp following manufacturer guidelines; the polish itself cures in about 60–120 seconds under UV/LED light, so ensure your base is properly set before color.
    4. First color coat: Apply a thin, even layer of your chosen No-HEMA shade (351–360). Thin coats reduce pooling at the cuticle and promote even curing.
    5. Cure color: Cure for 60–120 seconds under a UV/LED lamp. If you’re unsure, start at the shorter end of the range and increase if needed based on your lamp’s output.
    6. Second color coat: Apply a second thin coat for full coverage and deeper shimmer. High pigmentation in these shades usually means two coats will do the trick.
    7. Final cure and top coat: Cure the second coat, then seal with a compatible gel top coat and perform a final cure. Wipe away any tacky residue only if the top coat instructs you to do so.
    No-HEMA gel polish bottles - 5

    Practical tips for a salon-quality finish

    • Work with thin coats — even though the formula has a thick base, thinner layers cure more reliably and reduce bubbling or wrinkling.
    • Cap the free edge during each layer to help prevent chips and extend wear.
    • Allow consistent curing times. The recommended 60–120 seconds window depends on lamp strength; LED lamps typically cure faster than older UV units.
    • Store bottles upright and away from direct sunlight to keep pigment and viscosity stable.
    No-HEMA gel polish bottles - 6

    Who should choose these shades

    These HEMA-free shimmery gels are a good choice for clients and technicians who prioritize gentler formulations or who have known sensitivities to traditional gel ingredients. The collection’s high pigmentation and no-chip promise make it suitable for both busy clients wanting long wear and creatives seeking bright, summer-ready shimmer.

    Care, removal and safety notes

    While HEMA-free formulas reduce certain risks, standard gel-care practices still apply. Avoid filing too aggressively and protect surrounding skin during application. For removal, follow professional soak-off procedures or consult a technician to minimize damage to the natural nail. Always follow your lamp and product instructions for safe curing.

    Buying and value

    Each shade in the No-HEMA Gel 351–360 line comes in a 15ml bottle and is offered at a suggested price of $8.00; prices may change. If you work professionally, consider buying a few shades to test pigment payoff and how they layer with your preferred base and top coats. Dynamic Nail Supply carries the line if you want to explore the full range.

    Final takeaway

    For beginners who want the durability and shine of gel without HEMA in the formula, these shimmery No-HEMA shades provide an accessible option. With basic prep, thin-layer application and proper curing (60–120 seconds), you can achieve long-lasting, vibrant results while lowering exposure to a common allergen. Try one shade first to learn how the formula behaves, then expand your collection across 351–360 as you gain confidence.

  • Sparkling Pink Rhinestone Stainless Steel Tumbler — 40oz

    Sparkling Pink Rhinestone Stainless Steel Tumbler — 40oz

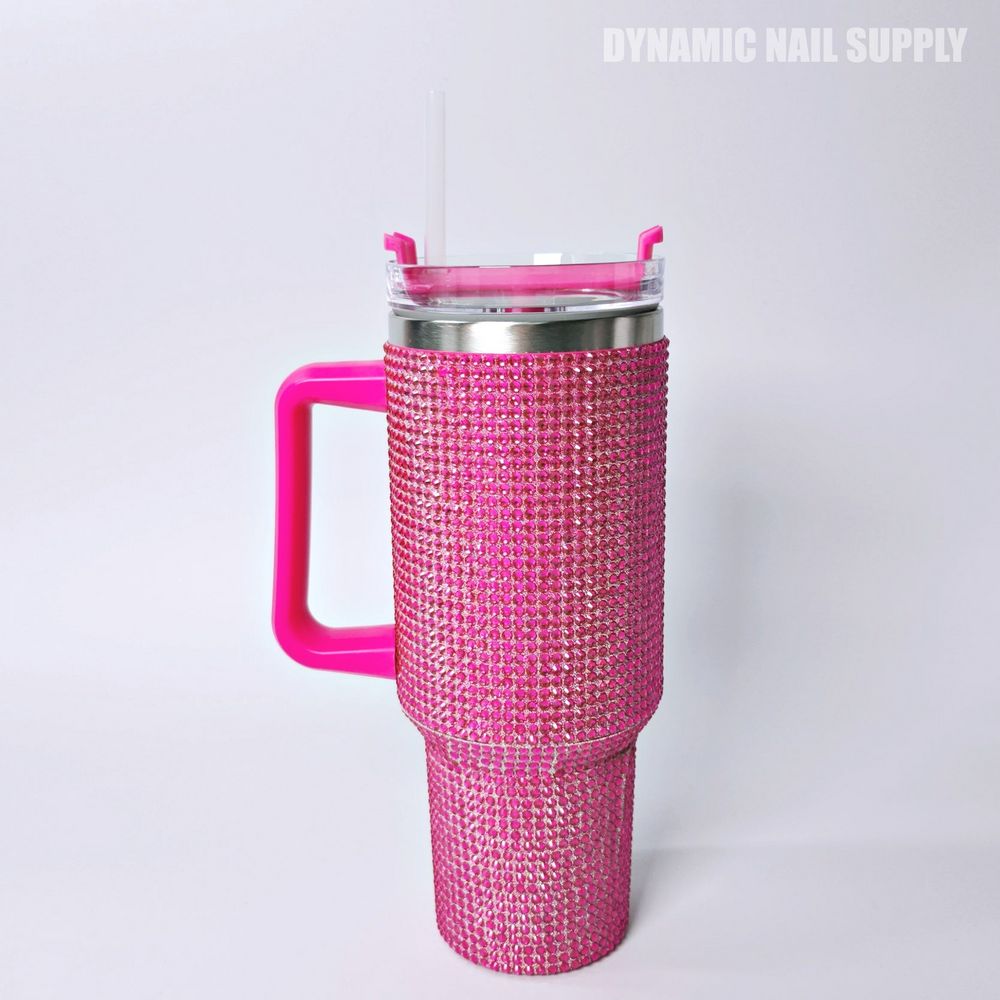
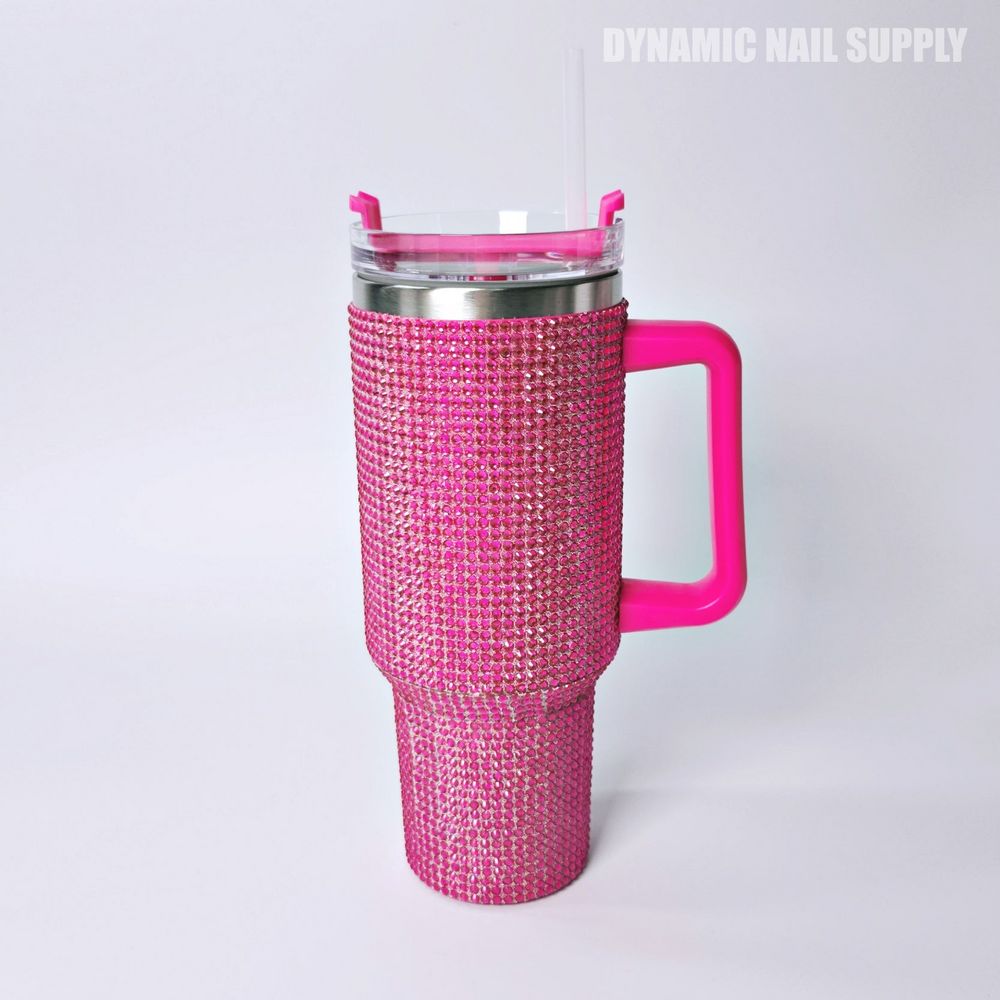
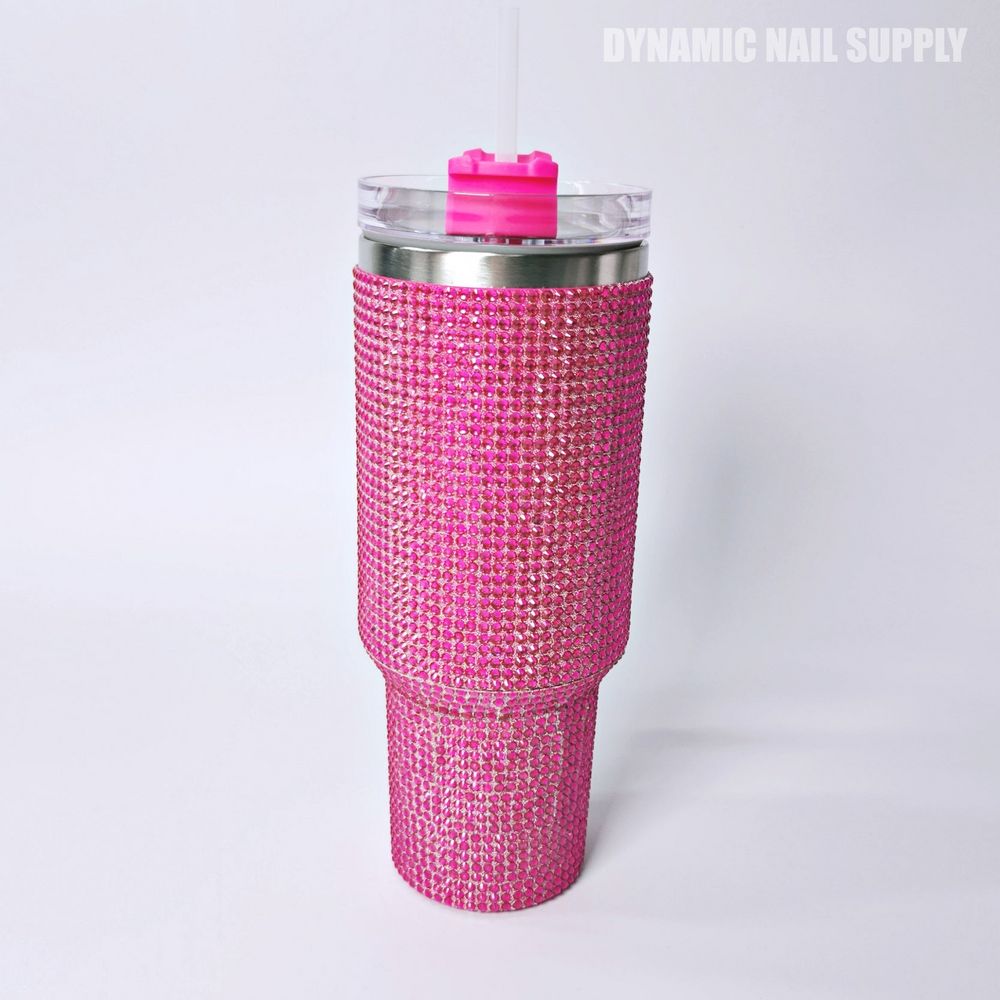
    Bright, blingy drinkware has a moment — and this 40oz pink rhinestone stainless steel tumbler is built for anyone who wants function wrapped in flair. It promises long temperature retention and a sturdy feel while adding a decorative sparkle to your everyday routine.

    Quick overview: what this tumbler brings

    This 40oz insulated cup combines a rhinestone-accented exterior with durable metal construction and practical features. The tumbler measures 9.65″ tall with a 3.82″ top diameter and 2.76″ bottom diameter. Constructed from 18/8 stainless steel and using double-wall vacuum insulation, it’s made to resist rust and to keep beverages hot or cold for extended periods.

    If you want to review the product page directly, see the pink rhinestone tumbler pink rhinestone tumbler for specs and availability.

    pink rhinestone 40oz stainless tumbler - 2

    Key features explained (and why they matter)

    • 40-ounce capacity: A large volume reduces refill frequency — useful for long commutes, shifts, or busy days at events.
    • 18/8 stainless steel construction: A corrosion-resistant alloy chosen for longevity and a clean taste profile compared with some coated or plastic-lined cups.
    • Double-wall vacuum insulation: Designed to slow heat transfer so hot drinks stay warm and cold drinks stay chilled for hours.
    • Removable handle: Adds carry comfort when full, and detaches for easier storage or handwashing.
    • Decorative rhinestones: Provide a high-impact visual finish — they make the tumbler stand out on a salon counter, in a gym, or at outdoor events.
    pink rhinestone 40oz stainless tumbler - 3

    Performance in context: temperature and portability

    The insulated construction is intended to keep hot beverages warm for several hours and cold drinks cool for even longer, making the cup suitable for both coffee and iced beverages throughout a typical workday. The tall, narrow profile fits many cup holders, while the removable handle improves grip during transport. These traits make the cup a sensible pick when you need a balance between capacity and convenience.

    Who should choose this tumbler

    • Style-first users: If you prioritize a decorative, rhinestone-accented look for personal use or to match a branded display, this tumbler doubles as functional drinkware and a visual accessory.
    • Professionals on the go: Those who work multi-hour shifts or attend back-to-back appointments will value the large 40oz capacity and the insulation performance.
    • Gift givers: For someone who loves sparkly, statement drinkware, the combination of metal build and embellishment makes a memorable present.

    Who might prefer a different option

    • Minimalists: If you want an understated aesthetic without rhinestones or decorative accents, a plain stainless model or matte finish may be a better match.
    • Compact-travel needs: Travelers who need a very small, lightweight cup or a model that fits narrow airplane cup holders might favor a lower-capacity tumbler.
    • Dishwasher-only households: If you rely exclusively on a dishwasher, confirm how the rhinestones and handle respond to machine cleaning; some embellished drinkware requires handcare to preserve appearance.

    Practical usage tips

    1. Preheat or pre-chill the tumbler: Rinse briefly with hot or cold water before adding a beverage to improve temperature retention.
    2. Secure the lid and handle: Make sure the removable handle is clipped on firmly when carrying full volumes to avoid slips.
    3. Use appropriate beverages: Carbonated drinks may build pressure in a sealed container — open slowly and follow any lid guidance during use.
    4. Transport considerations: Because of the 40oz size, expect extra weight when filled; place in a stable bag compartment or use a cup-holder designed for large bottles.

    Care and safety notes

    To protect the rhinestone finish and the removable handle, handwashing is recommended unless the product page states otherwise. Avoid abrasive scrubbers that could loosen decorative elements. As with all stainless drinkware, do not use the tumbler in a microwave. Check the handle connection periodically to ensure it remains secure.

    Final take: when this tumbler makes sense

    Choose this pink rhinestone stainless steel tumbler if you want a high-capacity, insulated cup that also serves as a fashionable accessory. It blends practical insulation and durable metal construction with eye-catching embellishment — a good fit for anyone balancing utility and style. If your priority is minimal design or ultra-compact portability, consider a plain or smaller-capacity alternative instead.

    Available from Dynamic Nail Supply, the tumbler is listed at $40.00 but prices may change.

  • Natural Almond Gel Tips: Medium Full-Cover Overview

    Natural Almond Gel Tips: Medium Full-Cover Overview

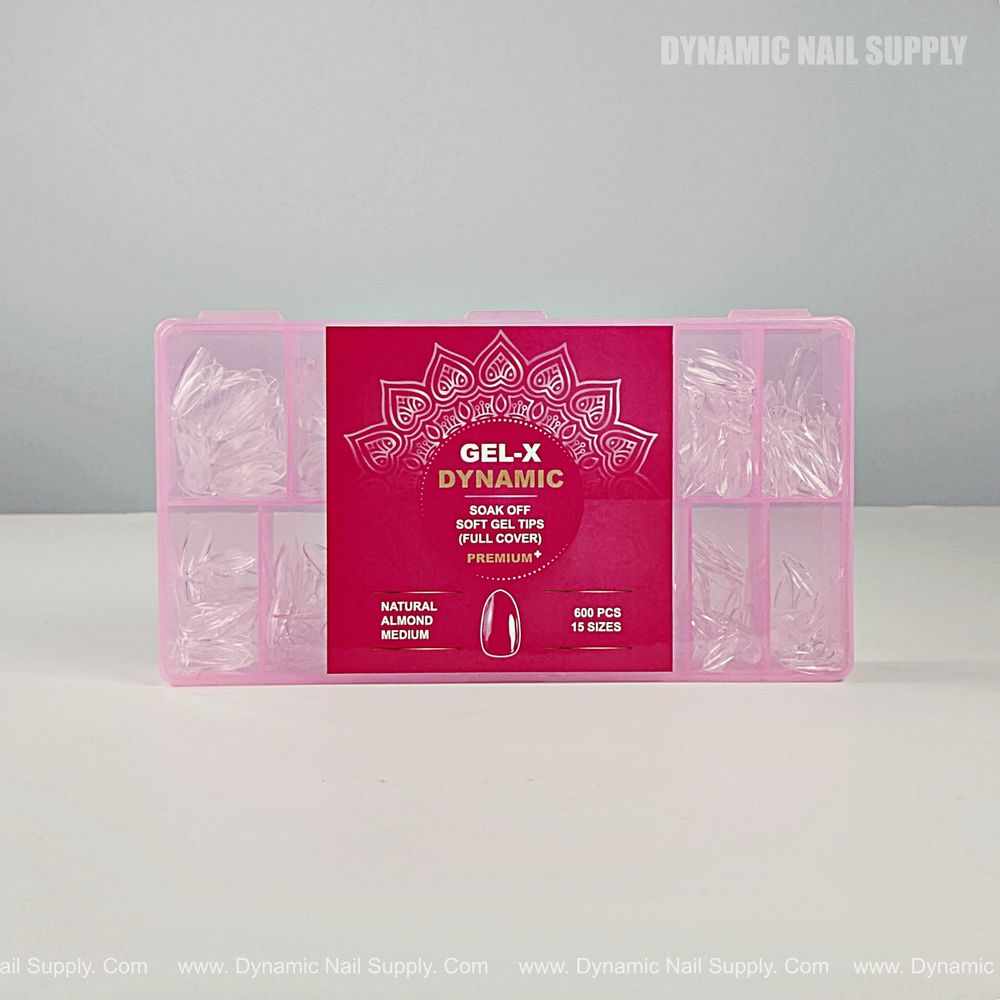
    Looking for a fast, consistent way to create almond-shaped extensions? This feature-by-feature overview breaks down the Medium Natural Almond Full Cover Soft-Gel Nail Tips to help salons and DIYers decide if these Gel-X style tips fit their kit.

    Material and construction: what the tips are made of

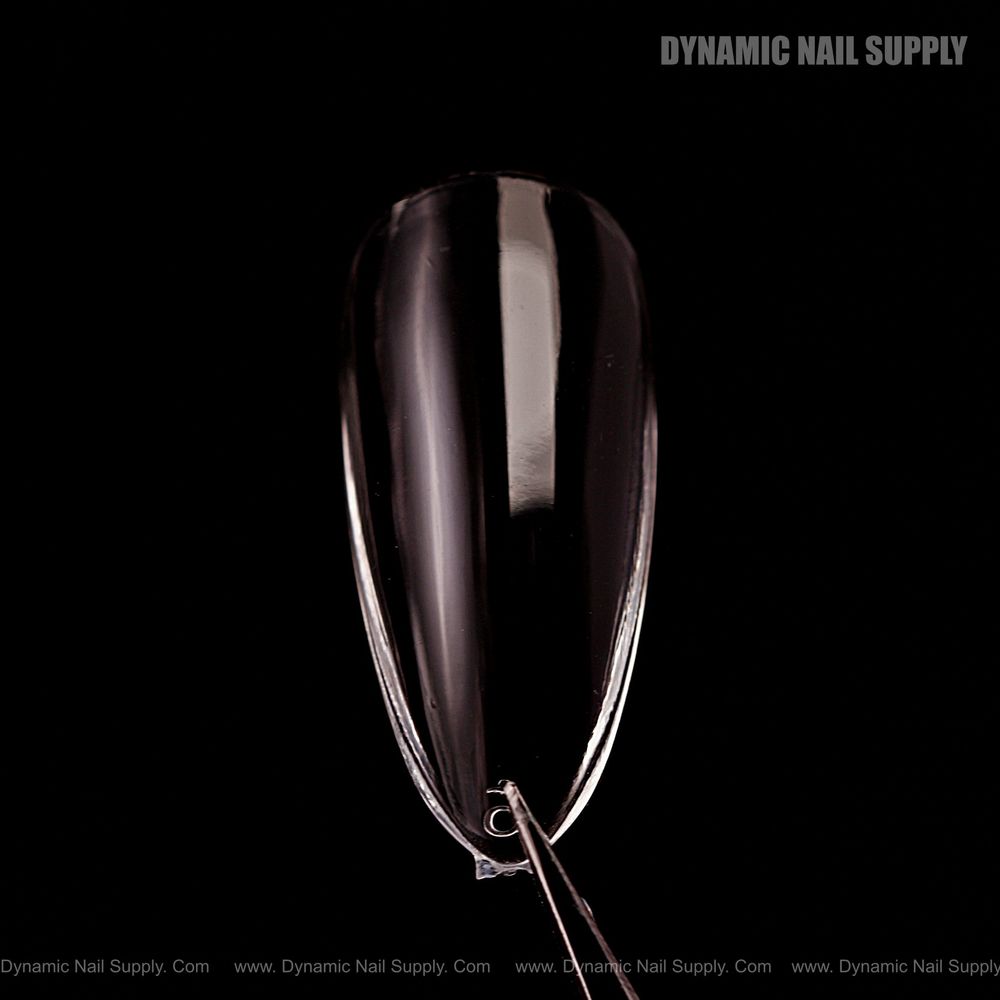
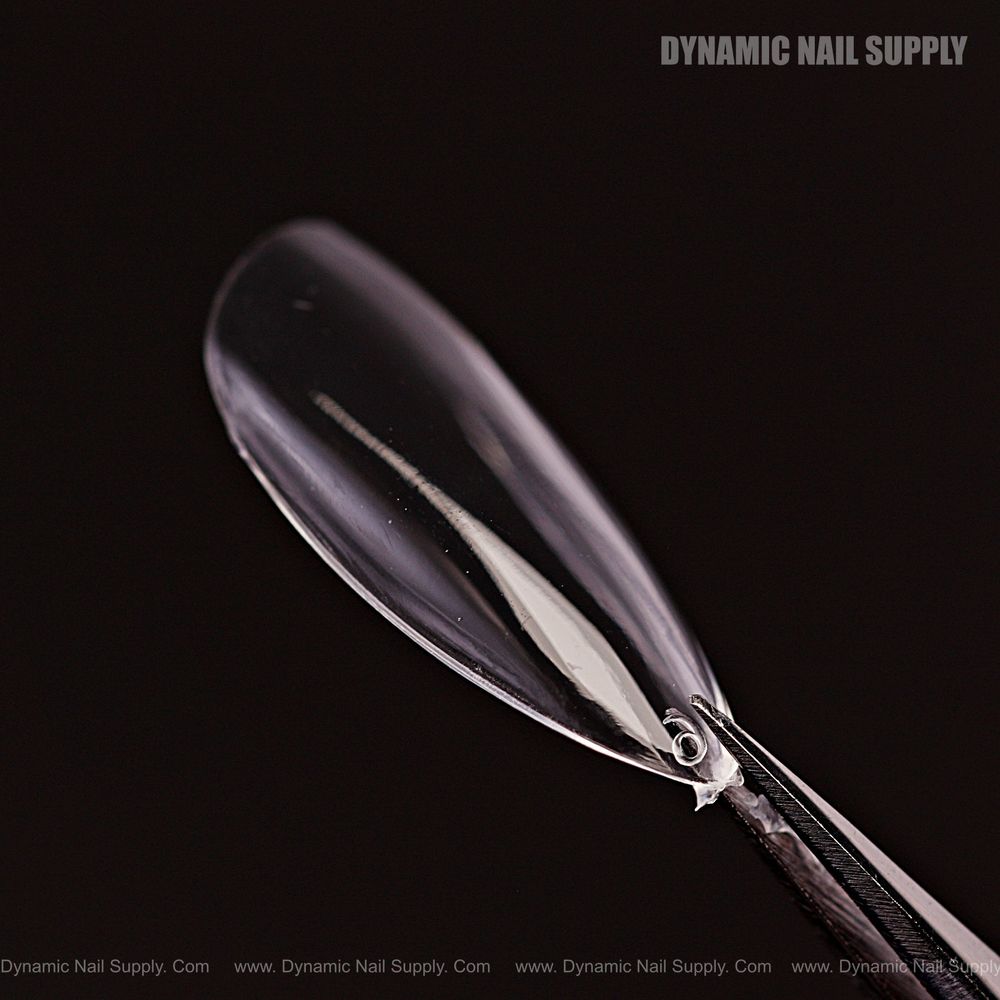
    These tips use a soak-off soft gel formulation rather than rigid plastic. The material is described as clear and shiny, offering flexibility to follow the natural nail curve without creating stress points. The manufacturer positions the material as resistant to cracking and lifting when applied properly and claims it won’t crease even if bent.

    natural almond soft gel tips pink box - 2

    Shape, size range and packaging

    The set is offered in a natural almond silhouette in a medium length. Each box contains 15 sizes, and the total count per box is 600 pieces—organized with each size packaged separately. That many pieces and individually packed sizes make it practical for busy salons that need quick sizing for a range of clients.

    natural almond soft gel tips pink box - 3

    Sizing, fit and edge details

    Each tip includes a clear printed size number for faster selection during service. The full-cover design means the tip extends across the entire nail plate and can be trimmed or reshaped to achieve shorter lengths, sharper almond points, or a softer finish depending on the look you want.

    natural almond soft gel tips pink box - 4

    Compatibility and application workflow

    These tips are marketed for multiple application methods: press-on sets, Gel-X extensions, or soft gel overlays. They’re noted to bond with typical gels and glues and are presented as easy to adhere with a range of adhesives or gel products. For box contents and sizing details, see Full Cover Tips Natural Almond.

    • Preparation: buff and clean the natural nail to remove shine and oils.
    • Adhesion: apply a dehydrator and bonding product before setting the tip.
    • Placement: fit the tip, press to eliminate air, flash-cure if using gel, then finish with full cure under LED.
    natural almond soft gel tips pink box - 5

    Durability and wear characteristics

    The soft-gel composition is advertised for improved retention and long wear when combined with compatible gels. The product description suggests four-plus weeks of wear when used with a recommended non-wipe extend gel and when proper prep and application are followed. Because they’re soft gel, the tips are intended to flex with the natural nail rather than sit rigidly on top.

    Who these tips are best for

    These medium natural almond full-cover tips suit several users:

    • Professional nail techs needing bulk-ready sizes and quick sizing for clients.
    • Salon owners who want a clear, flexible base for gel color, builder gels, or nail art.
    • Home users and beginners seeking predictable, full-coverage tips that can be trimmed and shaped to taste.

    The clear finish and full-cover format make them versatile for color overlays or custom designs.

    Practical tips for best results

    • Match tip width to the natural nail by checking the printed size numbers before any adhesive step.
    • Remove surface shine and oils with a light buff and a good dehydrator to boost adhesion and reduce lifting.
    • When applying with gel, prep the underside of the tip and eliminate air pockets by placing at an angle and pressing forward slightly.
    • Flash-cure while holding the tip in place to minimize shifting, then complete a full LED cure for the whole hand.
    • Custom shaping: these full-cover pieces can be shortened and filed into a sharper almond or softened for a more natural silhouette.

    Care, removal and safety notes

    Because these are soak-off soft gel tips, removal should follow gel-safe soak-off procedures; avoid prying to prevent damage to the natural nail. The product copy describes the material as non-toxic and gentle on the nail when removed properly. As with any adhesive system, follow manufacturer guidance for primers, bonders, and soak-off gels to protect the natural nail plate.

    Price point and availability

    The listed price for this box is $12.00; prices are subject to change. Each box includes 600 tips across 15 sizes, which can make the cost per tip attractive for high-volume use.

    Final considerations

    For salons that prioritize speed, consistent sizing, and a flexible, natural-feeling extension, these medium almond-shaped full-cover soft-gel tips present a practical option. Their clear, shiny finish provides a neutral base for color or nail art, and the large pack size suits professionals and active DIYers alike. Dynamic Nail Supply is the listed vendor for this product, which targets both Gel-X workflows and traditional glue or gel applications.