Blog

  • Rhinestone Dappen Dish: Buyer’s Guide for Nail Pros

    Rhinestone Dappen Dish: Buyer’s Guide for Nail Pros

    Choosing the right dappen dish matters when you work with monomer and acrylic powders every day. A rhinestone glass dappen dish brings both function and salon-style to your workstation—this guide helps technicians and salon owners decide if a jeweled glass cup fits their workflow and hygiene routine.

    What this rhinestone dappen dish is and who it suits

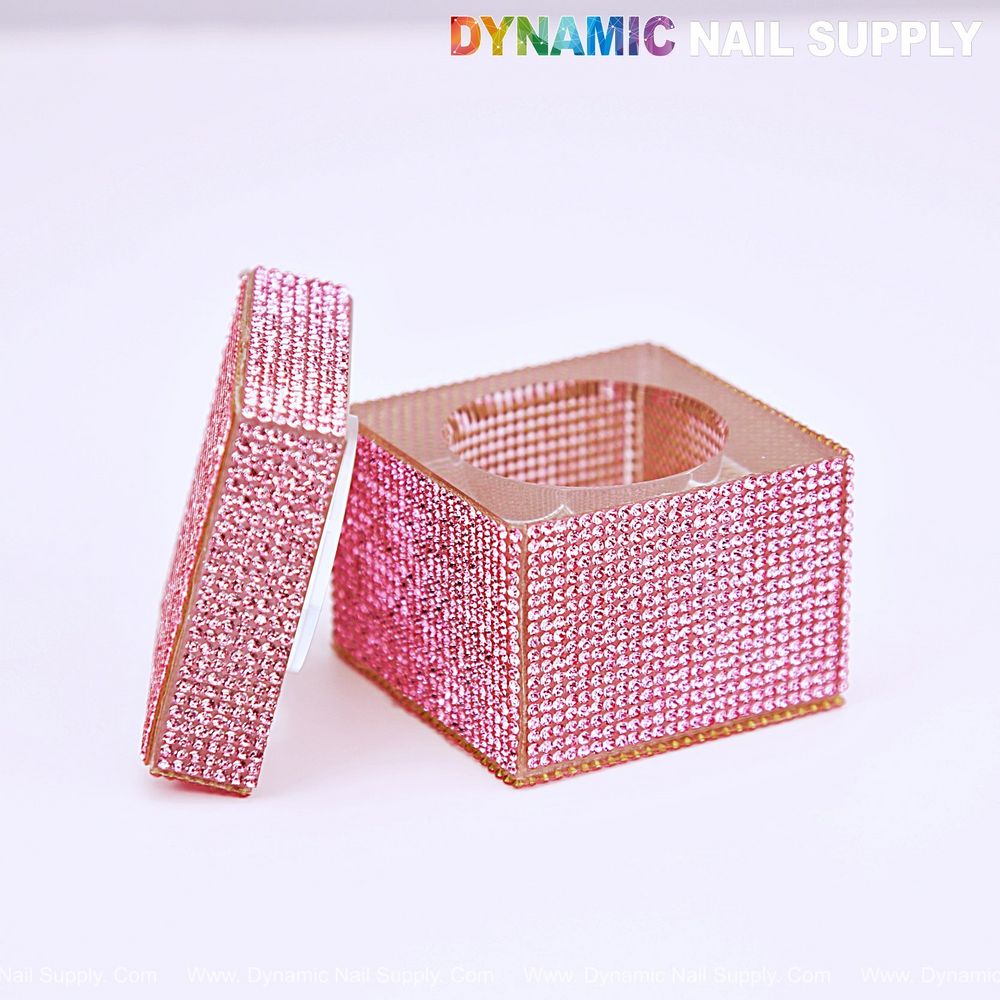
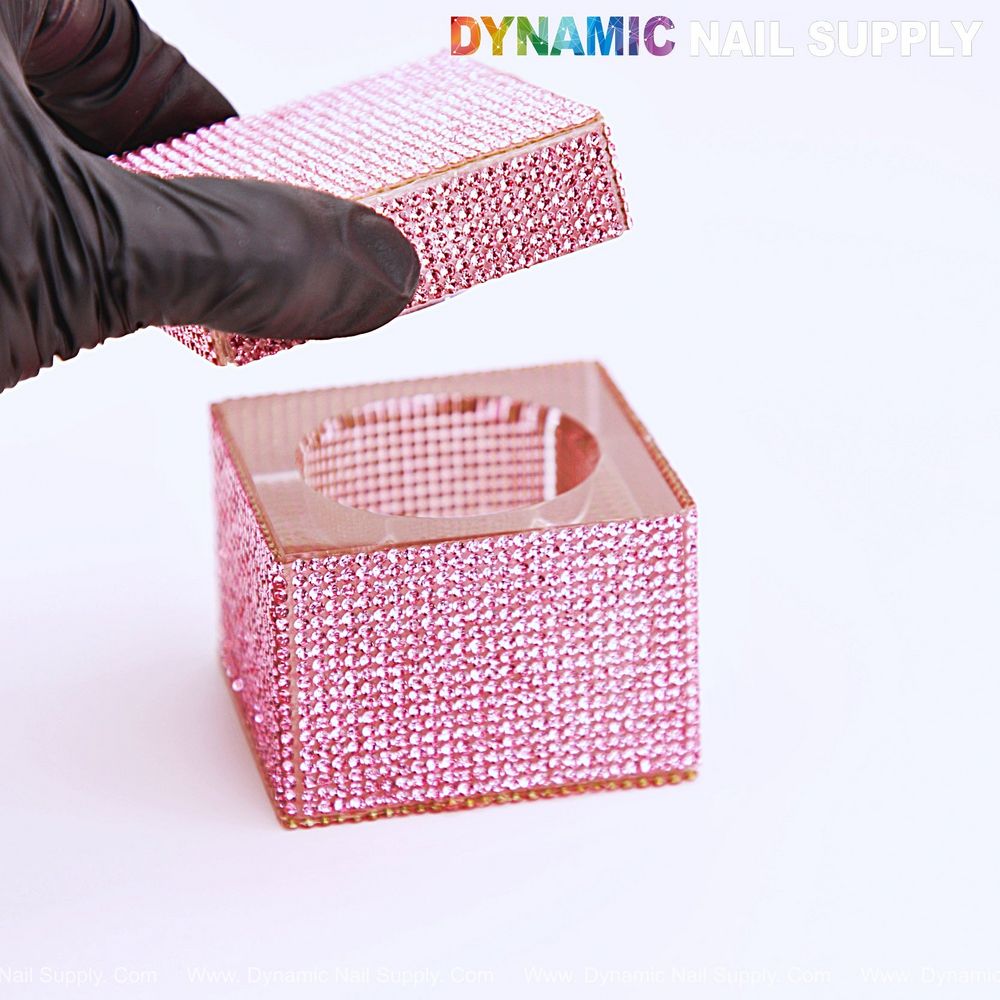
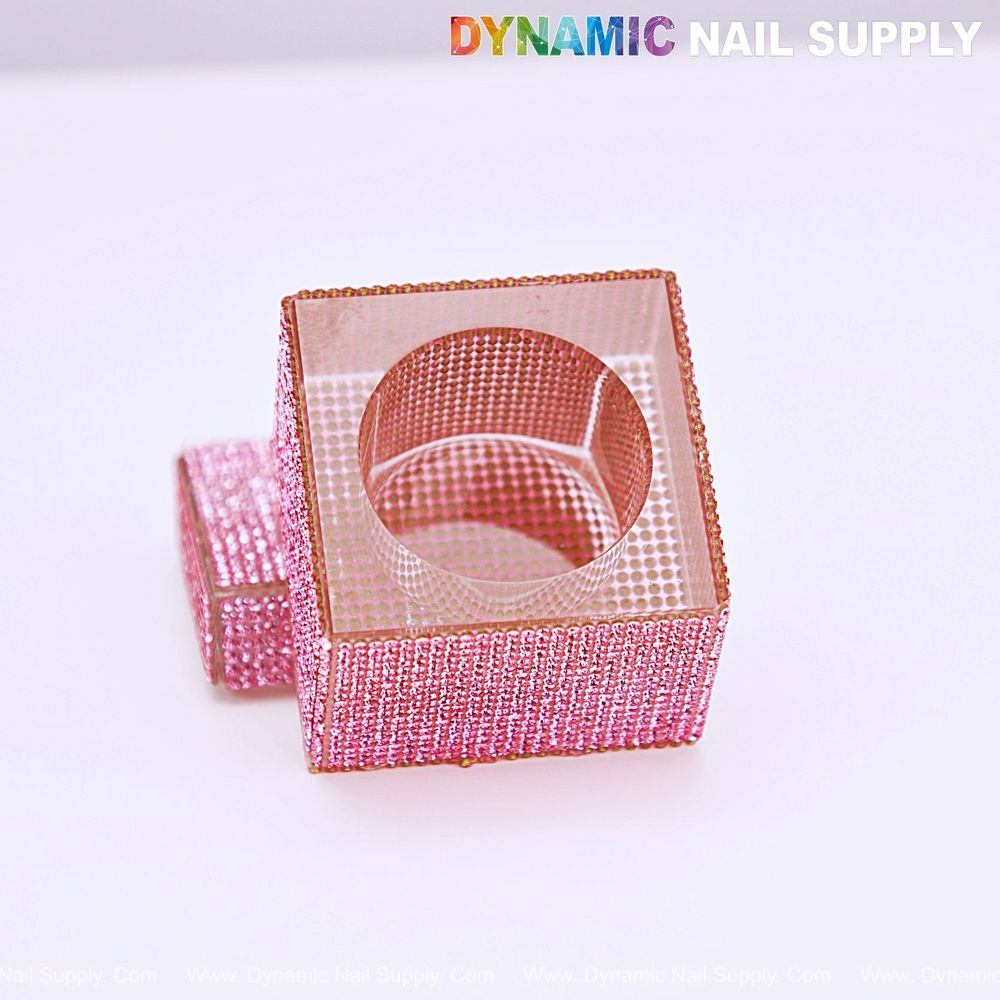
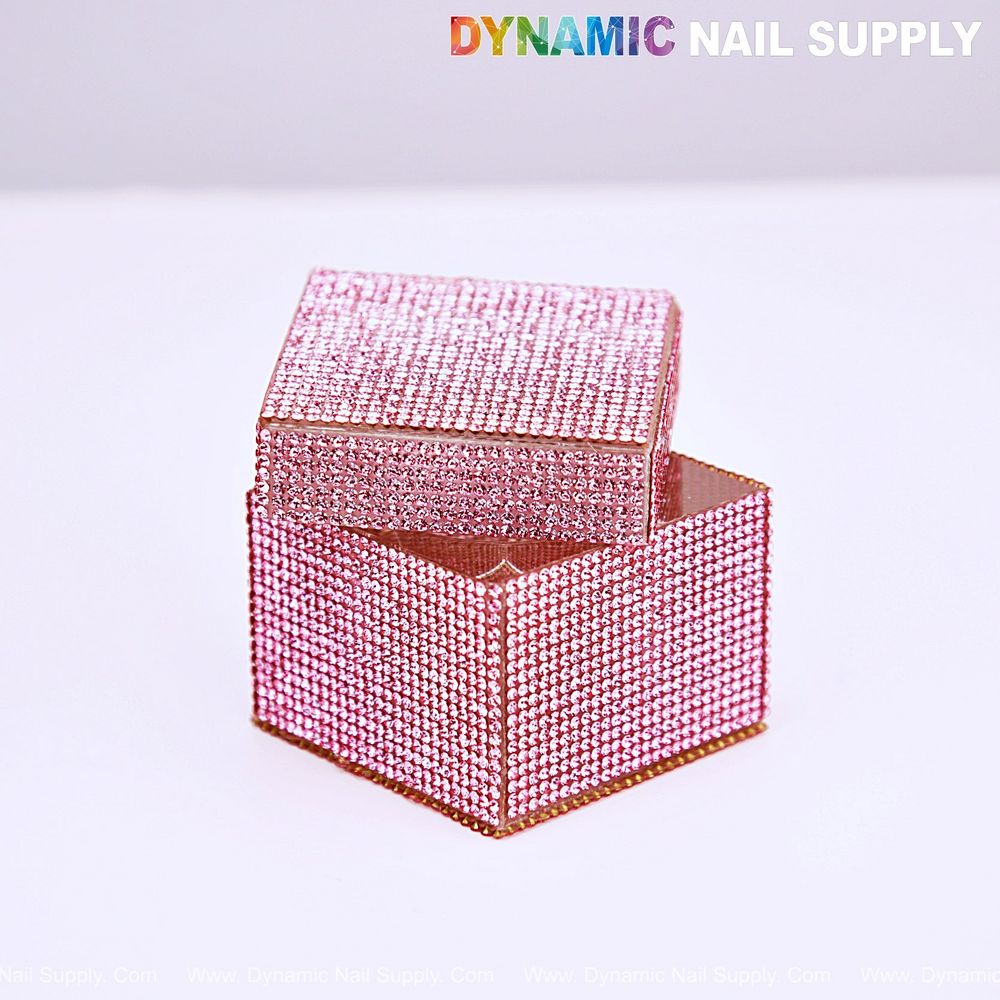
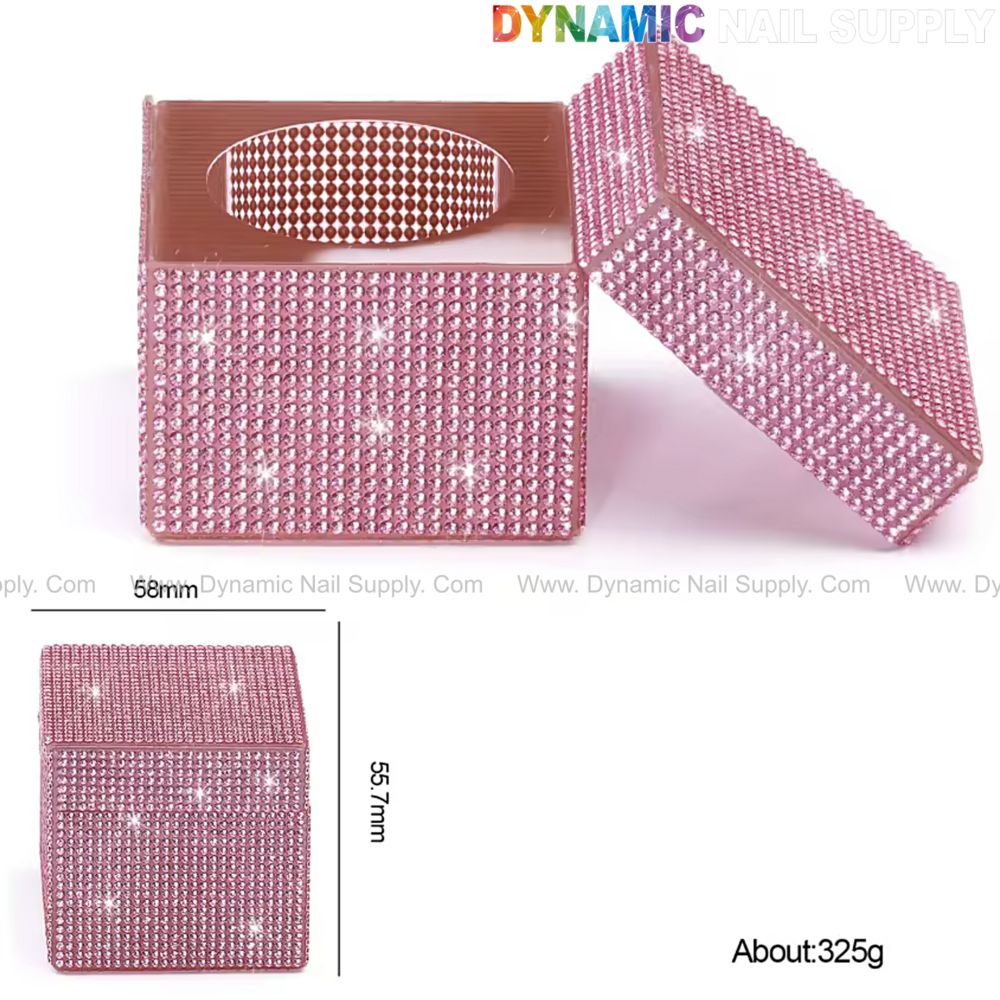
    The product is a square transparent glass cup embellished with diamond-like rhinestones, supplied with a matching lid. It is designed for professional use with monomer, acetone, and most brush cleaners, and works as a decorative yet practical piece at a manicure station. Available in AB Color and Pink, it’s made from durable glass that resists scratches and offers clear visibility of liquids inside.
    pink rhinestone glass dappen dish - 2

    Key features that matter to salon use

    • Decorative yet durable: Rhinestone trim elevates the look while the glass body offers long-term utility.
    • Wide opening: The square shape gives easy access for brushes and dip pens and helps reduce accidental spills.
    • Lid included: The cover helps limit evaporation of liquids and keeps fluids cleaner between uses.
    • Chemical compatibility: Intended for monomer, acetone and common brush cleaners used during acrylic and polish services.

    For ordering details and to view the exact styling, see this rhinestone dappen dish.
    pink rhinestone glass dappen dish - 3

    Using the dappen dish in everyday services

    Integrating a rhinestone dappen dish into your routine is straightforward. For acrylic application, pour a small amount of monomer into the dish, dip the brush to load liquid, then pick up acrylic powder as you normally would. Between clients, use the dish with acetone to clean brushes or remove excess product. The wide top eases brush entry and retrieval, which is helpful for speed during busy appointments.

    Practical tips for efficient use

    1. Keep only a small volume of monomer in the dish to limit evaporation and contamination.
    2. Use the lid whenever you pause between clients to preserve monomer and reduce odor spread.
    3. Designate separate dishes (or clean thoroughly) when switching between products to avoid cross-contamination.
    4. Place the dish on a stable, heat-resistant surface to prevent slips or breakage.
    pink rhinestone glass dappen dish - 4

    Care, cleaning and safety notes

    Because the cup is glass, it is scratch-resistant but not unbreakable. Clean with appropriate solvent for nail tools—acetone is compatible—but avoid abrasive scrubbing that could dislodge the decorative rhinestones. The lid reduces evaporation, but good ventilation and routine replacement of monomer are still important for safety and product performance.

    Maintenance checklist

    • Wipe exterior rhinestones gently to keep sparkle without loosening settings.
    • Empty and rinse the glass interior after each shift; allow to dry fully before storing with the lid.
    • Inspect for chips or loose decor; retire the dish if the glass integrity is compromised.
    pink rhinestone glass dappen dish - 5

    Styling and salon placement ideas

    This dappen dish doubles as décor—place it near your nail station’s front for a polished presentation or cluster with matching storage pieces to create a cohesive display. The clear glass provides visual confirmation of liquid levels so clients and techs can see when a refill or cleaning is needed. Two available color options, AB Color and Pink, let you coordinate with salon branding or seasonal displays.

    Who should buy this dish?

    Ideal buyers include nail technicians who want a functional yet stylish monomer cup, salon owners aiming to uplift their stations without sacrificing utility, and experienced home users who prefer professional-grade tools. The item is priced at $14.99 and includes one glass dappen dish plus a lid; prices may change.

    Final considerations before purchasing

    When evaluating a rhinestone dappen dish, balance aesthetics with workflow needs: choose a wide-opening glass cup if you frequently work with larger brushes or multi-step systems, and be prepared to follow basic maintenance to extend the piece’s life. If you prefer a glam look that remains practical for monomer and brush cleanup, this type of dish offers a tidy, visible, and decorative solution for professional nail settings.

    Available through professional suppliers and single-item retailers—consider where the piece will live on your station and how it will be handled day-to-day before adding it to your kit.
  • Pure White Acrylic Powder for French & Repairs

    Pure White Acrylic Powder for French & Repairs

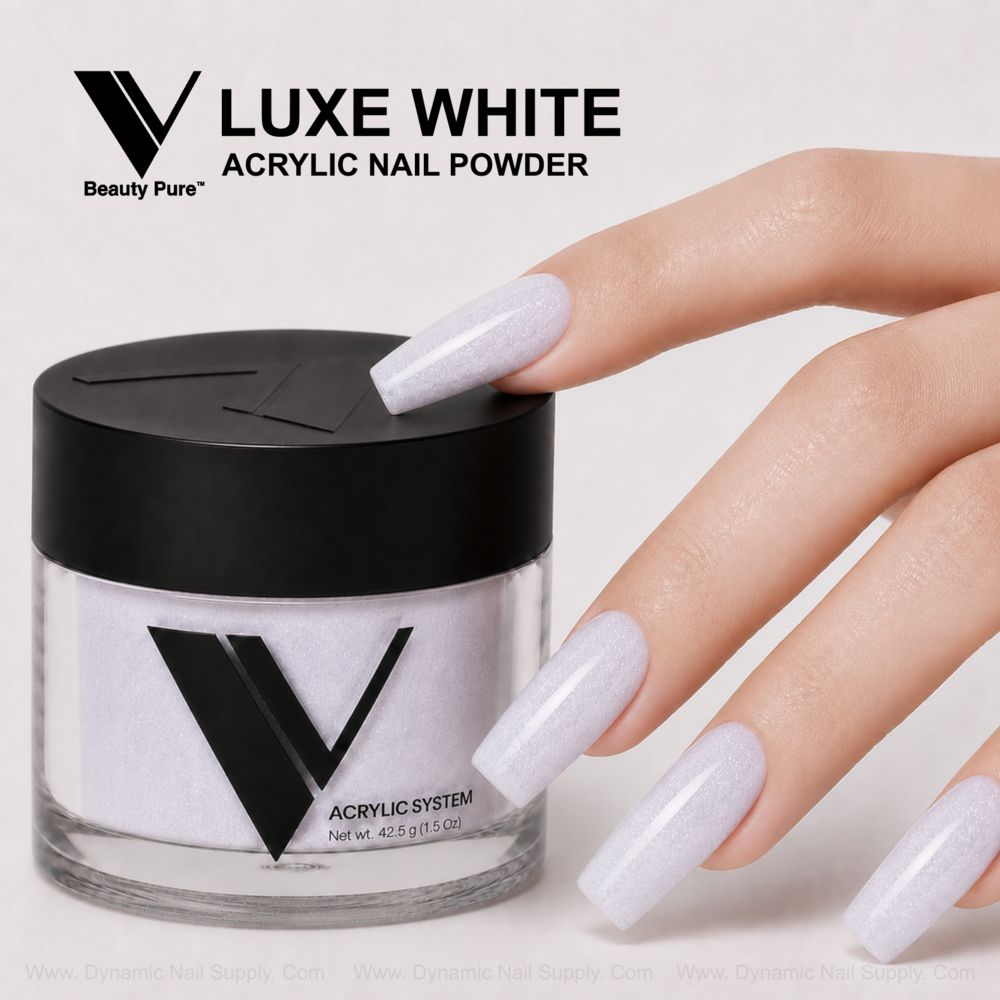
    Yellowed tips, lumpy French smiles, and acrylic that won’t blend smoothly into the nail bed are common headaches in any salon. The right white powder can turn those problem nails into crisp, durable finishes—but not all whites behave the same. This article explains how a finely milled, self-leveling white acrylic powder addresses the most frequent issues technicians face and how to get the best results with V Beauty Pure’s Luxe White.

    Why white acrylics often cause trouble

    White powders can be unforgiving. Problems you’ll see most often include:

    • Yellowing over time that ruins a clean look
    • Poor adhesion or weak tips that chip quickly
    • Excessive filing needed to smooth rough beads
    • Bubbling or uneven surfaces during application
    • Difficult blending for French tips and baby-boomer fades

    How Luxe White solves these issues

    Luxe White from V Beauty Pure is formulated to tackle those exact problems. Its finely milled texture creates small, consistent acrylic beads that are easier to control and shape. The powder’s self-leveling behavior reduces the need to overwork the product, which helps cut down on bubbles and the amount of filing required after cure. The formula is marketed as fade-resistant and non-yellowing, so the crisp white finish stays truer over time when applied correctly.

    Check stock and size options here: Acrylic powder Luxe White come in compact 1.5 oz and salon-size 3.5 oz jars.

    Key features in practical terms

    • Finely milled consistency: Smoother beads mean more predictable placement for precise French lines and sculpting.
    • Self-leveling action: Minimizes textural defects, so you spend less time filing and more time on other clients.
    • Strong adhesion and durability: Designed to work with professional EMA monomers for lasting wear.
    • Non-yellowing and fade-resistant: Keeps white finishes looking fresh longer, ideal for bridal or classic French services.
    • MMA-free, vegan and cruelty-free: Matches many salon policies and client preferences.

    Step-by-step: using Luxe White to fix problem nails

    1. Prep thoroughly: Remove oils, push cuticles, and lightly buff the nail plate for optimal adhesion.
    2. Use a professional EMA monomer: The powder is formulated to be compatible with EMA liquids; that combination yields the best bond and workability.
    3. Control your bead size: For French smiles or crisp tips, pick slightly smaller beads and feather them into place; for overlays or encapsulation, use larger beads for coverage.
    4. Allow self-leveling to work: Place the bead, shape gently, and let the powder settle before aggressive manipulation—this reduces bubbles and filing.
    5. File with purpose: Because the formula files smoothly, use a controlled filing sequence to preserve shape and reduce heat buildup.

    Tips for common applications

    • French manicures: Start with a clean white bead at the free edge and sculpt inward; the pigment and consistency make getting a crisp smile line easier.
    • Baby boomer fades: Use the soft white shade in thin layers, blending toward the cuticle for a seamless ombré.
    • Encapsulation: For nail art or glitter encapsulation, the durable finish holds decorations in place without yellowing.
    • Reinforcement of weak nails: Apply a thin overlay to add strength without excess bulk.

    Who should choose Luxe White

    This powder is positioned for professionals and ambitious beginners who want a dependable white for a wide range of services: French tips, full-cover white sets, soft ombrés, and encapsulations. It’s offered in 1.5 oz for travel or occasional use and 3.5 oz for busy chairs. Price ranges from $17.99 – $31.99 depending on size and vendor selection; prices may change.

    Care and safety notes

    Use with a recommended EMA monomer and follow the liquid manufacturer’s safety guidance. Work in a well-ventilated area, keep containers closed when not in use, and store powders away from moisture. As with any professional product, maintain proper hygiene and disposal practices in your salon.

    Conclusion: trade frustration for control

    If your salon sees yellowing whites, inconsistent beads, or extra filing for every set, switching to a finely milled, self-leveling white can save time and improve client satisfaction. V Beauty Pure Luxe White combines smooth handling, long-wear performance, and a non-yellowing finish to help technicians produce clean, durable white nails with less rework. Dynamic Nail Supply carries the line for easy restocking when you need it.

  • Mixed Nail Foil Set: Fall 2026 Nail Design Ideas

    Mixed Nail Foil Set: Fall 2026 Nail Design Ideas

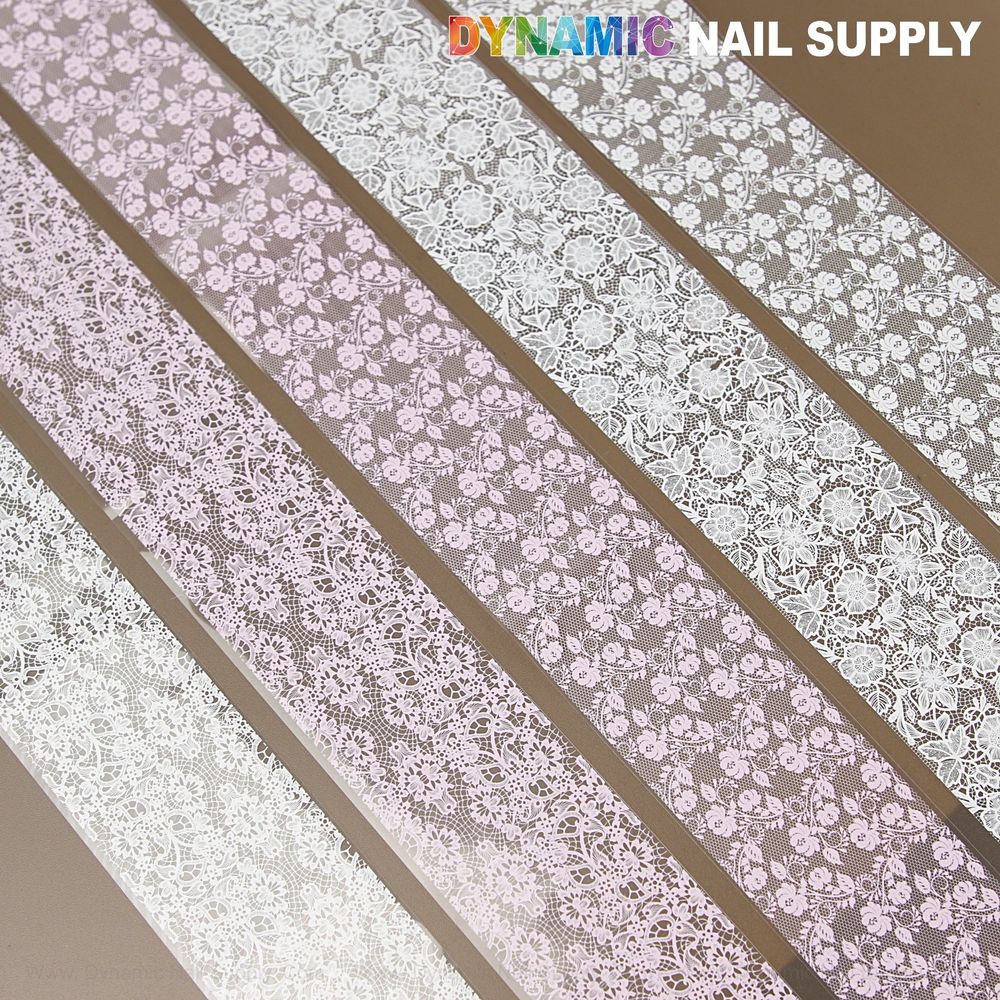
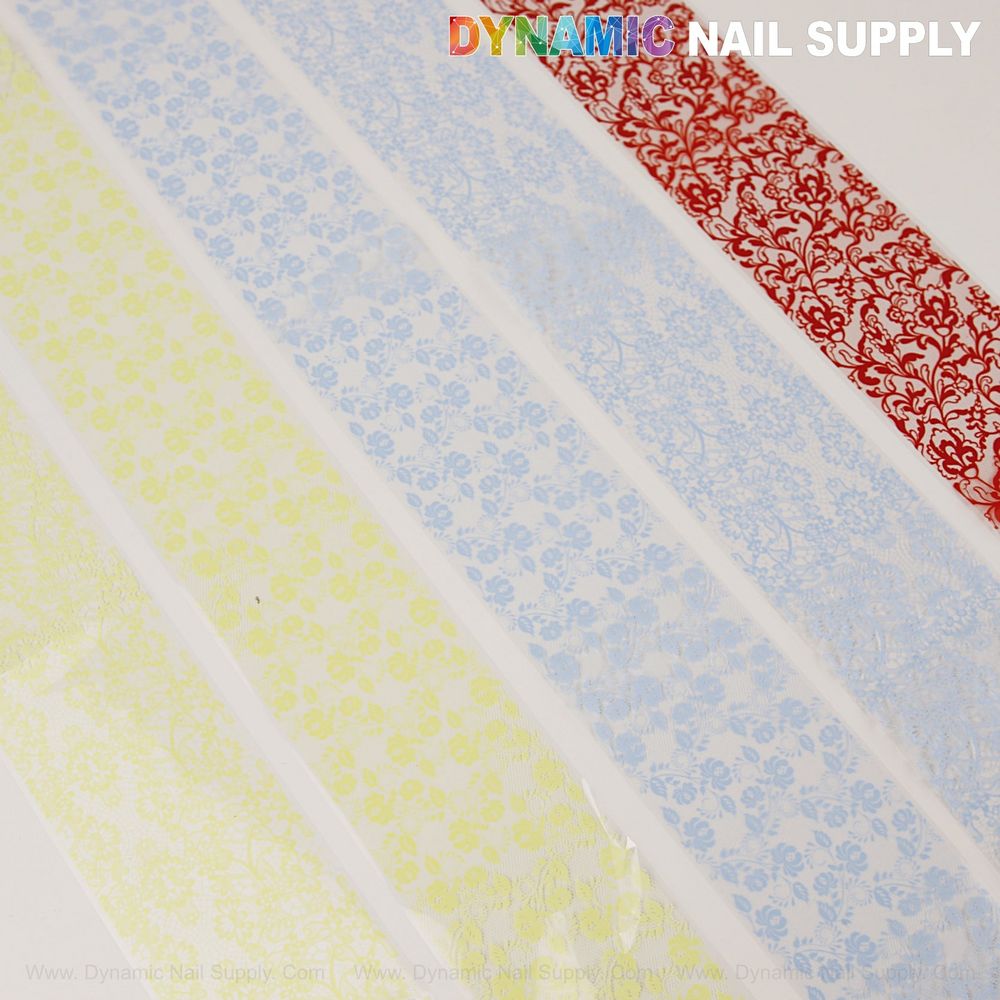
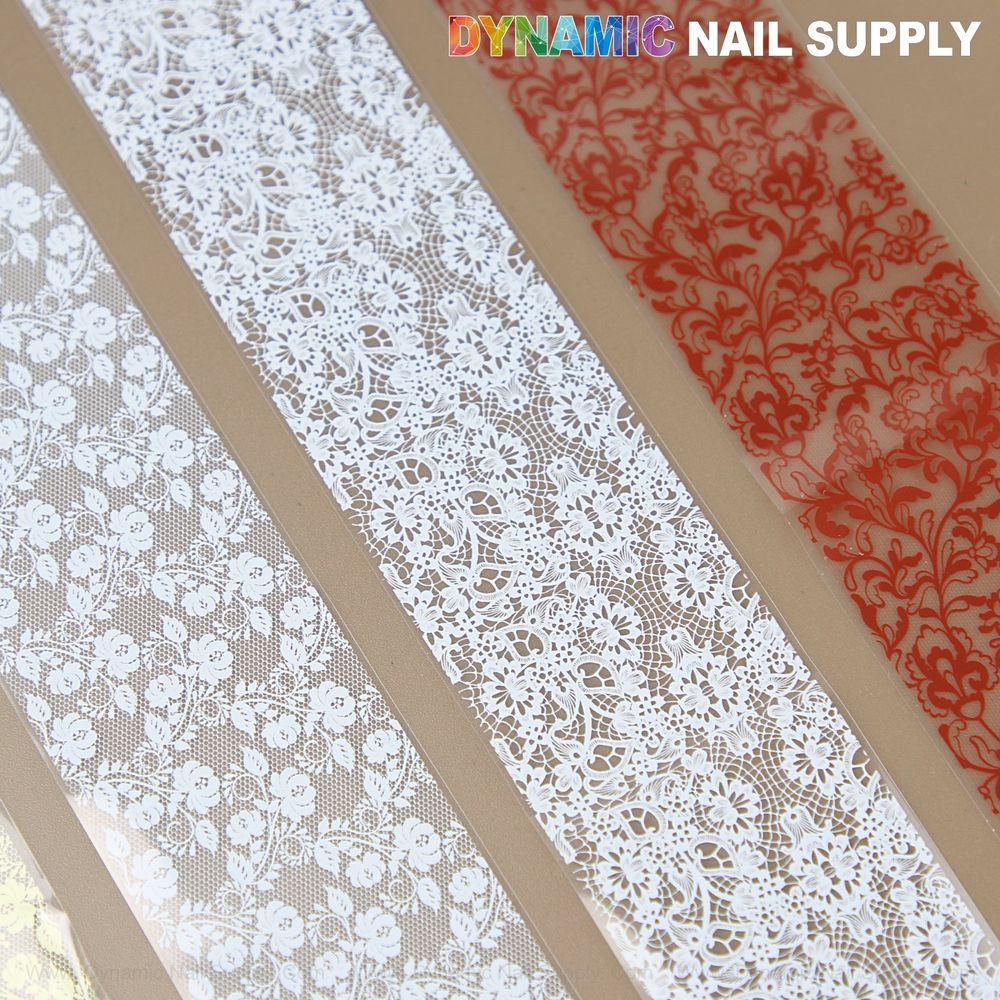
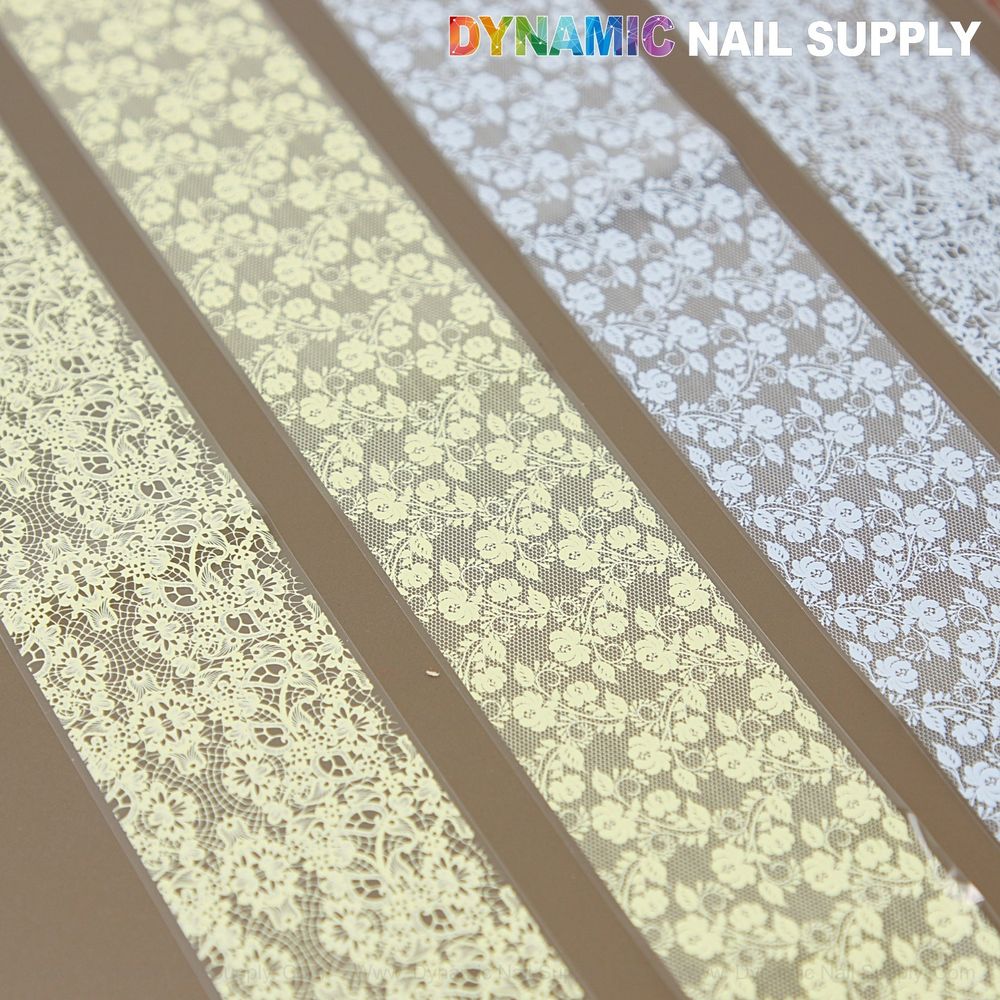
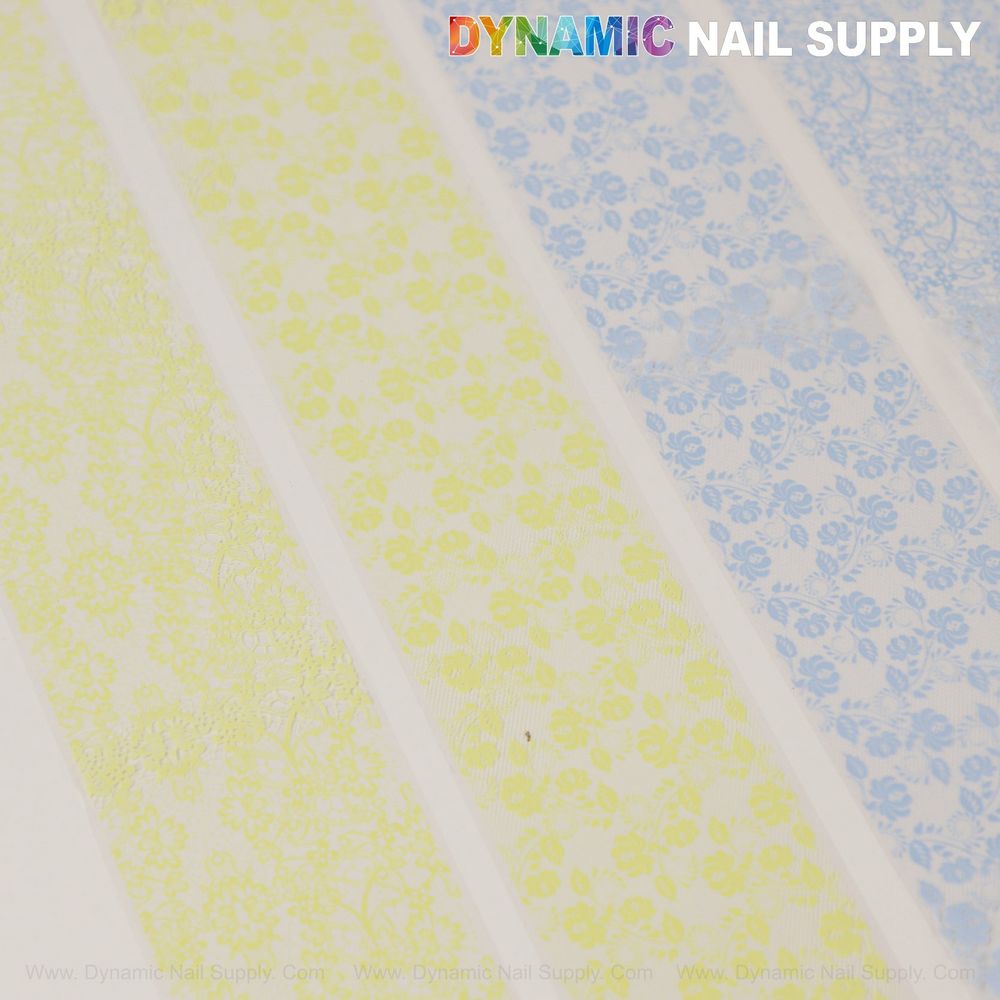
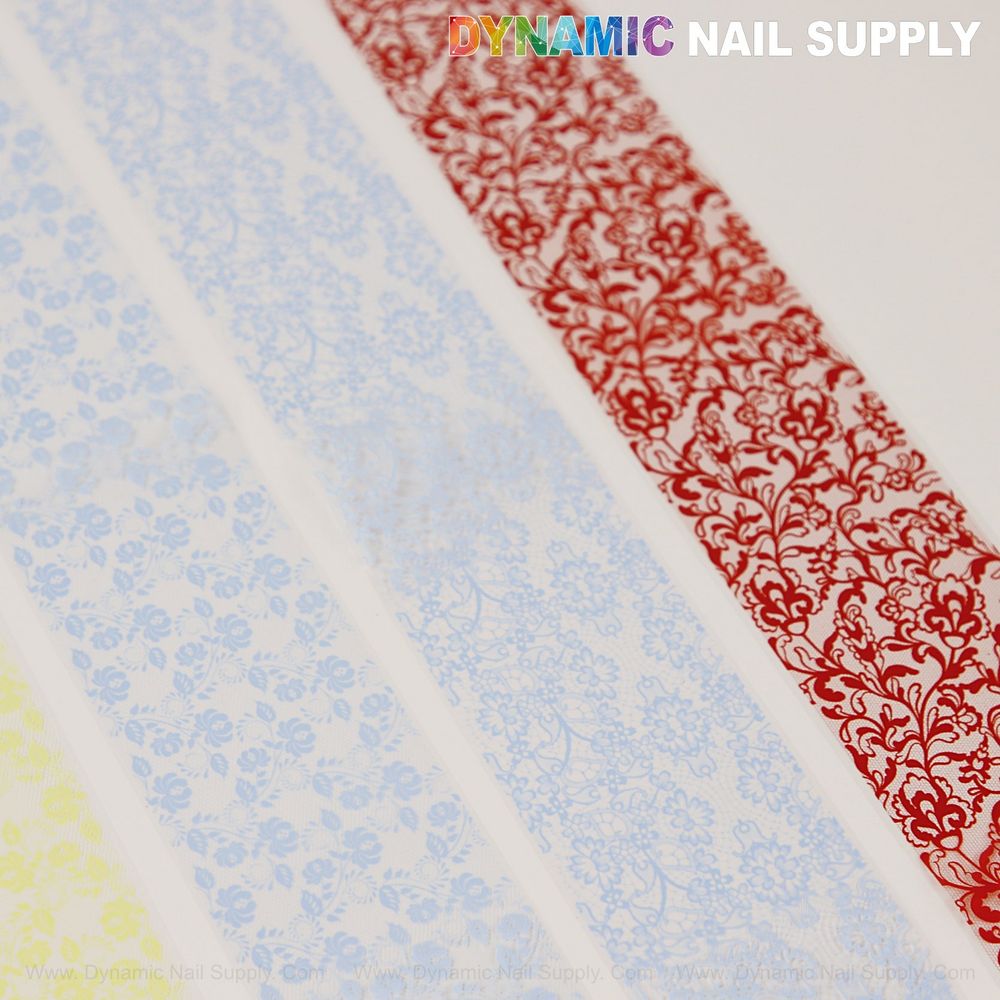
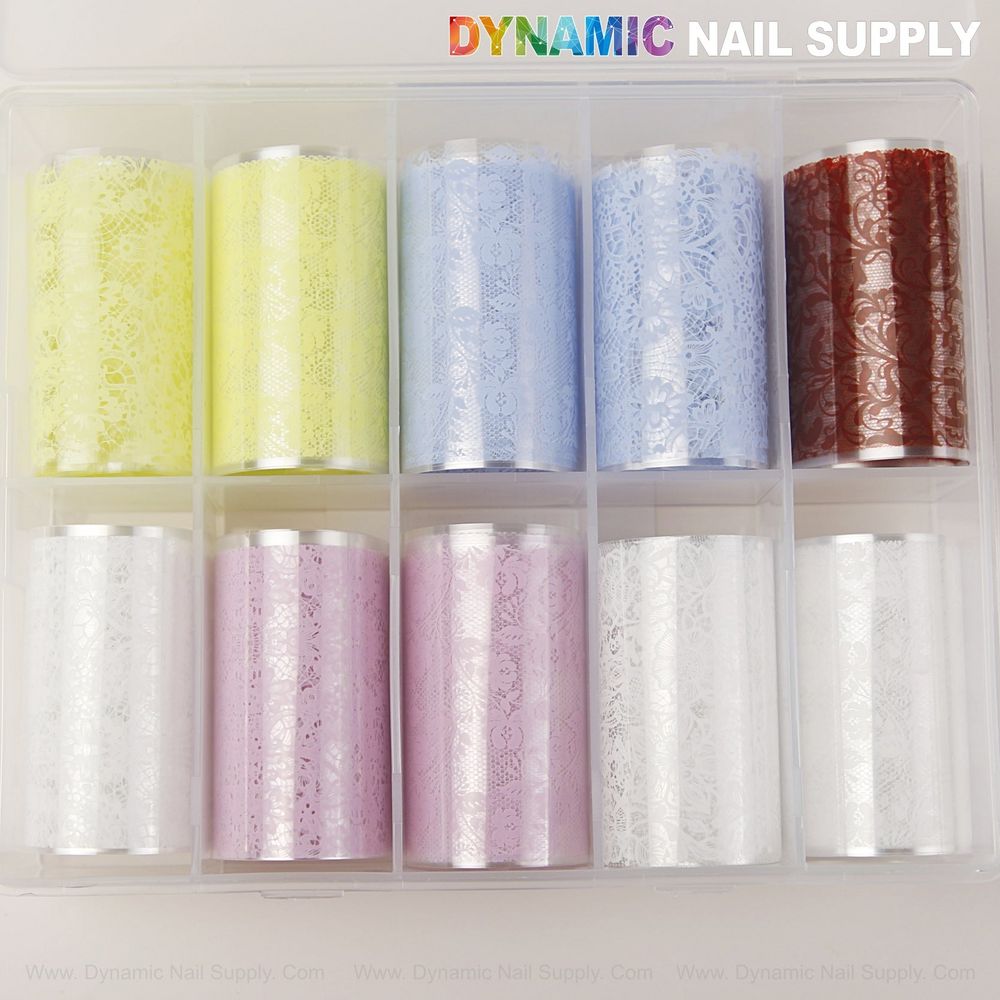
    Autumn 2026 is all about contrast: warm, earthy bases paired with sharp pops of color and delicate lace textures. A mixed nail foil set in blue, yellow, red, pink and white lets you create runway-ready manicures without long design sessions. Whether you want micro-accents or full-coverage foil art, these sheets are versatile for seasonal looks that read both cozy and contemporary.

    Why foils belong in your fall kit

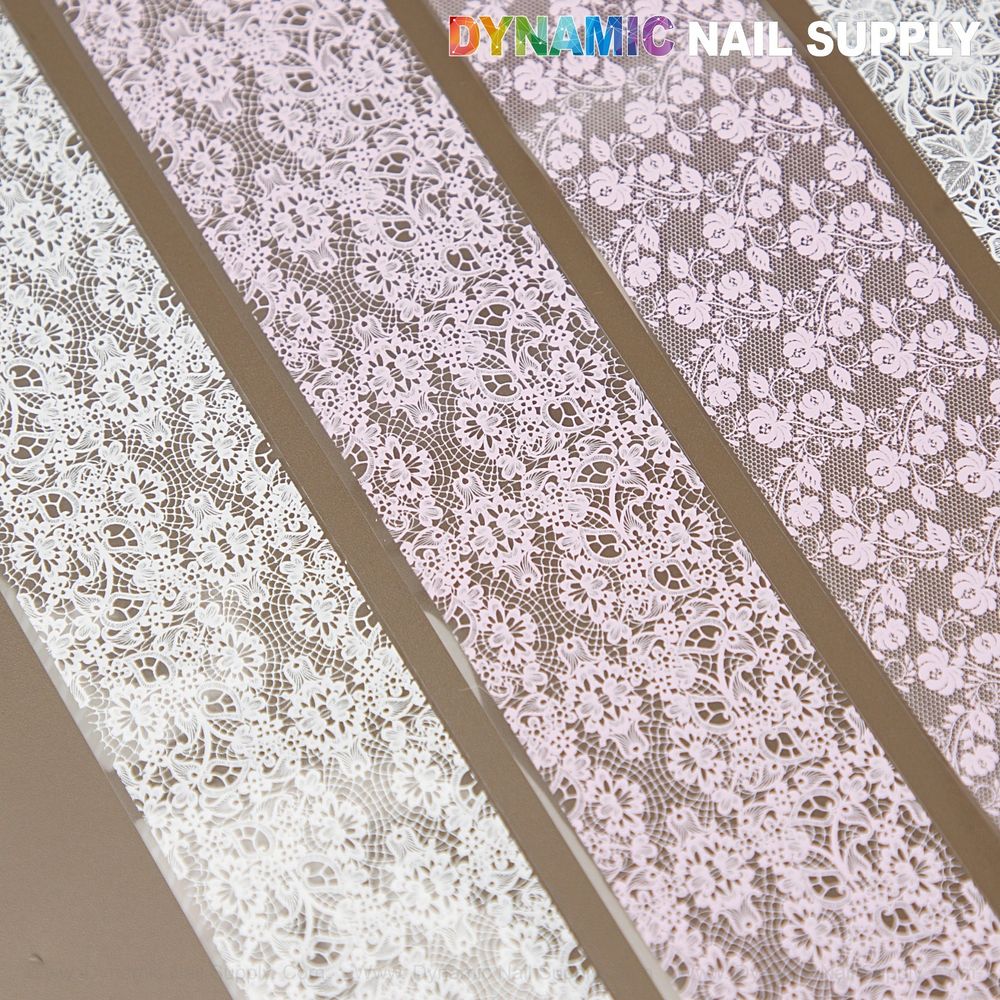
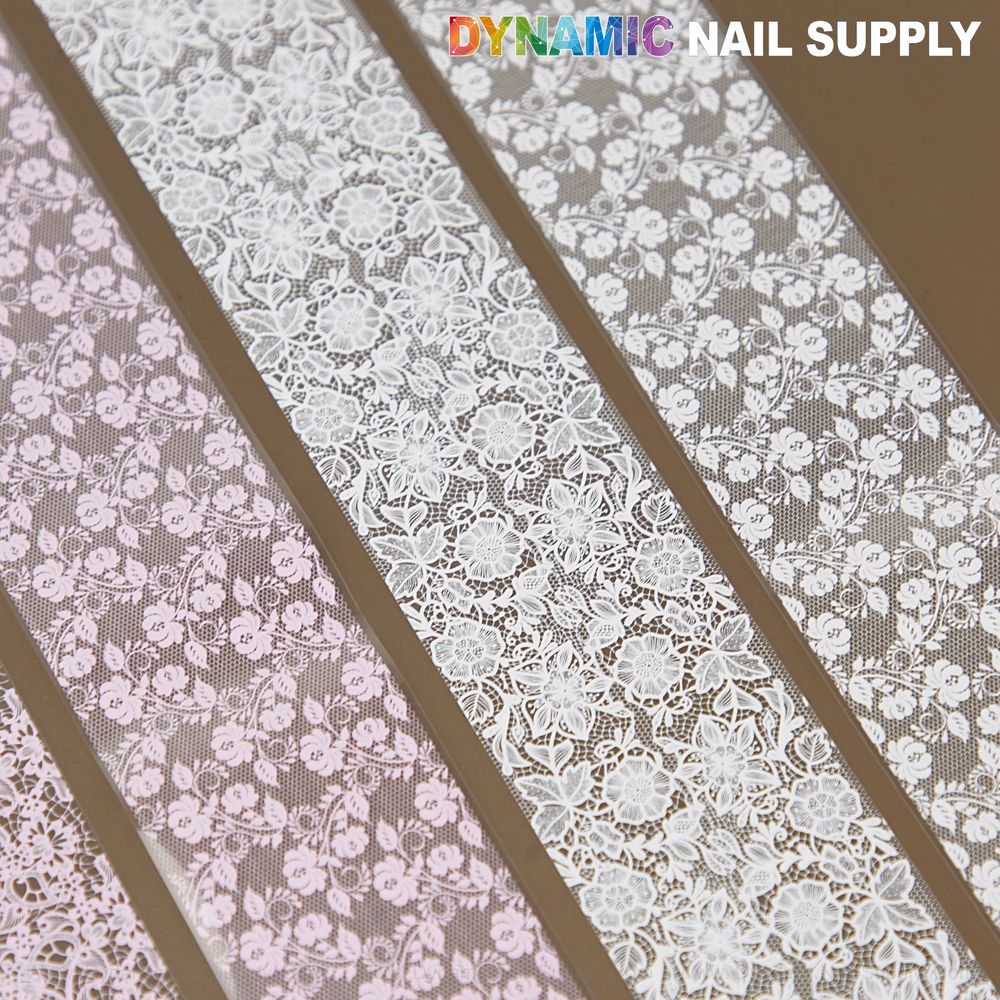
    Foils add instant texture and reflective detail that catches light in ways polish can’t. This mixed collection gives you a palette that ranges from jewel-like blue to soft white lace motifs, allowing strong seasonal contrasts: pair warm browns and siennas with a flash of red foil, or soften gray neutrals with pale pink lace overlays. The variety of motifs—floral, lace, animal-skin and plain color—makes the set a compact way to expand your lookbook without many extras.

    blue yellow red pink white nail foil mix - 2

    Five fall-forward looks to try now

    Below are quick, repeatable concepts that make the most of the collection’s mixed colors and textures.

    1. Jewel-Shard Accent on Matte Walnut

    Start with a matte walnut or deep taupe base. Apply irregular foil shards of blue and red to a single accent nail or a staggered set. The small bright pieces read like embedded gemstones against the flat background—ideal for clients seeking subtle glamour.

    2. Lace Peekaboo on Neutral Negative Space

    Create negative-space half-moons or diagonal cutouts on a clear or sheer beige canvas, then press white lace or floral foil into the exposed areas for an elegant, layered effect. This is a modern take on lace that works for bridal-adjacent autumn looks and everyday wear.

    3. Sunset Streak Ombré with Yellow and Pink

    Blend a soft pink base into a muted orange or terracotta, then add streaked yellow foil near the cuticle or tip to mimic late-afternoon light. Use thin foil strips or torn pieces for streaked, painterly movement.

    4. Animal-Skin French Tip

    For a couture twist on the French, paint a satin deep green or espresso base and use narrow strips of animal-skin patterned foil as the tip. The contrast reads luxe without being literal, and it’s an easy upgrade for classic clients.

    5. Full-Foil Statement Nail

    Pick one nail per hand for a full-coverage foil application in blue or red to act as the anchor for the rest of the manicure. Surround it with complementary solids or muted textures so the statement nail remains the focal point.

    If you want to try multiple looks from the set immediately, consider grabbing this mixed nail foil set to experiment and build seasonal samples.

    blue yellow red pink white nail foil mix - 3

    How to apply: a simple pro-friendly method

    While product-specific instructions vary, the general workflow for best foil transfer results follows these steps:

    • Prep: clean and shape nails, remove oils, and apply a smooth base layer.
    • Choose your transfer medium: either a tacky gel topcoat, foil adhesive or a sticky base designed for foil transfer. Apply evenly where you plan to place foil.
    • Transfer: when the adhesive is tacky (or as the product directions indicate), press the foil pattern side down onto the nail and burnish with a silicone tool or cotton bud.
    • Lift the foil sheet slowly to reveal transferred pattern; thin or torn pieces can be layered for texture.
    • Seal: finish with a durable topcoat suited to the system you used—glossy for high shine or matte to dial down reflectivity.

    These steps work for both full-coverage applications and delicate accents. For more controlled placement, trim foil into strips, shapes or micro-fragments before transferring.

    blue yellow red pink white nail foil mix - 4

    Key features in context

    • Color range: Blue, yellow, red, pink and white give designers both bold accents and pale lace options for layered looks.
    • Pattern variety: Floral, lace and animal-skin motifs let you mix soft and edgy elements in one manicure.
    • Compact kit value: A mixed set eliminates the need to carry multiple single-color sheets when staging seasonal services or social-media-ready samples.
    blue yellow red pink white nail foil mix - 5

    Who this set is for

    Technicians who need a compact, versatile supply for seasonal looks will appreciate a mixed collection like this. It’s also useful for nail artists building portfolios of autumn work or salons offering quick-change services during event season. If you’re experimenting with layering foils over gels, or you teach short workshops on transfer techniques, the variety helps demonstrate multiple effects without sourcing separate sheets.

    blue yellow red pink white nail foil mix - 6

    Care, removal and client notes

    Communicate realistic wear expectations to clients: foils are visually striking but depend on proper sealing for longevity. Removal is typically done with gentle lifting after soak-off or careful filing, following your usual safe removal protocols. Avoid aggressive scraping that can damage the natural nail. If a client has sensitive skin or known adhesive reactions, test a small area before full application and follow patch-test guidance for any new adhesive or gel product.

    blue yellow red pink white nail foil mix - 7

    Quick tips to elevate results

    1. Mix matte and shiny finishes—apply matte topcoat to surrounding nails and leave foil nails glossy to increase visual contrast.
    2. Layer micro-piece foil accents over stamped or hand-painted lines for dimension without heavy bulk.
    3. Trim patterns into chevrons, moons or shards to custom-fit fragile nail shapes and avoid excess overhang.
    4. Photograph samples under soft directional light to show off foil shimmer for social posts.

    Priced economically at $8.00, this mixed foil option gives you a low-cost way to expand seasonal offerings; prices may change. Mention of Dynamic Nail Supply appears as a reminder that dealers and distributors can vary, so check availability locally when stocking up.

    Conclusion: A mixed nail foil set with blue, yellow, red, pink and white motifs is a seasonal workhorse—perfect for autumn contrasts and flexible enough for year-round creativity. With a few simple application steps and thoughtful layering, you can convert everyday manicures into standout pieces that clients will request again.

  • How to Use a Double-Ended Gel Brush for Pro Results

    How to Use a Double-Ended Gel Brush for Pro Results

    Whether you’re working behind the salon station or perfecting at-home services, the right brush transforms gel application. A double-ended gel brush combines two complementary heads so you can switch from fine detail to fast surface work without changing tools. This guide walks through practical steps to get professional-looking gel nails using a two-in-one tool.

    What this brush brings to your kit

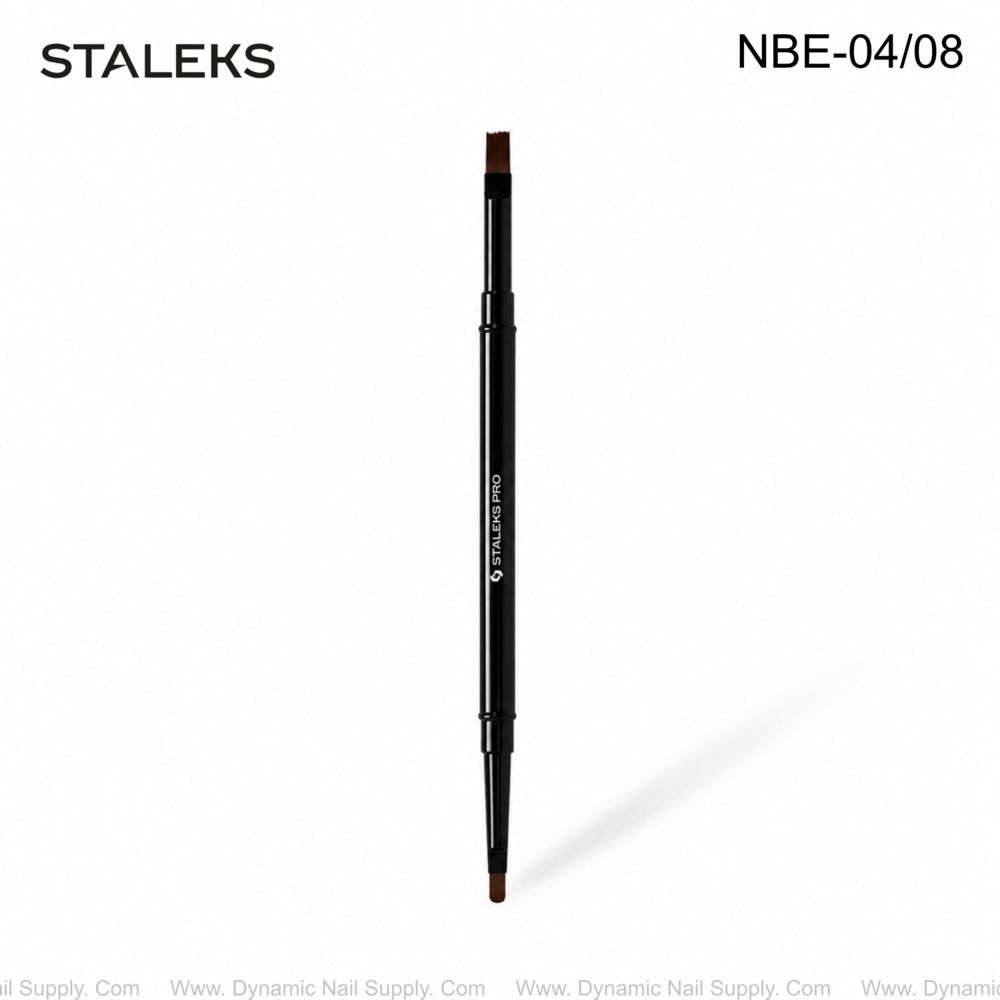
    The double-ended gel brush pairs a small, rounded tip with a wider straight edge so a single instrument handles both detailed cuticle work and broader modeling or leveling. Thin, elastic synthetic fibers give a springy feel that holds its shape during repeated use, while the lightweight aluminum handle balances control and comfort for longer appointments.

    For a compact, two-in-one tool, consider this double-ended gel brush.

    Staleks double-ended gel brush 7mm 10mm - 2

    Step-by-step: professional gel application with a double-ended brush

    1. Prep and prime: Start with clean, dry nail plates. Push back cuticles and lightly buff the surface to remove shine so gel adheres evenly.
    2. Pick the right end: Use the smaller, oval end for placement near the cuticle and along sidewalls; switch to the wider straight end to spread product across the full plate.
    3. Control product amount: Load a modest bead of builder or modeling gel—too much gel makes leveling harder. Work with thin layers for predictable curing and a smooth finish.
    4. Place and pull: Use the oval tip to place gel at the cuticle area, then pull the gel outward toward the center. When covering large areas, lay the straight end flat and make gentle sweeping passes.
    5. Refine and level: For a dome or apex, shape with the brush while the gel is still unset; for a flat even layer, use long, even strokes across the plate to reduce streaking.
    6. Cure as directed: Follow your gel manufacturer’s recommended curing steps between layers and after final shaping. Repeat shaping if needed before final cure.
    Staleks double-ended gel brush 7mm 10mm - 3

    Technique tips for neat, streak-free layers

    • Angle and pressure: Hold the brush at a low angle for wide coverage; raise the angle and apply lighter pressure for precision at the cuticle.
    • One-direction strokes: Minimize back-and-forth scrubbing. Smooth, consistent strokes help the gel self-level and reduce visible brush marks.
    • Rotate the hand, not the wrist: Move the client’s finger or your hand to follow the nail contour so the brush travels naturally along the plate.
    • Switch ends intentionally: Use the 7 mm oval for placement and control, then the 10 mm straight end to distribute and finish—this saves time and keeps edges tidy.

    Key features explained

    • Dual working ends: Two shapes in one brush let you transition quickly from detail to coverage without swapping tools.
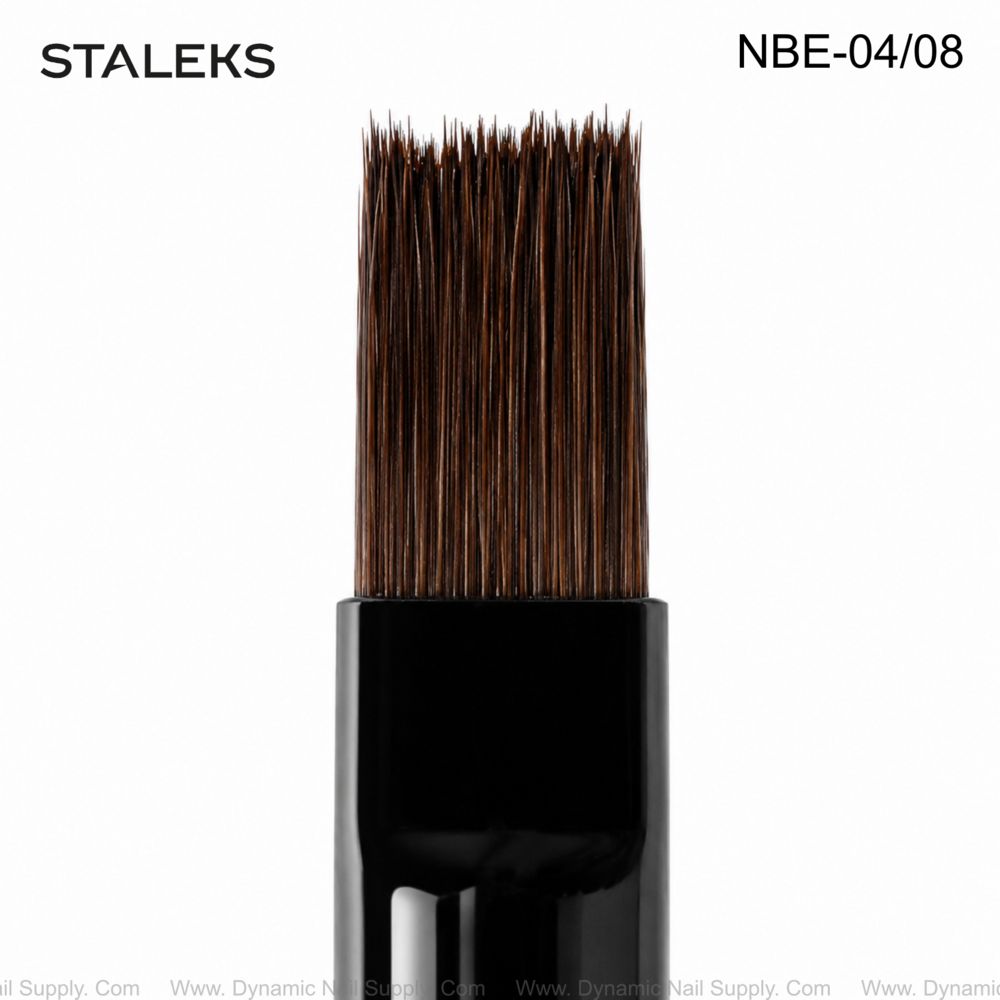
    • Synthetic bristles: Fibers are resilient and resist deforming under normal salon use, helping maintain consistent application.
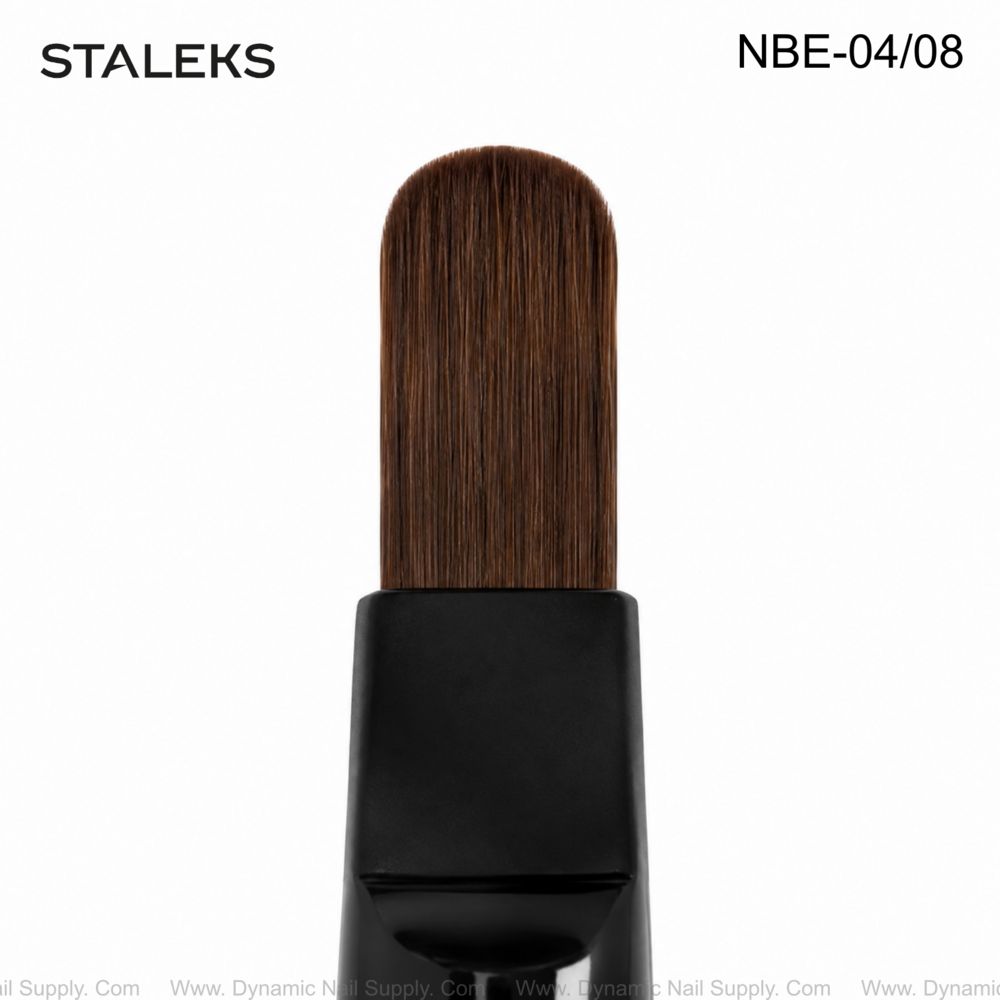
    • 7 mm oval head: Designed to follow the natural curve of the nail for close cuticle work and neat sidewall control.
    • 10 mm straight head: Wider working area covers longer or broader nail plates with fewer strokes for efficient modeling.
    • Aluminum handle: Lightweight and balanced to reduce hand fatigue during extended services.

    Care and maintenance to extend brush life

    After each service, remove residual gel with a brush-compatible cleaning agent, following any manufacturer guidance for product selection and technique. Gently work cleaning solution through the bristles to lift trapped product, and avoid pulling or crushing the fibers when rinsing or storing. Proper drying and storage help the brush retain its shape and elasticity so performance stays consistent across many applications.

    Who should add this brush to their toolkit

    This double-ended gel brush is well suited to professional nail technicians, gel specialists, and experienced manicurists who value both precision and speed. Its combination of a detailed oval tip and a broader straight side makes it useful for salon pros managing a range of nail lengths and plate widths. It’s also a convenient option for advanced home users who want a professional-grade, reusable tool.

    Buying notes and final thoughts

    The brush is offered as a professional-grade, dual-ended model with a black aluminum handle and synthetic bristles. It’s available through several suppliers, including Dynamic Nail Supply, at an approximate price of $6.79—prices may change. Keeping a dedicated cleaning routine and treating the fibers gently will maximize the tool’s usable life.

    With a little practice, swapping between the 7 mm oval and 10 mm straight ends will speed your workflow and tighten up cuticle lines while producing smooth, even gel layers. Used correctly, this two-in-one brush helps bridge the gap between precise finishing and efficient coverage—key to delivering consistently professional gel results.

  • acid free nail dehydrator for gel & acrylic adhesion

    acid free nail dehydrator for gel & acrylic adhesion

    Introduction

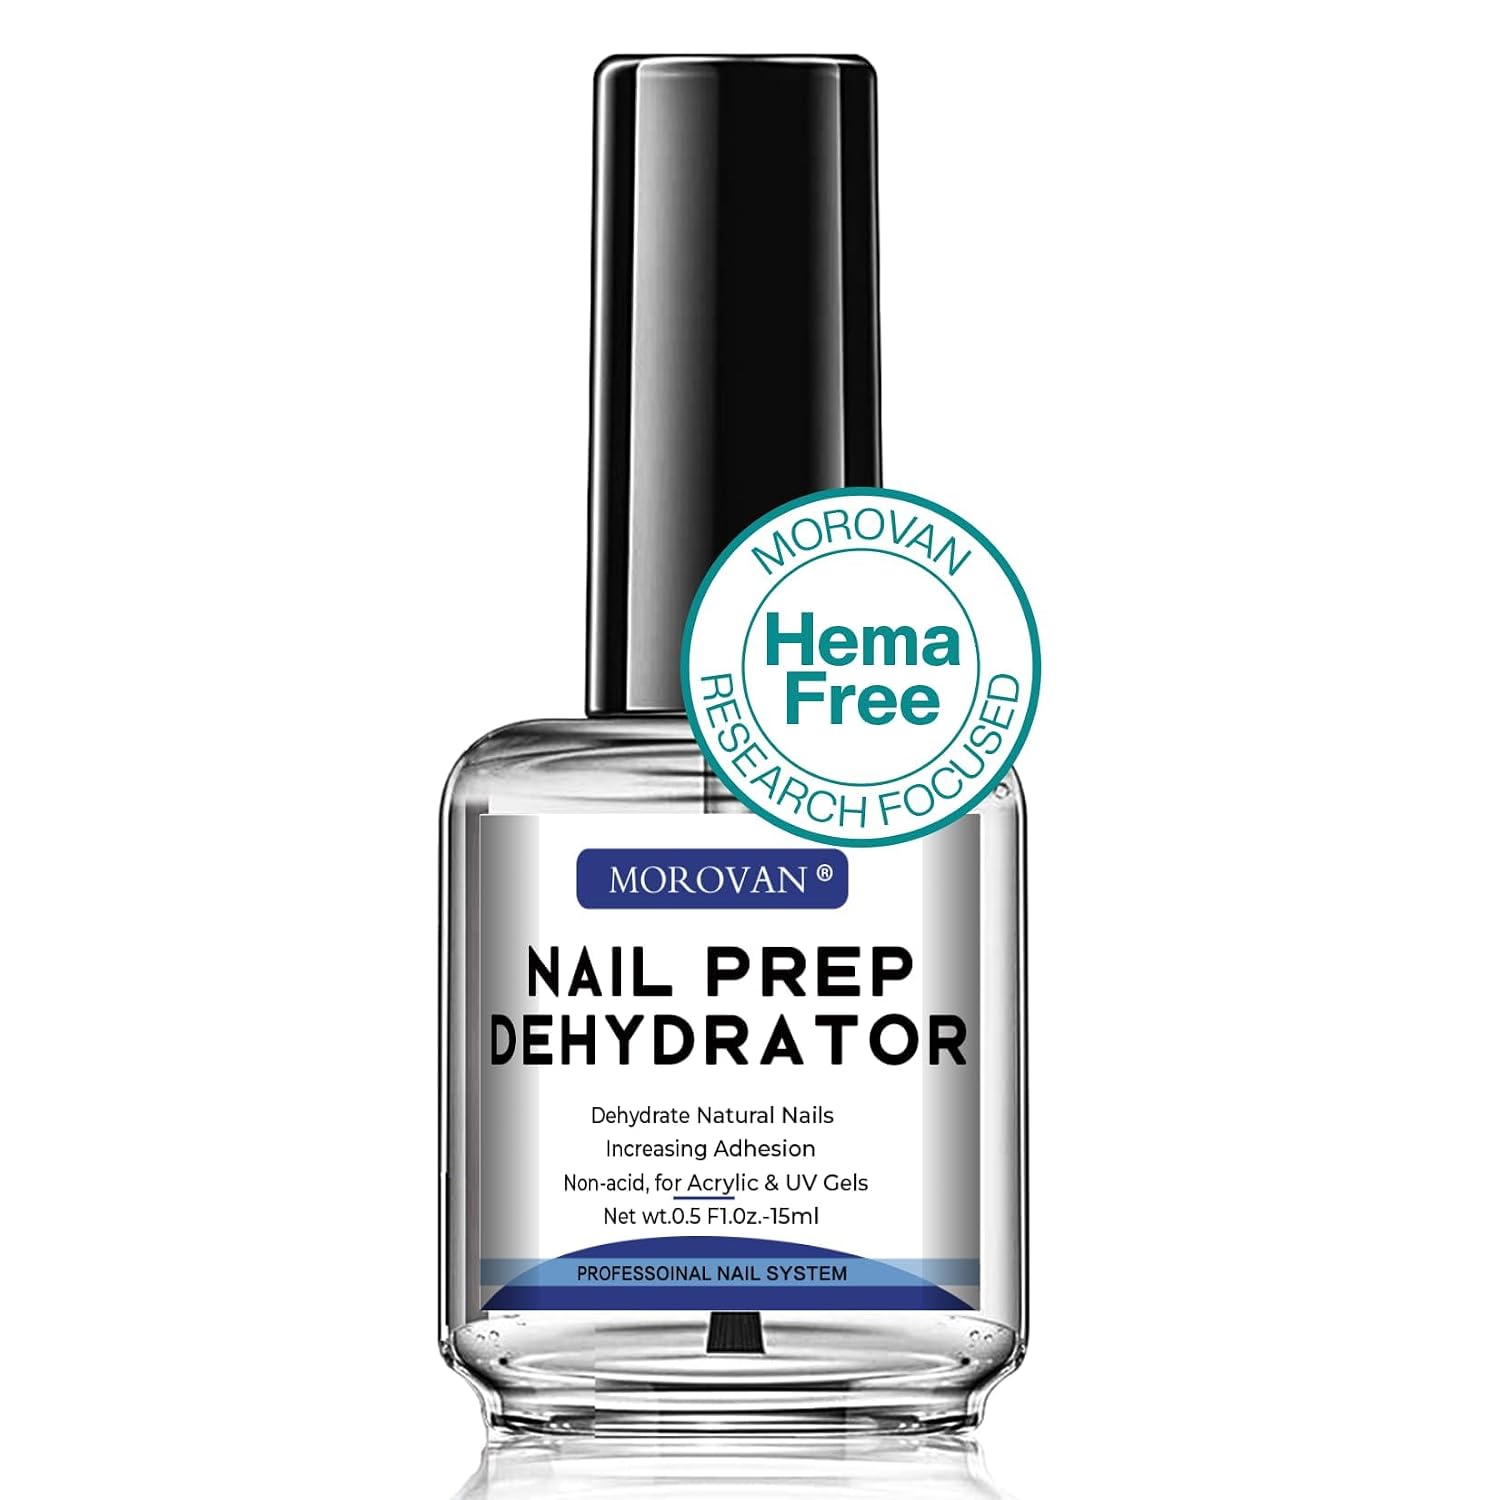
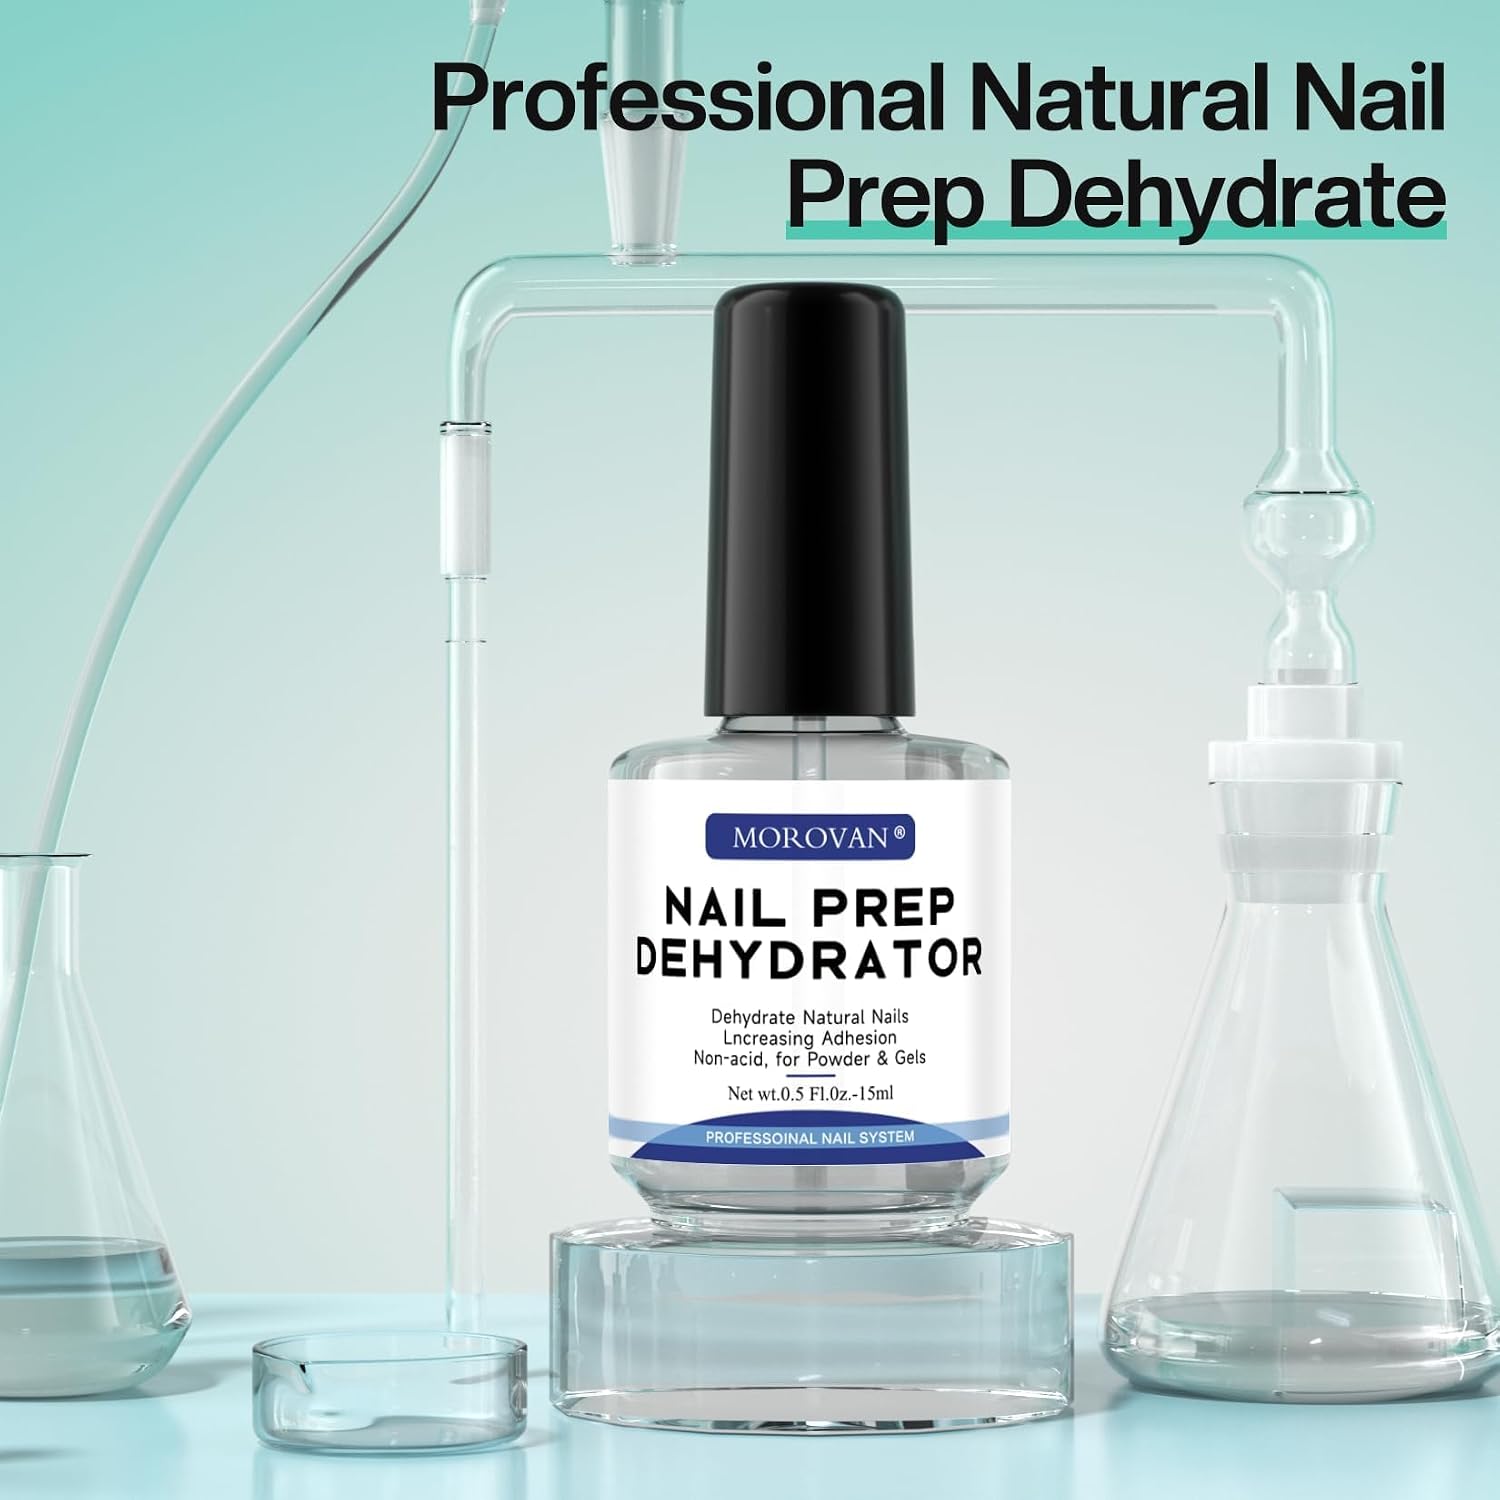
    If you work with gel polish, acrylics, dipping powders or builder gels, preparing the natural nail properly is essential. An acid free nail dehydrator helps by removing oils and contaminants from the nail plate so polish and enhancement products adhere more reliably. This guide explains what this dehydrator does, how to use it, and when it’s the right choice for your manicure workflow.

    What this product does and why it matters

    This dehydrator is formulated to remove surface oils, dust and bacteria from the natural nail before applying base coats, gels or acrylic systems. By clearing these contaminants it reduces the risk of trapped air and surface bubbles, and improves contact between the enhancement and the nail bed. In short, it’s a preparatory step that aims to reduce lifting and make salon results last longer.

    Key effects on the nail surface

    • Degreases the nail plate to help adhesives bond better.
    • Removes dust and bacteria for a cleaner application area.
    • Reduces air bubbles that can form beneath gels or powders.
    • Improves adhesion so color gels, acrylics and powder systems stick more securely.

    Important features in context

    • Acid-free, less corrosive formula: Designed to be gentler than acid primers while still enhancing adhesion.
    • Fast-dry: Dries quickly without needing LED/UV lamp exposure.
    • Wide compatibility: Suitable with acrylic powder/liquid systems, gel nail polish, standard nail polish, dipping powders, builder gels and poly extension gels.
    • Application brush: Comes with a smooth, soft brush for controlled and even application.
    • Small 0.5 oz bottle: Compact size for salon stations or at-home kits.

    How to use the dehydrator — step by step

    • Step 1 — Prepare the natural nail: File and shape the nail, gently push back cuticles and remove any visible debris.
    • Step 2 — Light buff: Use a fine buffer to create a slightly roughened surface if required by your enhancement system.
    • Step 3 — Apply the dehydrator: Using the included soft brush, brush a thin layer across the nail plate. Allow it to air dry; no lamp is needed.
    • Step 4 — Apply base coat or primer: Once the dehydrator is dry, proceed with your base coat, primer or the first layer of your chosen system.
    • Step 5 — Continue your service: Build the enhancement (gel, acrylic, dip, etc.) according to the system instructions.

    Placement in your routine

    This product is applied before any base coat or adhesive step. Think of it as the first essential action in a manicure or enhancement service to create a clean, bondable surface.

    Compatibility and suitability

    The dehydrator is formulated to work with a broad range of nail systems: acrylic powders and liquids, gel polishes, traditional nail lacquers, dipping powders, builder gels and poly extension gels. Because it dries quickly without LED/UV, it can be used in workflows that do not rely on lamp curing for this preparatory step.

    Who should consider it

    • Technicians who want improved adhesion across multiple systems.
    • Home users seeking a gentle prep step before DIY gel or dip services.
    • Anyone aiming to reduce common issues like lifting or surface bubbling.

    Safety notes and limitations

    The formula is described as acid-free and less corrosive, intended to be safer for hands compared with stronger acidic primers. It is also claimed to act like a double-sided tape, improving the mechanical bond between product and nail. While the product is presented as safe to use on hands, always avoid contact with broken skin, and follow standard salon hygiene practices.

    Do not substitute this dehydrator for steps required by a specific enhancement system (for example, some acrylic or gel workflows may still require a separate bonding primer or a specific protocol). Read product and system instructions to ensure compatibility.

    Practical tips for best results

    • Apply a thin coat — excess liquid can interfere with subsequent layers.
    • Allow the dehydrator to fully dry before applying a base coat or adhesive.
    • Use the soft brush to reach the lateral nail edges but avoid skin contact to limit irritation.
    • Pair with a primer or bonding product when your chosen system requires it — the dehydrator prepares the surface but may not replace all primers.

    Customer support and packaging

    The product is offered with customer service options that include exchange or refund in cases where the item arrives damaged, defective, leaking or missing. The compact bottle with an integrated brush is intended for precise application and convenient storage.

    Price note: It is priced at USD 5.99; prices may change.

    Conclusion

    An acid free nail dehydrator is a practical preparatory tool for nail services that rely on strong adhesion, including gels, acrylics and dipping powders. Its acid-free, fast-dry formulation and soft brush applicator make it a convenient addition to both professional and at-home kits. Use it as the first step before base coat or primer to help reduce lifting, minimize air bubbles and improve the longevity of your nail enhancements.

  • Pastel Flower Nail Charms: Get Salon Results at Home

    Pastel Flower Nail Charms: Get Salon Results at Home

    Small resin flowers can make a big impact. Whether you’re a salon tech or a DIY nail enthusiast, pastel flower nail charms add delicate texture and color that elevates a mani from pretty to professional. This guide shows step-by-step how to achieve lasting, salon-quality results with a Multi Color Resin Pastel Color Flowers Nail Charm Set.

    What these charms bring to your designs

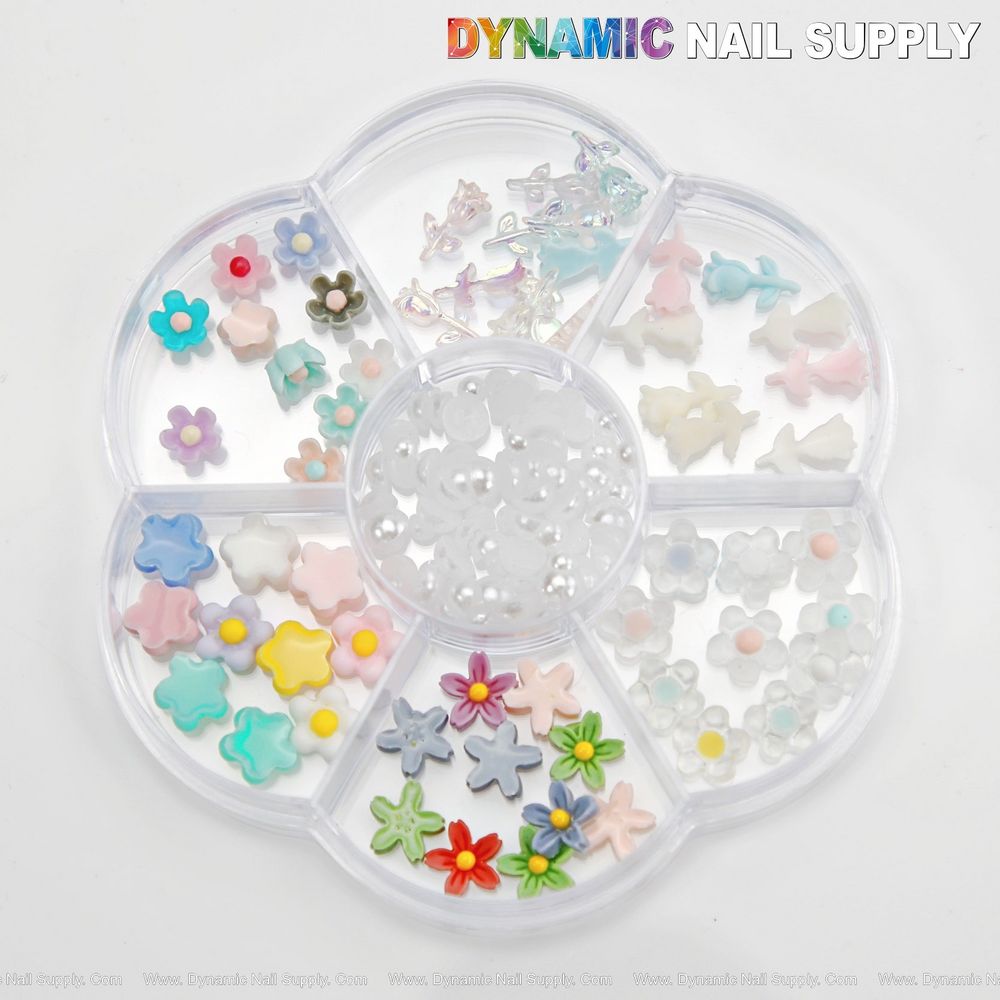
    The set contains multi-colored resin pastel flowers designed for nail art and DIY design. Use them to accent a single nail, create a full floral accent nail, or combine with rhinestones and metallic foils for layered dimension. Because they are resin, the flowers hold their shape and give a three-dimensional focal point to any manicure.

    Prep and planning: the first professional step

    Start with clean nails: remove old polish, lightly buff the surface, and push back cuticles. For best adhesion, wipe the nail plate with an alcohol prep to remove oils. Decide the design layout before you apply any product—take a photo of your client’s hand or your own to use as a reference.

    If you’re picking a set for the first time, consider trying a small cluster on a ring finger or accent toenail to test sizing and placement.

    How to place and secure pastel flower nail charms

    Placement and secure adhesion are key to professional longevity. Use these steps:

    • Adhesive choice: For temporary wear, a strong nail glue works well. For longer-lasting salon results, embed the charm in builder gel or hard gel and cure under an LED/UV lamp.
    • Placement: Use a wax-tipped stick or tweezer to position each flower. Place larger pieces near the cuticle or center of the nail, and smaller pieces toward the tip or as filler.
    • Embed and seal: When using gel, apply a thin layer of builder or base gel, place the charm, then encapsulate with another thin layer of clear gel. Cure according to the gel manufacturer’s instructions, then repeat if necessary to fully seal edges.

    For a direct product link and ordering details, check the pastel flower nail charms set for the set that inspired these steps.

    Finishing touches for a salon-quality look

    A flawless finish is what separates a good mani from a pro mani. After the charms are secured:

    • File and shape any excess gel flush with the nail surface, being careful not to sand into the charm.
    • Apply a glossy or matte top coat depending on the desired effect; glossy preserves shine around the charm while matte gives a contemporary contrast.
    • Seal the edges with top coat or sealing gel to prevent lifting—pay special attention to the charm base.

    Practical tips and common troubleshooting

    Use these practical tips to avoid common issues:

    • If a charm lifts slightly after curing, reapply a tiny dab of gel or glue under the lifted edge and cure or let set.
    • Avoid placing charms too close to the free edge where they catch on fabrics.
    • For pedicures, choose larger surfaces and secure with more gel layers to withstand movement and moisture.

    Who these pastel flower nail charms are for

    The set is ideal for nail artists building a seasonal or bridal collection, students practicing 3-D placement, and home users who want a quick way to upgrade their mani. The Multi Color Resin Pastel Color Flowers Nail Charm Set is a versatile accessory for creative designs and suits both minimalist and maximalist looks. The product is offered by Dynamic Nail Supply and is competitively priced at $5.99, though prices may change.

    Care, safety, and removal notes

    Handle charms gently—resin pieces are decorative and can break if dropped. Keep small parts away from young children. When removing, soak the nails in an appropriate remover to dissolve gel or adhesive; avoid prying off charms, which can damage the natural nail. After removal, rehydrate the nail plate and cuticles with oil and a nourishing hand cream.

    Conclusion: quick wins for pro-looking florals

    Pastel flower nail charms deliver a high-impact look with minimal tools when you follow salon techniques: prepare the nail, plan placement, secure with the right adhesive or gel, and seal thoroughly. With careful placement and finishing, these resin pastel flowers provide a durable, elegant accent that looks like it came from a professional studio.

  • professional quick dry nail glue — Fast Salon-Quality Adhesive

    professional quick dry nail glue — Fast Salon-Quality Adhesive

    Professional quick dry nail glue can speed up your manicure routine while delivering a secure hold for artificial nails, tips, and small decorations. This guide explains how to use such an adhesive correctly, highlights its main features, and outlines which applications and users will benefit most.

    What this glue is designed for

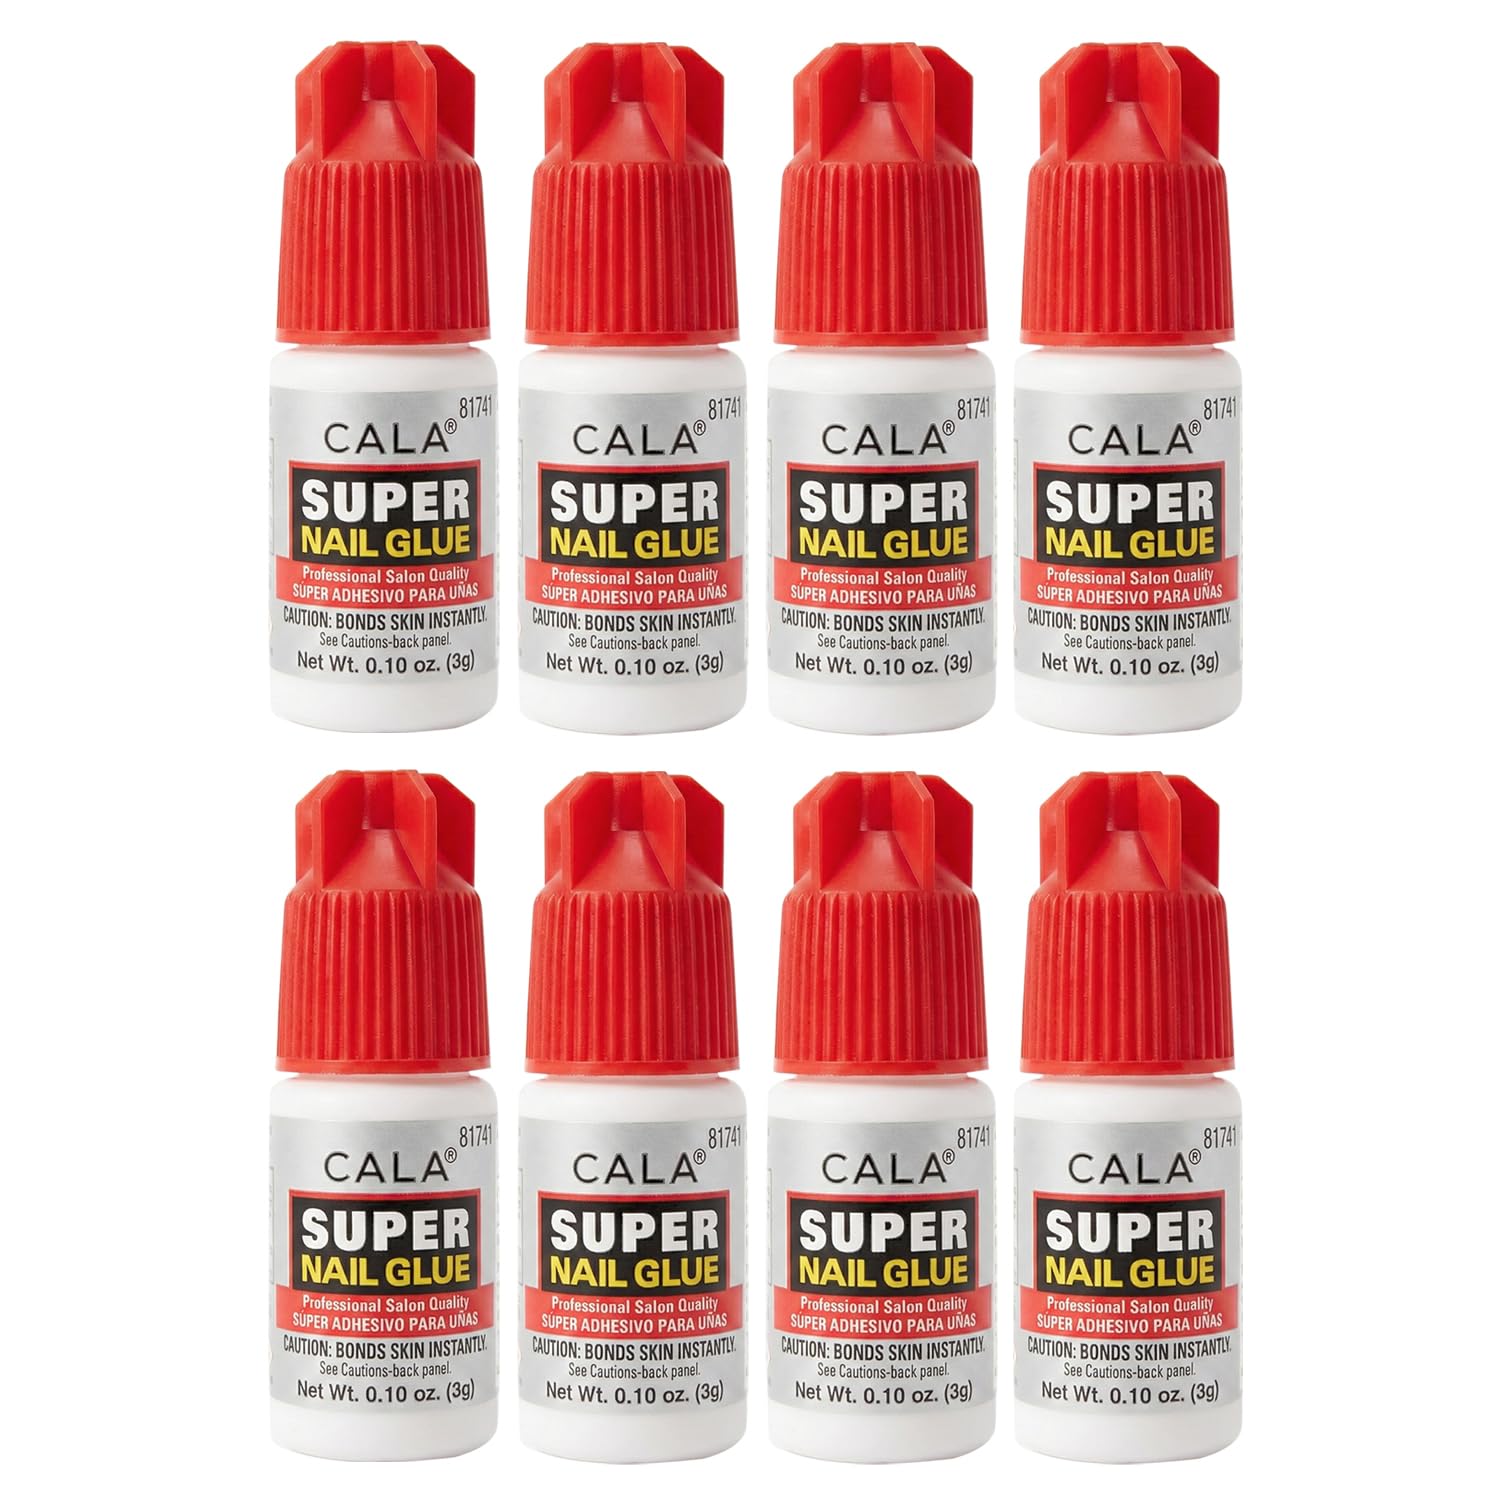
    This salon-quality adhesive is formulated to bond false nails, nail tips, and tiny nail art accessories quickly and reliably. It is supplied in a multi-pack so you can keep a bottle in your kit and extras on hand for repairs or frequent use. The formula is described as setting in seconds and providing a strong hold suitable for both application and split natural nail repair.

    Key features in practical terms

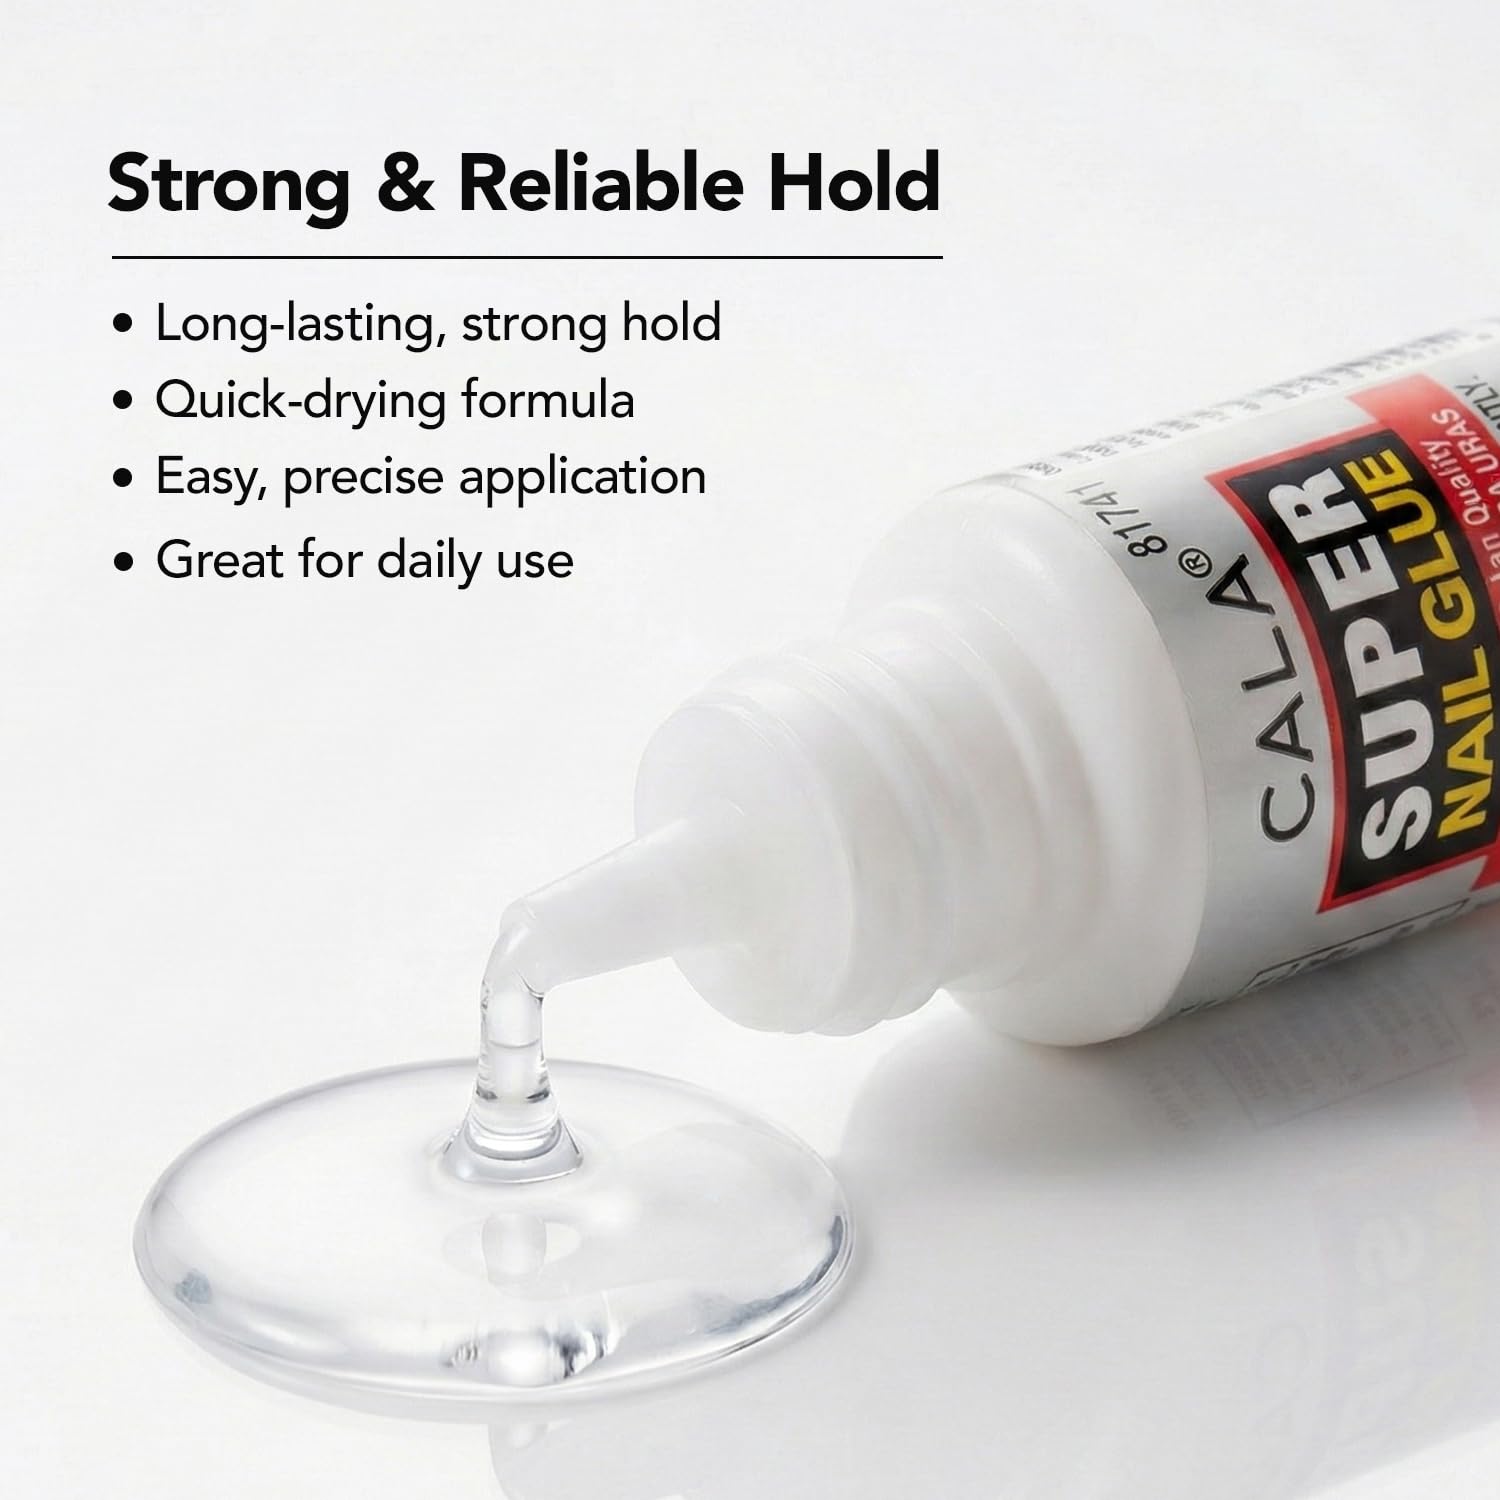
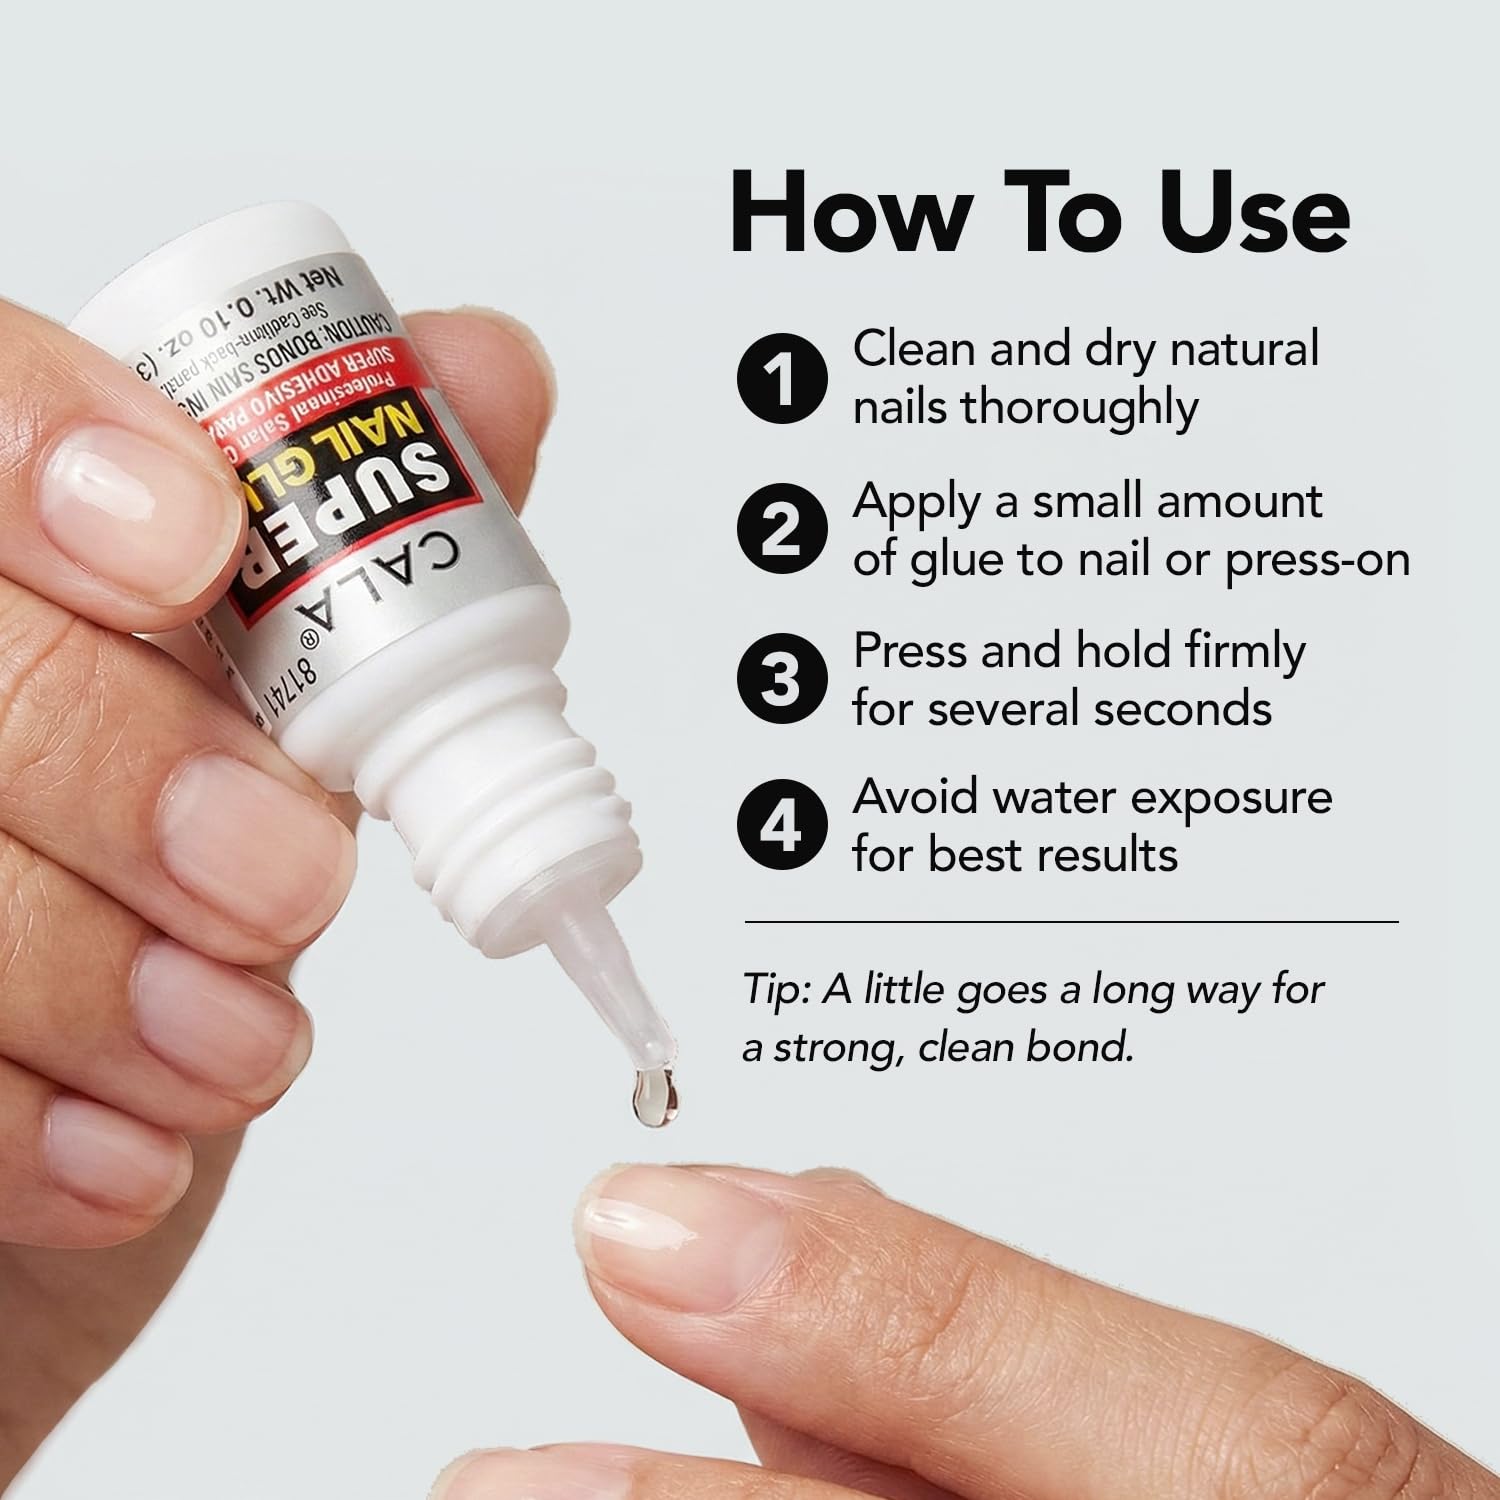
    • Fast setting time: The glue is quick drying, which reduces waiting time during application and is useful for on-the-go fixes.
    • Precision dosing: A single drop is sufficient for attaching most nail tips, while 1–2 drops work for full-cover nails, helping to limit waste.
    • Versatile use: The adhesive is suitable for tips, artificial nails, and small decorations such as gems or charms, and can also be used to repair splits in natural nails.
    • Salon-quality hold: The product is positioned as professional-grade, intended to provide a strong bond when used as directed.
    • Pack size: Sold as multiple bottles in one set, giving extra supply for frequent users or professional kits.

    How to apply for best results

    Follow these simple, specific steps for common applications.

    Attaching artificial tips

    • Prepare nails by ensuring natural nails are clean and dry.
    • Apply one small drop of adhesive to the tip or the natural nail, depending on the tip design.
    • Press the tip into place and hold for about 4–10 seconds until the bond sets.

    Applying full-cover nails

    • Place 1–2 drops of glue in the center of the artificial nail or on the natural nail as preferred.
    • Align the full-cover nail carefully, then press down to seat it firmly.
    • Maintain pressure until the glue sets.

    Use cases and suitability

    This adhesive works well for people who need quick application and a firm hold. It suits both home users and professionals looking for a reliable bonding step in their nail routine. Use it for temporary sets, emergency repairs, and when applying decorative items that require a small but strong bond.

    If you pair this adhesive with curved full cover tips, you’ll get a smoother application; see curved full cover tips for a compatible set.

    Limitations and realistic expectations

    • Quick setting means there is less time for repositioning; align carefully before pressing down.
    • Only a small amount is needed; excessive application can cause overflow and mess.
    • While described as strong hold, performance depends on proper prep and application technique.

    Practical tips to avoid common issues

    • Use clean, dry nails to maximize adhesion; moisture and oils reduce bond strength.
    • Measure drops conservatively — one drop per tip is suggested for most tip styles.
    • Keep spare bottles on hand if you work with many clients or do frequent home applications.

    Safety and handling notes

    Follow the manufacturer’s directions for application timing and drop quantities. Because the product is fast-setting, work methodically and avoid applying excessive amounts. Store the bottles as directed to maintain performance over time.

    Conclusion

    For fast, efficient bonding of false nails, tips, and small nail accessories, a professional quick dry nail glue offers a practical solution. Use the recommended drop quantities and hold times for clean results, and keep extra bottles available for repairs or frequent use. The listed price is USD 12.99; prices may change.

  • 50,000 RPM Cordless Nail Drill — Portable E-File Charging Station

    50,000 RPM Cordless Nail Drill — Portable E-File Charging Station

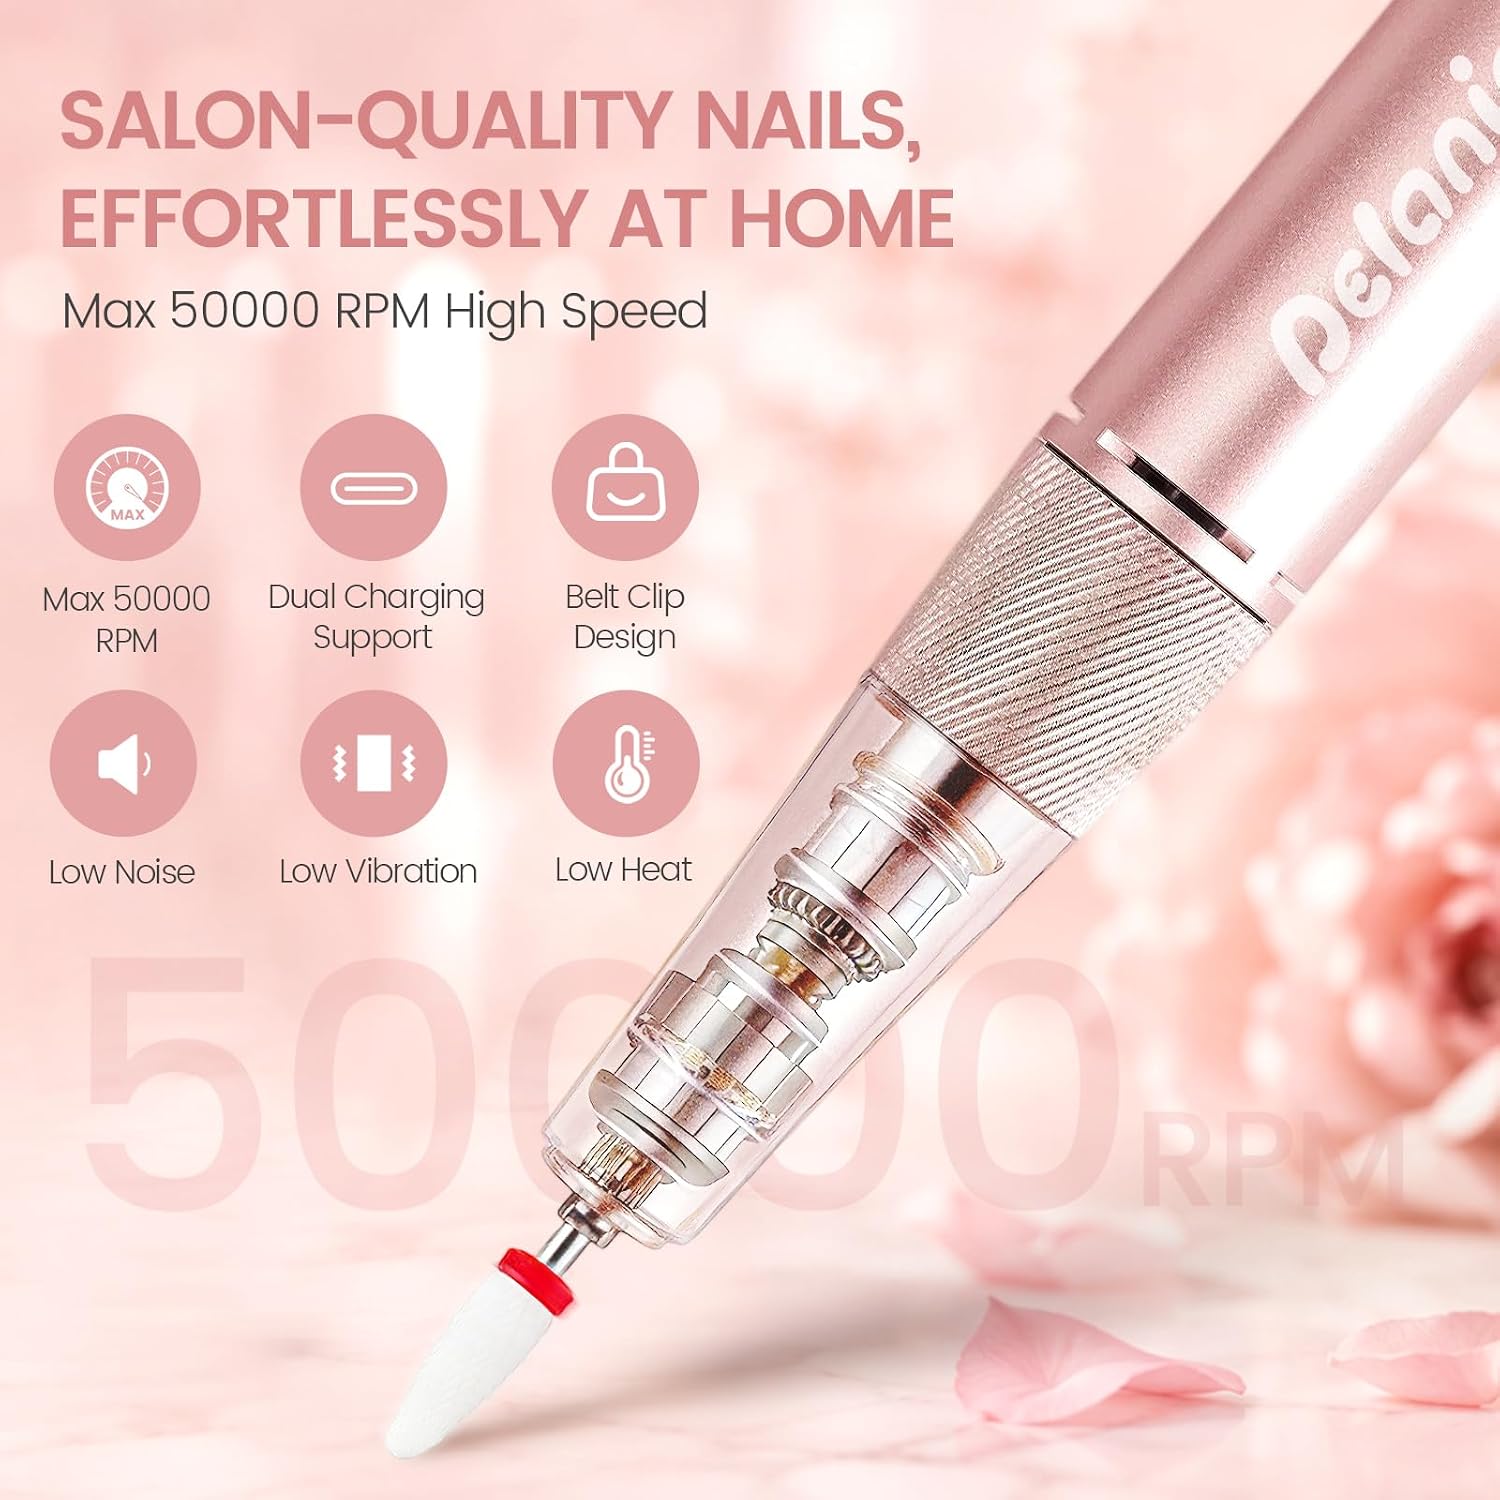
    The 50,000 RPM cordless nail drill is a compact professional e-file designed to speed up acrylic, gel, and polygel removal while offering cordless convenience. Its high-torque motor, visual speed indicators, and smart charging dock aim to streamline prep and finishing tasks for busy nail techs, mobile artists, and informed DIY users.

    Listed price: USD 52.19 (prices may change).

    Overview: what this machine delivers

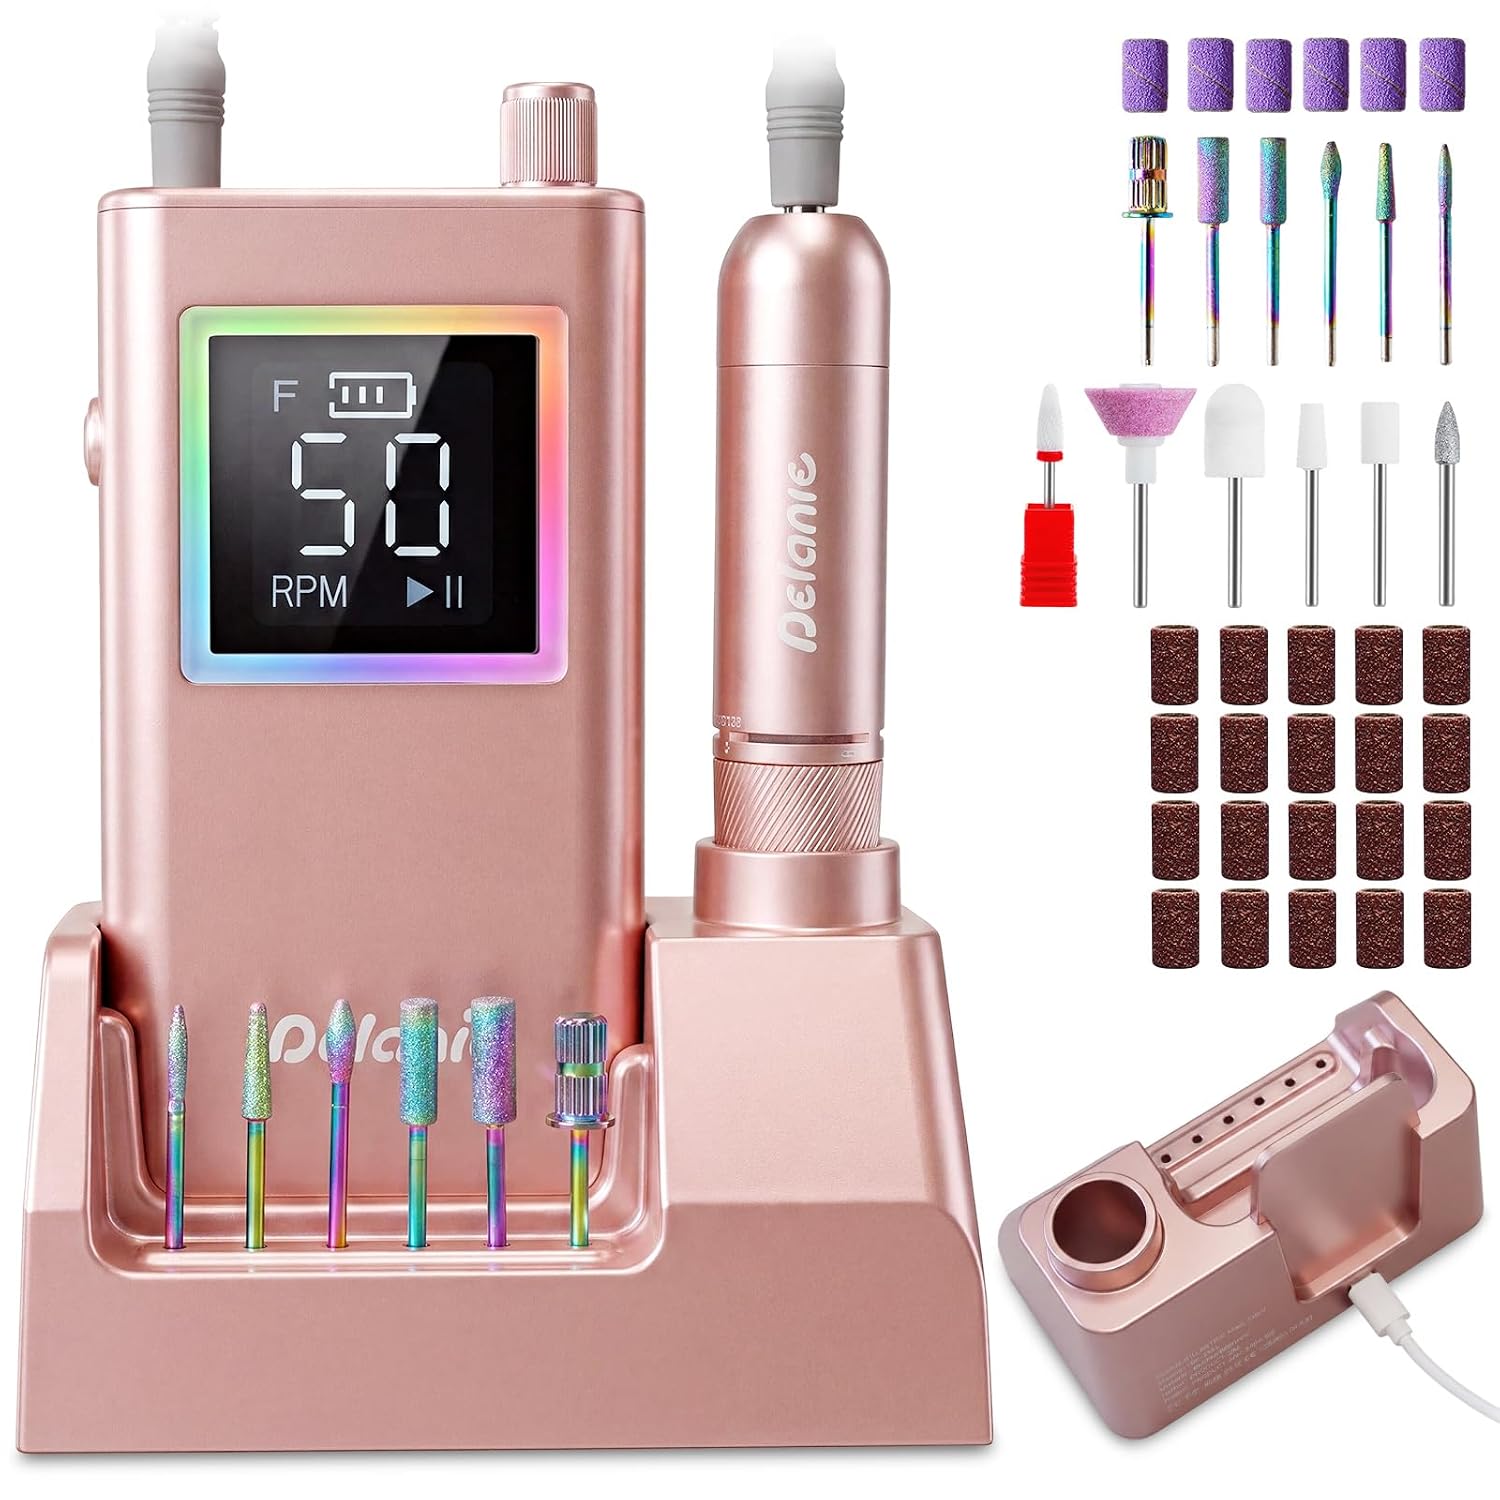
    This device pairs a powerful 50,000 RPM motor with a portable, 2-in-1 desktop and wireless design. The motor is stated to remove acrylic, gel, and polygel quickly—reported to take as little as 10 seconds for heavy product removal—while delivering consistent, stall-free performance under load. The package includes a smart charging base that also acts as an organized storage dock for bits and accessories.

    Key features in context

    High-speed motor and performance

    • 50,000 RPM motor: Intended for fast removal and debulking of hard enhancements.
    • Stall-free operation: Designed to maintain torque when pressure increases, helping avoid slowdowns during demanding tasks.

    Battery, charging and mobility

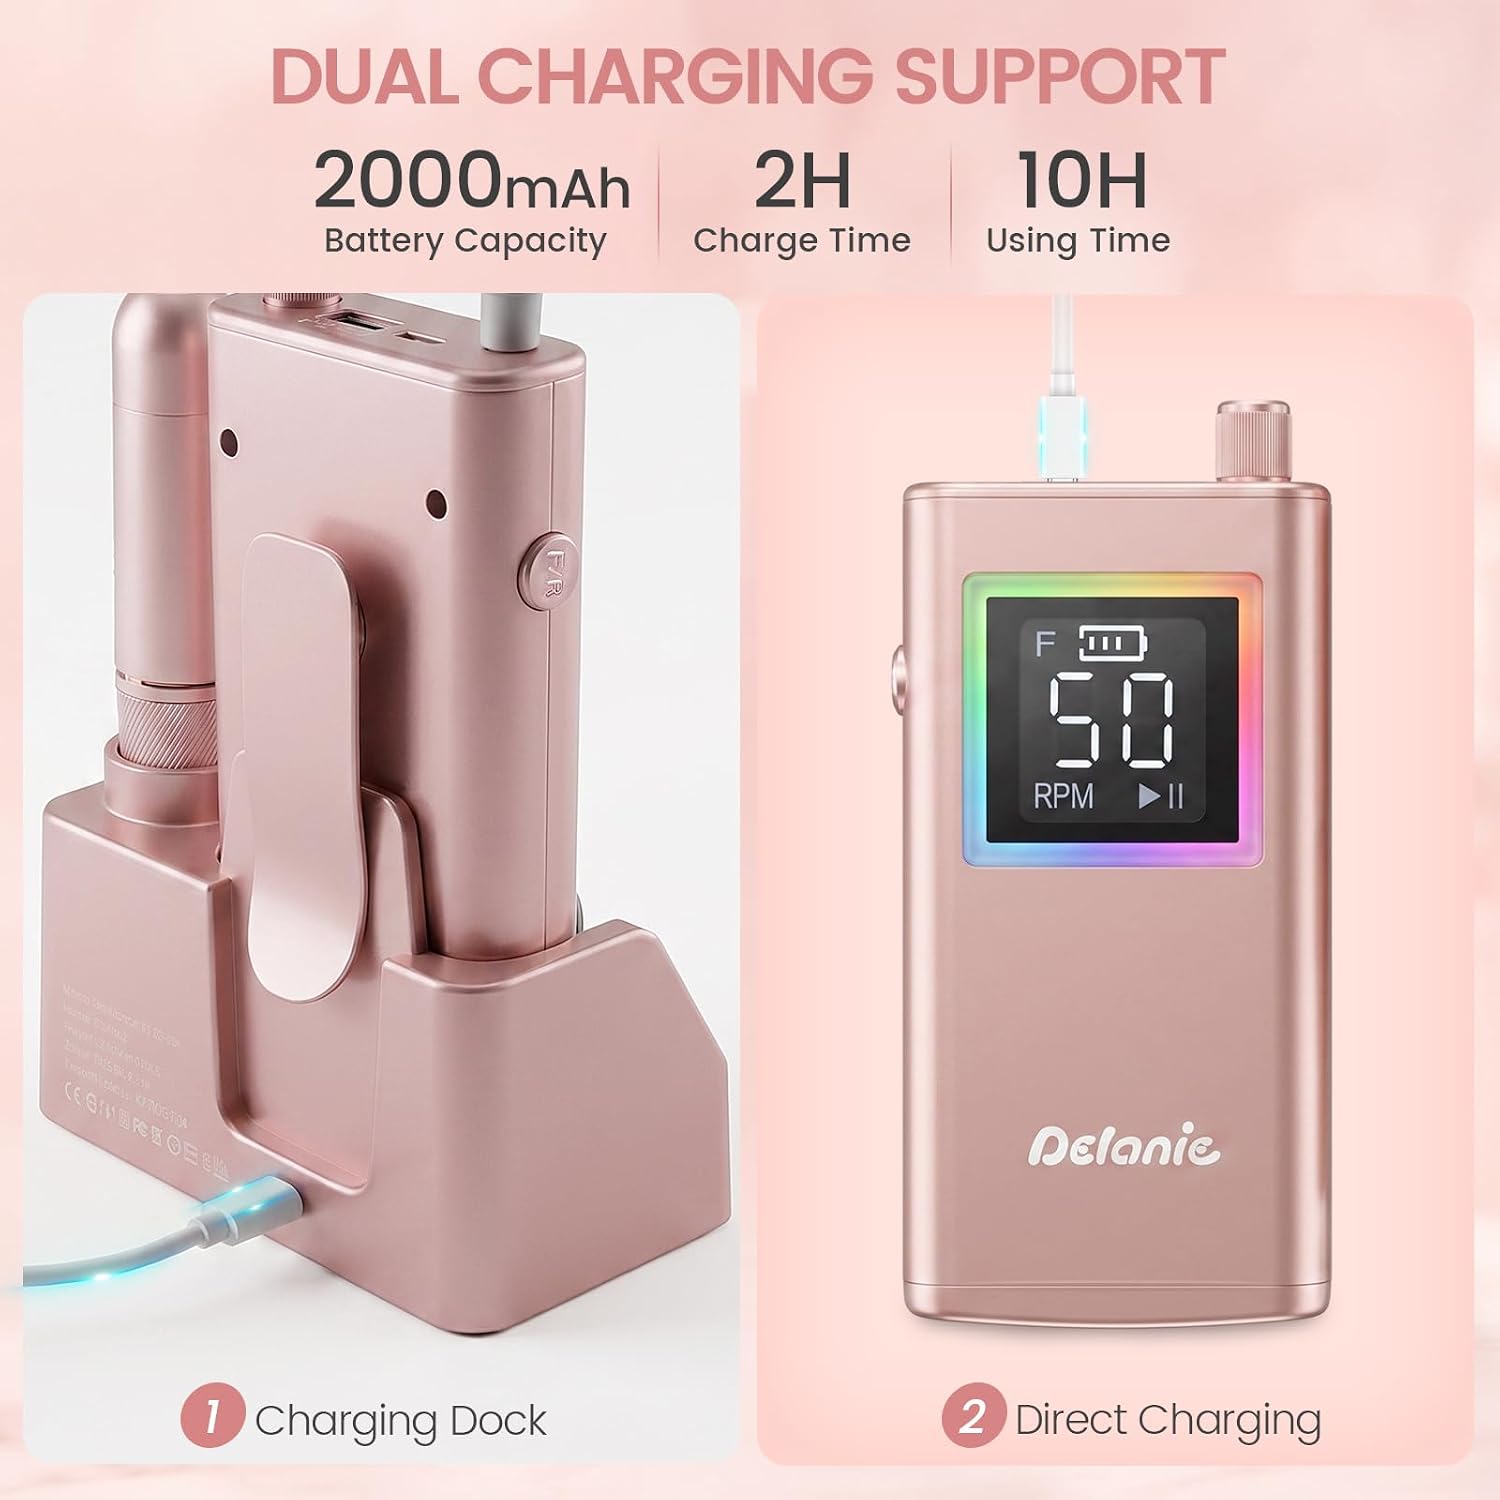
    • 2000mAh battery: Provides up to 10 hours of cordless use per full charge after approximately 2–3 hours of charging.
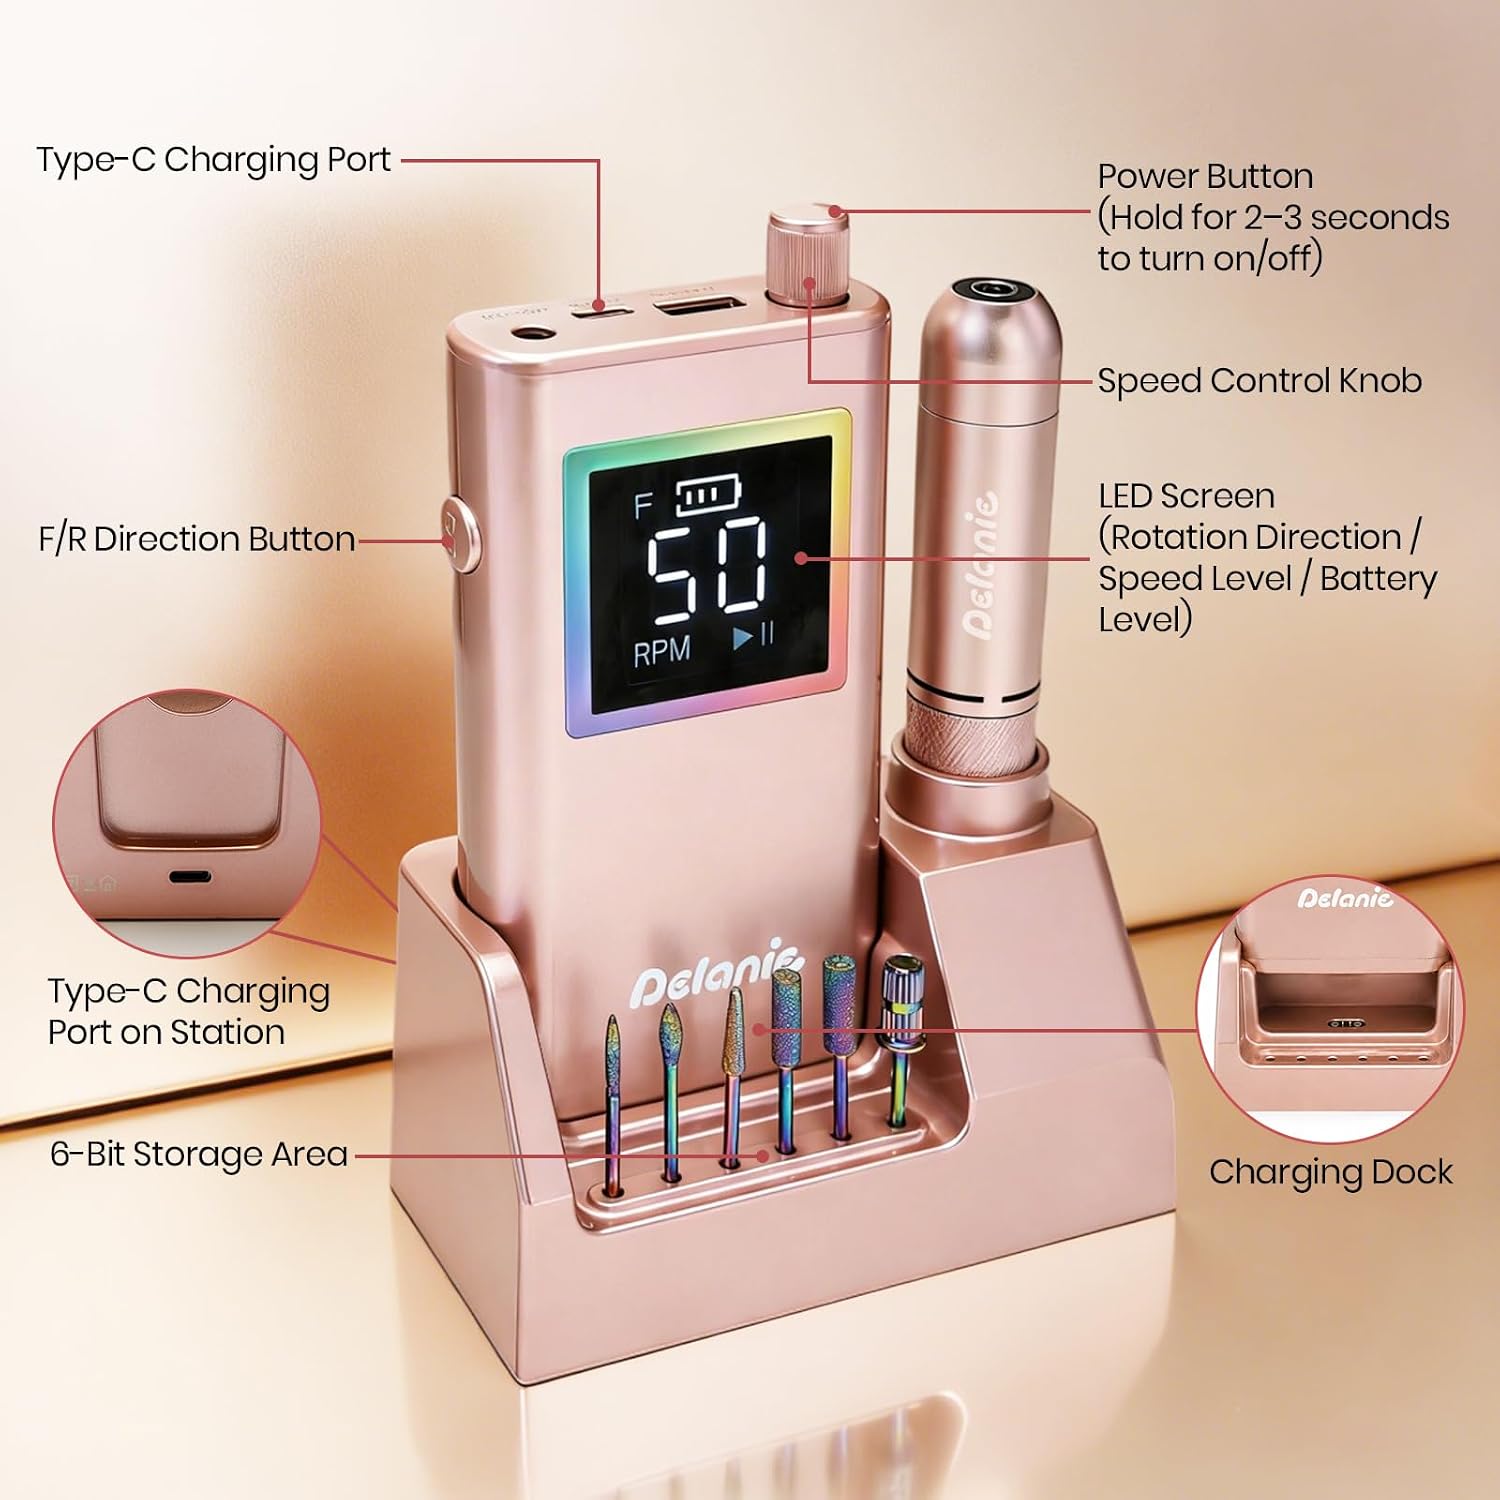
    • Type-C charging: The charging base uses a Type-C port and supports simultaneous operation while charging, so work can continue without interruption.
    • 2-in-1 design with belt clip: Converts between desktop docking and true portability for mobile nail techs or home use.

    Visual speed control

    An LED ring surrounding the display uses five color bands to indicate RPM ranges: Purple (0–11K), Blue (11–20K), White (21–30K), Pink (31–40K), and Red (41–50K). Combined with a large backlit numeric readout, this makes it easy to set and monitor precise speeds for different procedures.

    Handpiece ergonomics and comfort

    • Aluminum alloy body: Compact and lightweight to reduce hand fatigue during long sessions.
    • Low vibration and quiet: Engineered to run quietly and minimize vibration, which can help avoid overheating and improve comfort for both technician and client.

    Kit contents and workspace organization

    The kit includes a smart storage charging dock, a full set of 12 drill bits, sanding bands, and a Type-C cable. The base doubles as a tidy storage station to keep tools accessible and cords tangle-free while charging.

    How to use: practical steps for safe, efficient work

    • Charge the unit for 2–3 hours before first use to reach a full battery.
    • Select an appropriate bit from the included 12-piece set for the task—coarser bits for bulk removal and finer bits for cuticle and finishing work.
    • Start at a lower RPM and increase gradually. Use the LED ring and backlit display to find the correct range for material and technique.
    • Keep the handpiece moving; do not linger on one spot to reduce heat buildup and avoid damaging the natural nail.
    • If working cordless, monitor battery level and place the handpiece into the smart dock for charging when low; the machine can be used while connected to the Type-C charger.

    Tips for salon, mobile, and at-home use

    • For salon speed, rely on higher RPM ranges for bulk removal but drop to lower ranges for delicate cuticle work.
    • Use the belt clip for mobile appointments to keep the handpiece secure while moving between stations or locations.
    • Store bits and sanding bands in the charging base to maintain a clean work area and reduce setup time between clients.
    • If you prefer alternate bit types, check compatibility with common 3/32″ shank accessories before purchasing additional bits.

    For a comparable high-torque option from another brand, consider exploring ONAIL’s professional model as an alternative ONAIL 50,000 RPM drill.

    Limitations and suitability

    • While marketed as suitable for professional and at-home use, proper technique is required—especially at high speeds—to avoid damage to the natural nail.
    • The kit includes 12 bits and sanding bands, but specialty bits or a larger selection may be needed for some technicians’ preferred workflows.
    • Cordless runtime depends on settings and workload; rapid removal at maximum RPM may reduce continuous cordless time compared with lighter tasks.

    Safety notes

    • Always use the appropriate bit and speed for the material being removed.
    • Maintain steady, light pressure; excessive force is unnecessary when torque is sufficient and can lead to heat generation or nail damage.
    • Keep the device and charging base dry and clean. Disconnect charging when not in use for extended periods.
    • Allow the handpiece to cool if it becomes warm during extended use; the aluminum alloy body and low vibration design aim to minimize overheating but monitoring is recommended.

    Who should consider this drill?

    This machine targets busy nail technicians who value cordless mobility and quick removal, mobile artists who need a compact but powerful e-file, and experienced DIY users who are comfortable with electric file techniques. Its visual speed feedback and docking storage also appeal to users who want organized, transportable setups.

    Conclusion

    The 50,000 RPM cordless nail drill blends a high-torque motor with a portable charging station and clear visual speed controls. Its cordless runtime, Type-C charging, and included kit aim to support fast-paced salon workflows and mobile services. Keep in mind the need for correct speeds, appropriate bits, and routine cooling to get consistent results and protect natural nails.

  • 35000 RPM Nail Drill Handpiece: Compact Replacement Pen

    35000 RPM Nail Drill Handpiece: Compact Replacement Pen

    Introduction

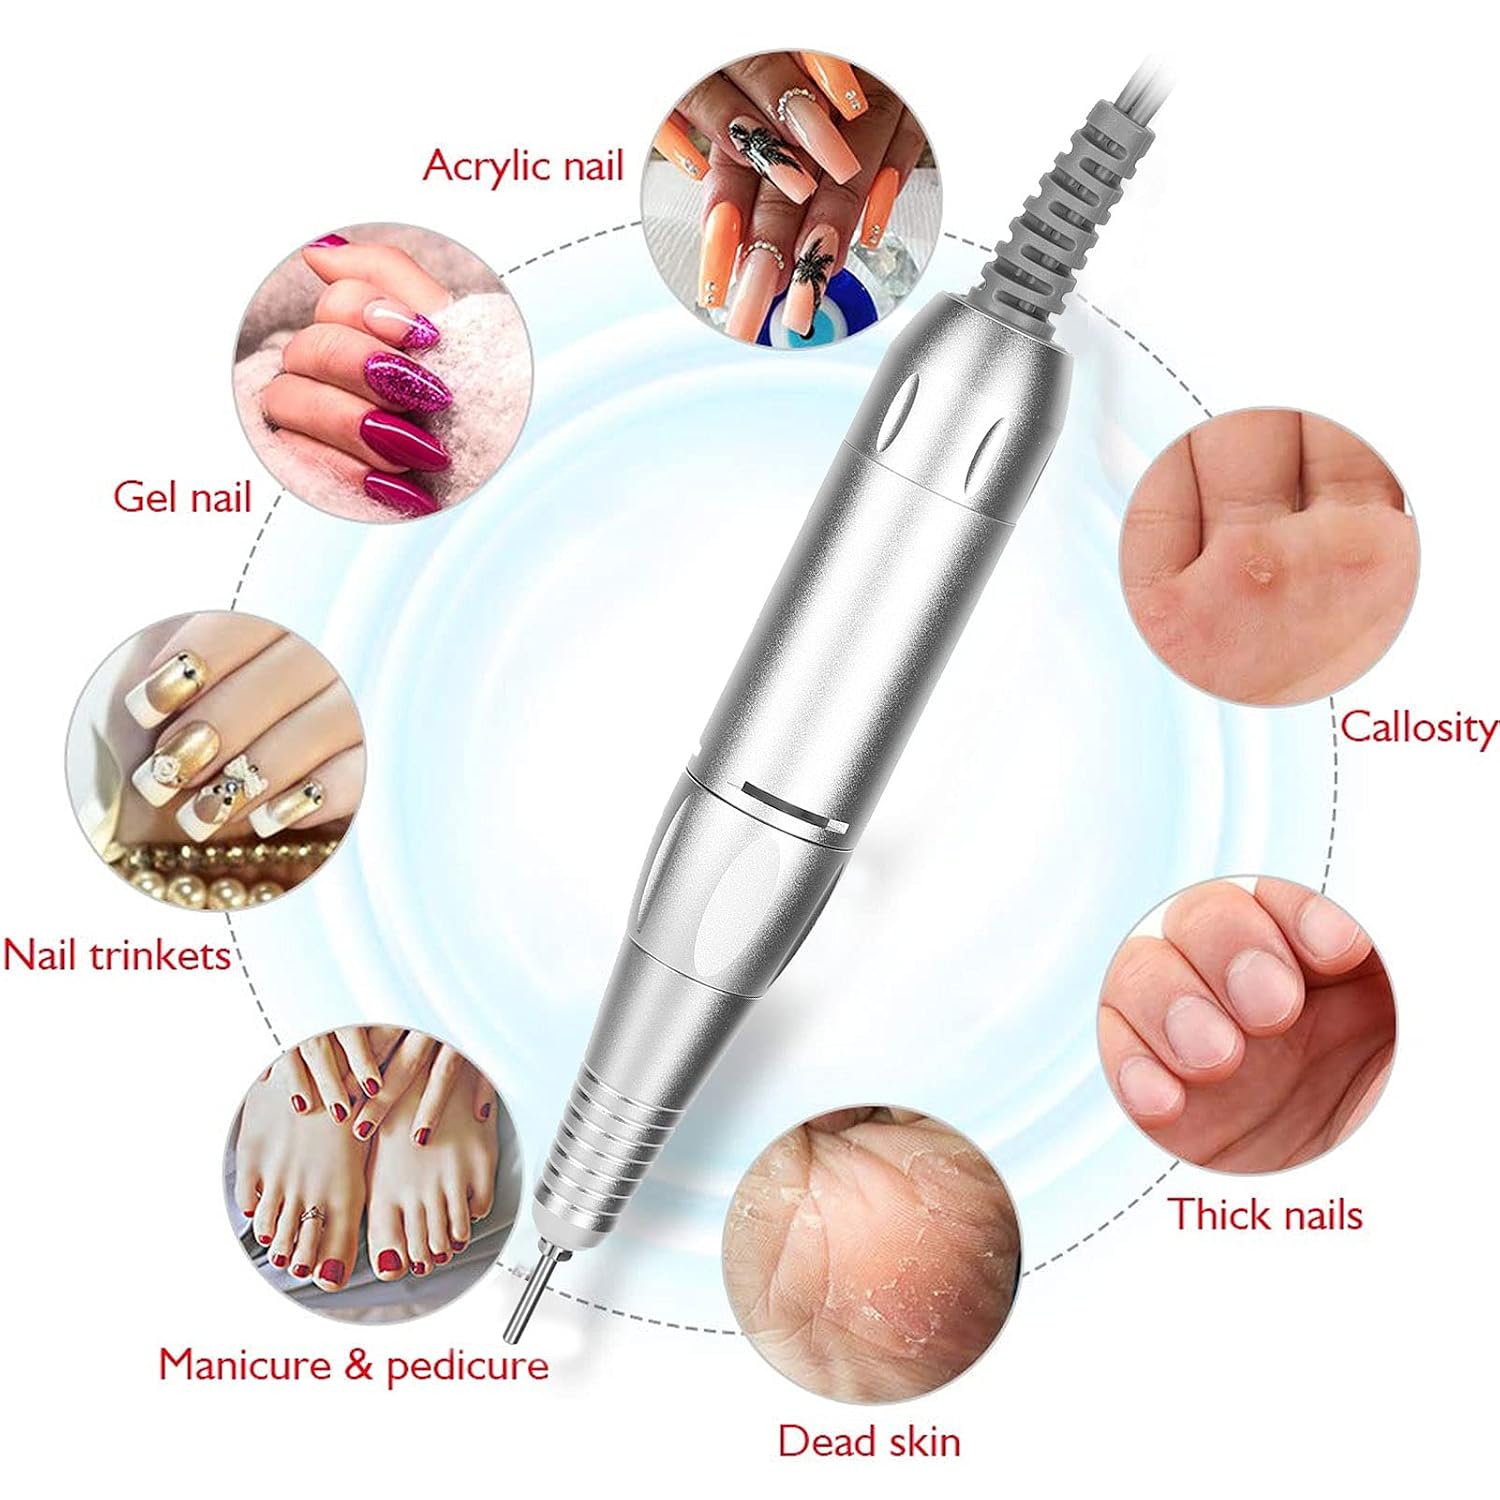
    This compact nail drill handpiece operates up to 35,000 RPM and is designed as a portable replacement pen for many electric nail-file systems. It aims to cover common tasks such as grinding, carving, cutting, polishing, and removing acrylic and gel. The piece below walks through practical setup, features you should know, and safe handling notes.

    What this handpiece is

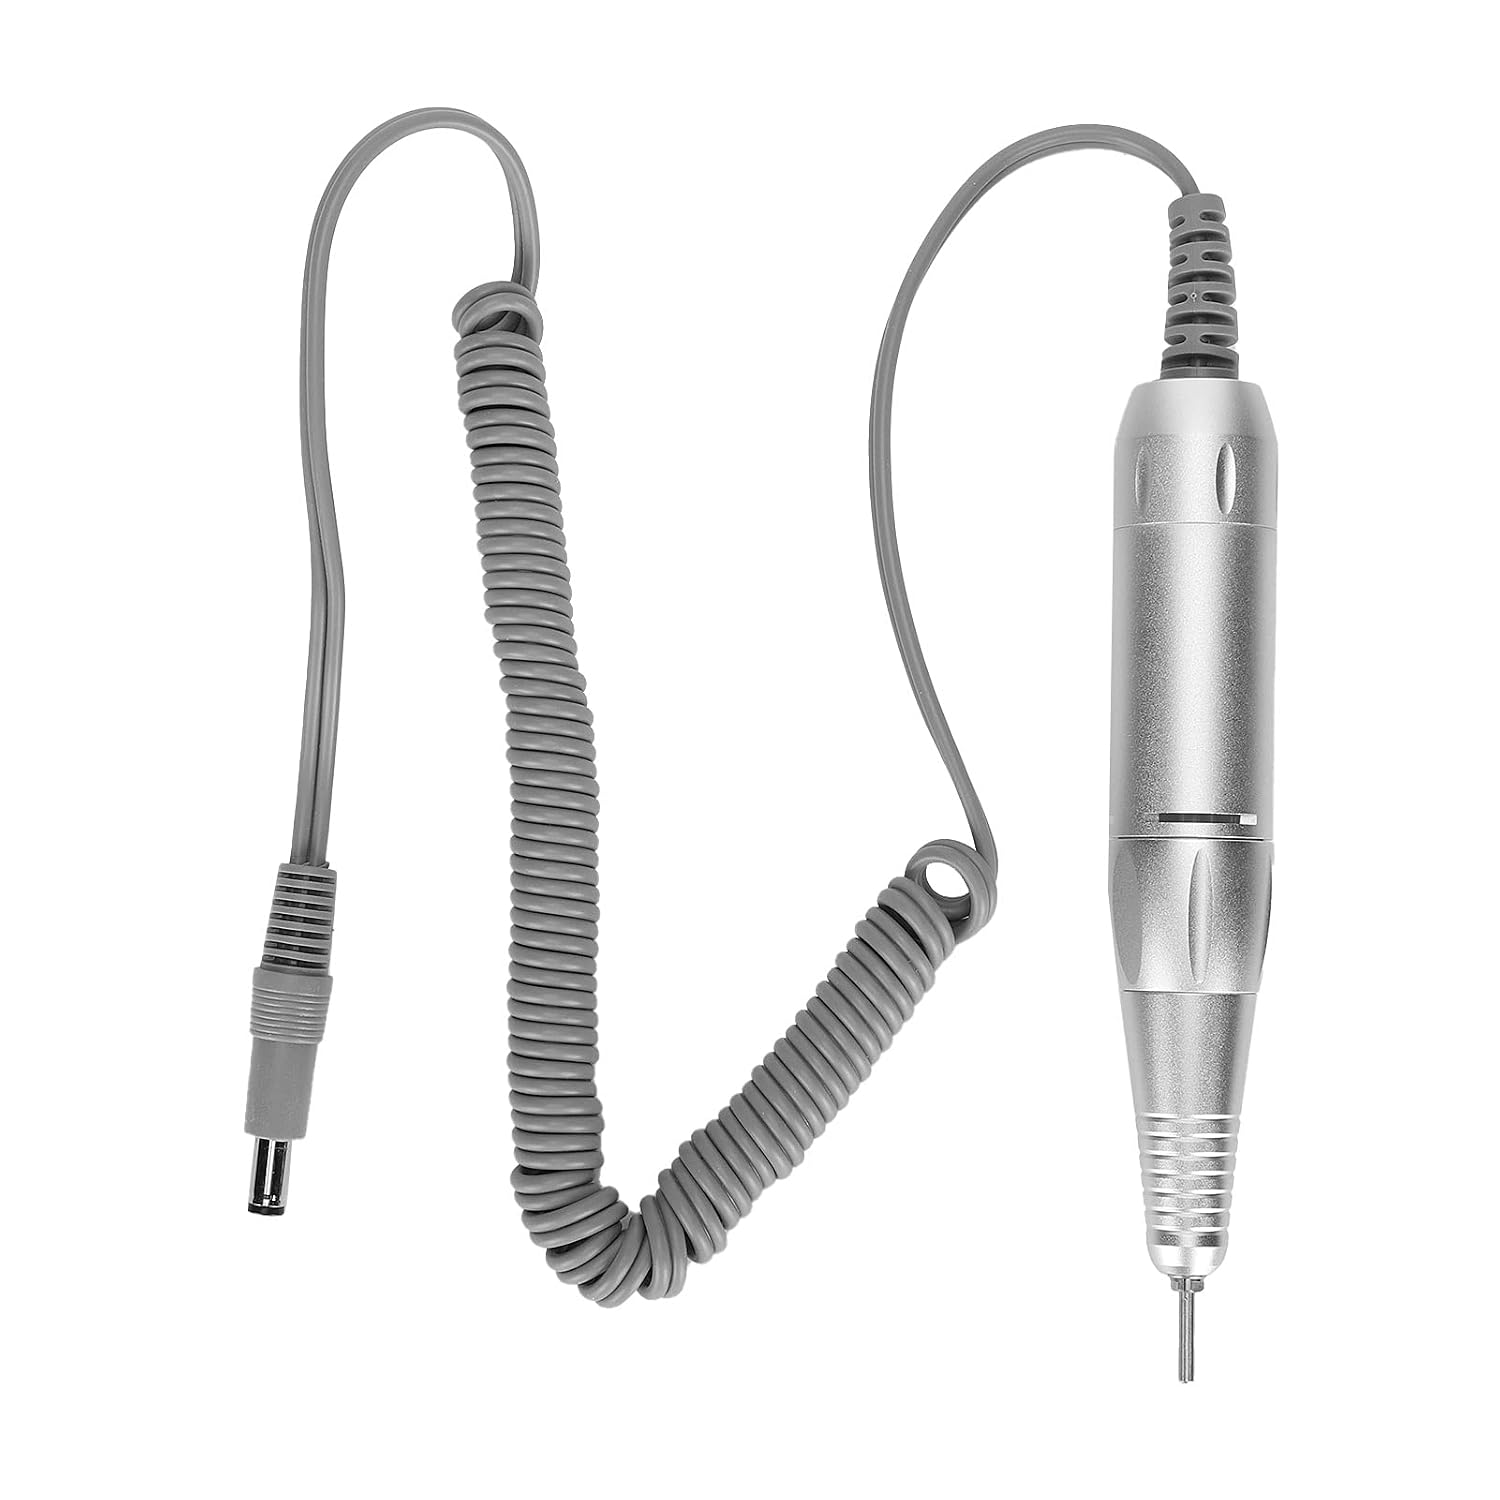
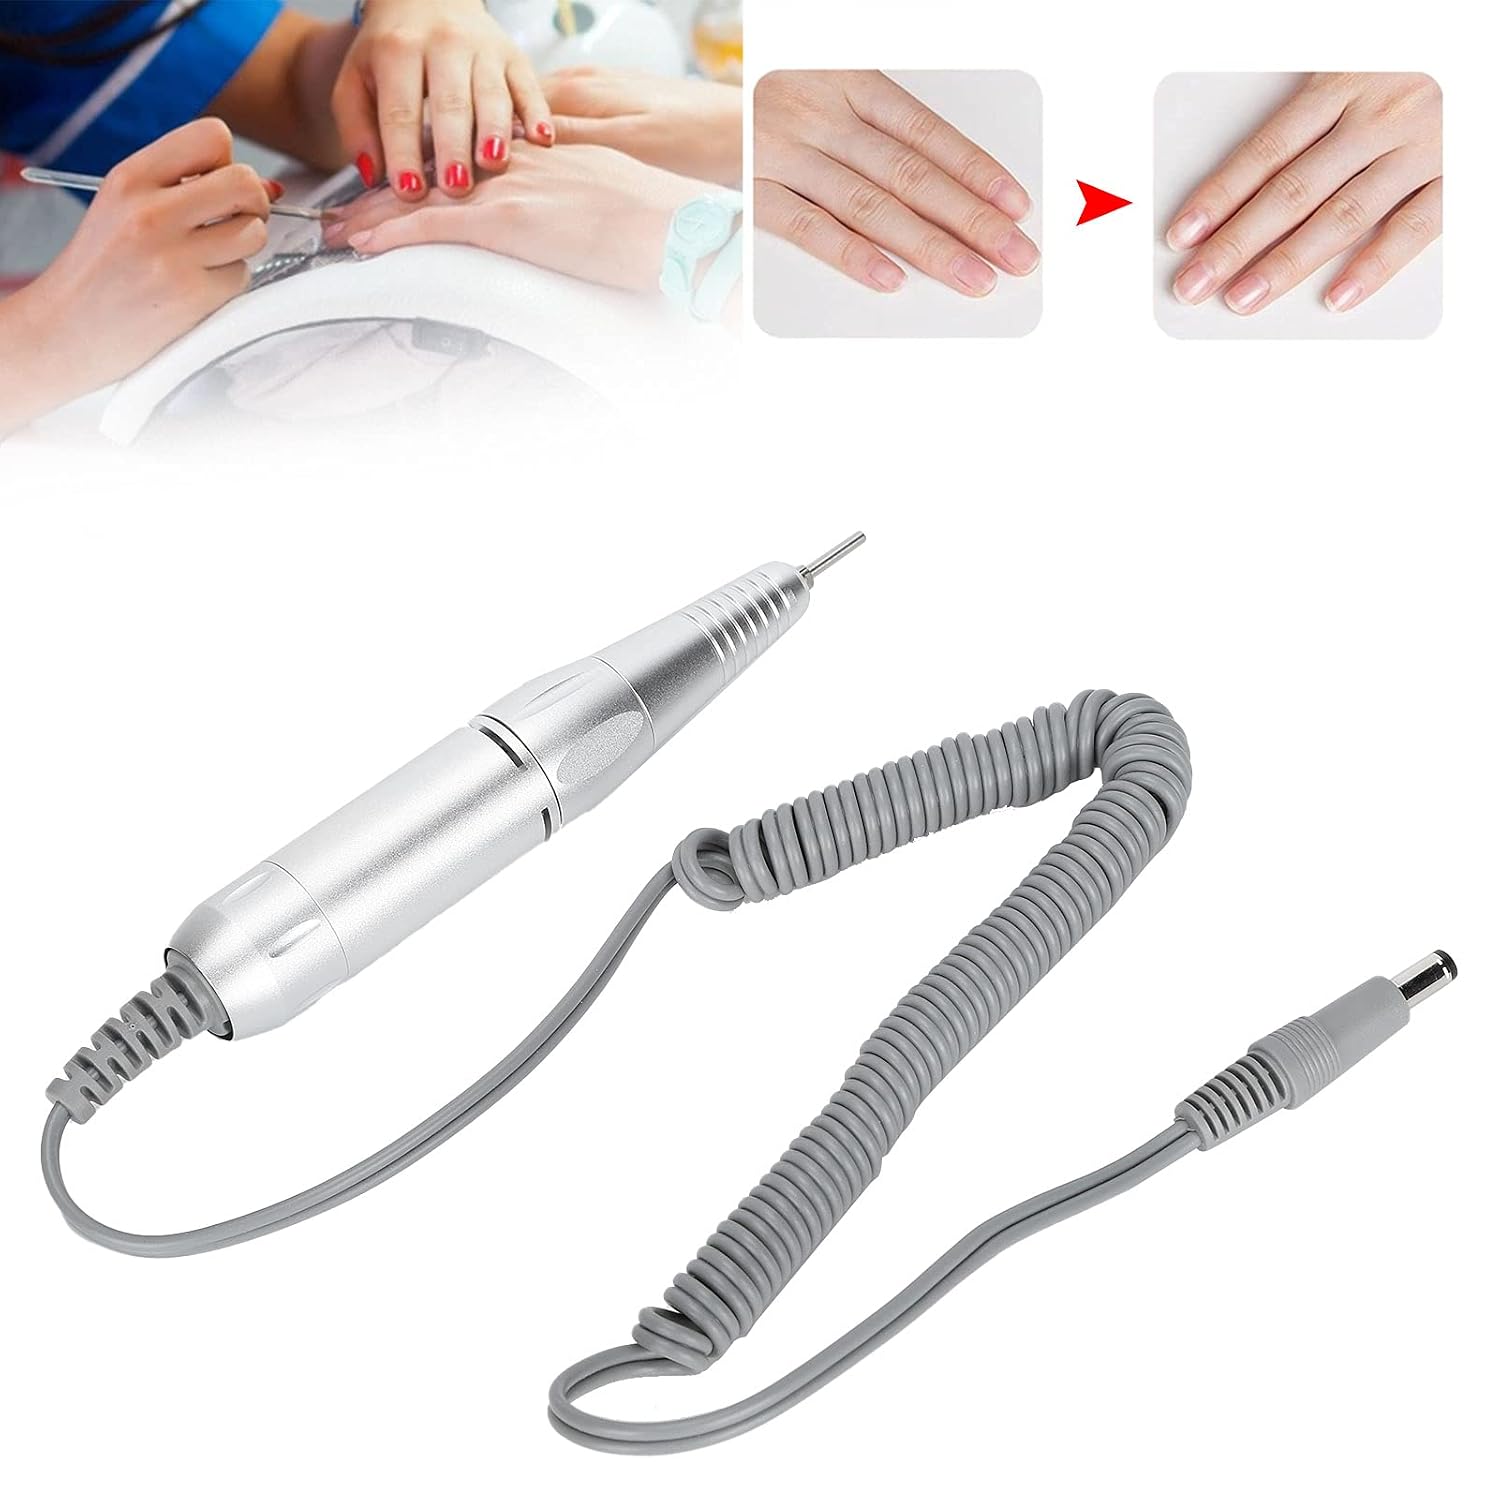
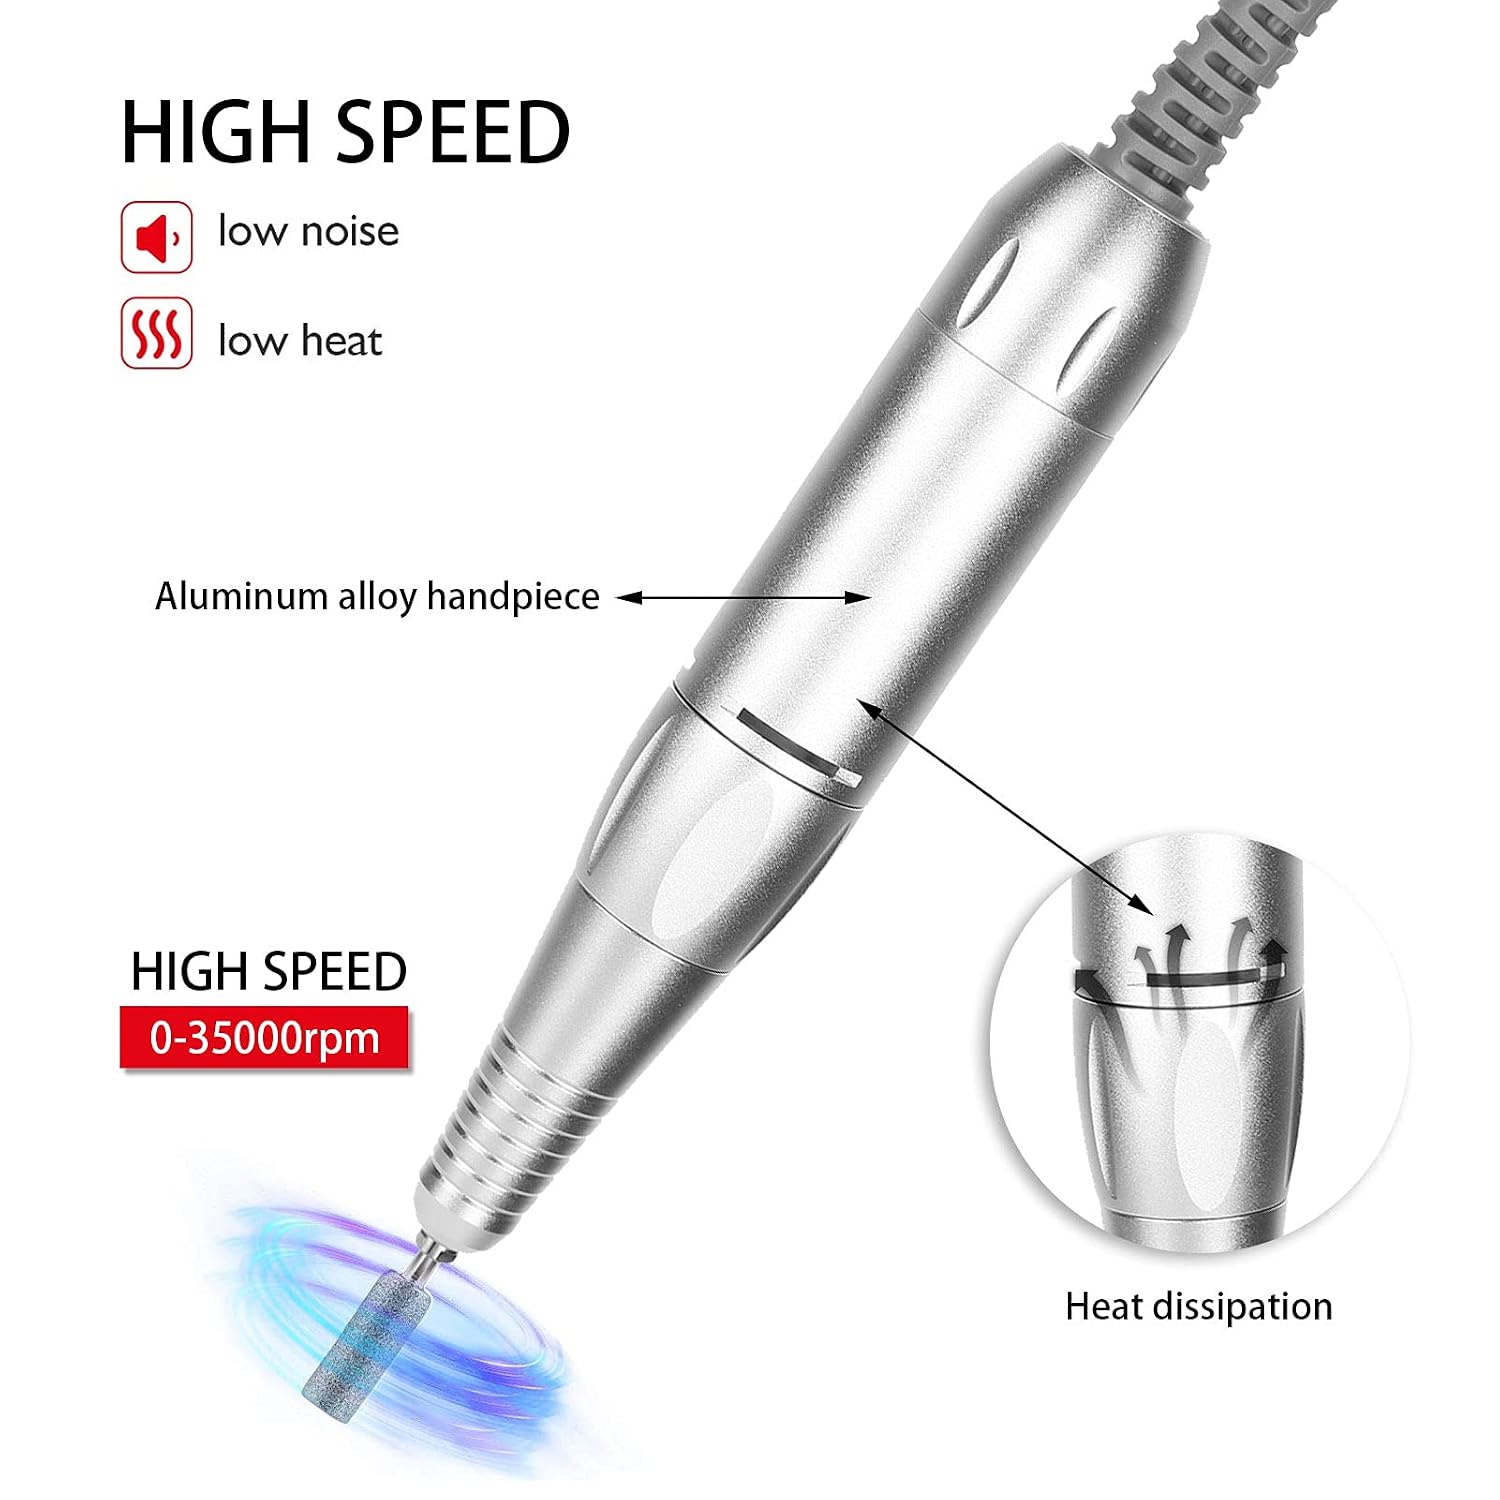
    The unit is a replacement nail drill handpiece made from aluminum alloy. It measures approximately 14 x 2.3 cm (5.5 x 0.9 in) and accepts a DC5521-style connector with an inner diameter of 2.1 mm. The driver expects a 12V DC output from the matching power source.

    Key features explained

    • Adjustable speed: The motor supports variable speed from zero up to 35,000 revolutions per minute, with forward and reverse rotation options to suit different techniques.
    • Chuck mechanism: A lockable chuck lets you insert and secure standard 3/32″ style bits. Always engage the lock before you start the motor.
    • Lightweight construction: Made of aluminum alloy, the handle offers an ergonomic grip and small footprint for portability.
    • Versatile tasks: Engineered for grinding, carving, cutting, polishing and removing artificial nail material and gel overlays.
    • Compatibility: The interface is a DC5521 connector with a 2.1 mm inner diameter, so confirm that your machine uses the same connector type before buying.

    Practical setup and first steps

    Before attaching this handpiece, check that your control unit provides a DC5521 port and 12V output. Confirm the connector inner diameter is 2.1 mm so the connection sits securely. Insert the plug straight into the port to avoid bending pins.

    Choose a compatible drill bit and push it into the chuck while the lock is open. Secure the bit by locking the chuck before powering up. If the bit feels loose, unlock, reseat it, and re-lock until firm.

    Speed and direction guidance

    • Start at low RPM to test vibration and balance with the installed bit.
    • Increase speed gradually toward the setting you need for the material and technique.
    • Use forward rotation for most removal and shaping tasks; use reverse when a bit is turning the wrong way for fine finishing or if the client prefers it.

    For sanding and shaping, pair the handpiece with an All-in-1 Drill Bit, such as All-in-1 Drill Bit.

    Use cases and suitability

    This handpiece is built to serve salons and home users alike. It is indicated for tasks like removing acrylic powder, debulking gel, polishing surfaces, carving details, and trimming nail decoration. The small size and ergonomic grip make it suitable for technicians who prefer a pen-style tool or for travel and mobile work.

    Who should consider this handpiece

    • Beginners who need a straightforward replacement pen that is easy to handle.
    • Salon technicians who require a compact spare handpiece for multitasking jobs.
    • Home users wanting a portable option for at-home maintenance and polish removal.

    Limitations and compatibility notes

    Compatibility depends on the host machine having a DC5521 connector and correct voltage. Confirm fit and electrical match prior to purchase. The seller may ship different production variants at random, so expect either the new or the older type; verify the physical interface if that matters for your setup.

    Only one handpiece is included in the package. Replacement power cords, controllers, and drill bits are not supplied unless specified by the seller.

    Safety and handling

    • Secure the bit: Always lock the chuck during operation to prevent the drill bit from coming loose.
    • Ventilation: Do not cover the ventilation openings on the handle while using the tool to prevent overheating.
    • Power match: Use a control unit with the correct DC output and connector type to avoid electrical damage.
    • Inspect before use: Check the handpiece and bit for wear or damage. Do not operate with a cracked or wobbly bit.

    Maintaining and storing the handpiece

    Keep the handpiece clean and dry when not in use. Remove bits after use to avoid accidental damage and to reduce stress on the chuck. Store in a padded case or drawer to protect the aluminum body and mechanical parts.

    What’s included and product specifics

    • One nail drill handpiece per package.
    • Material: aluminum alloy body for a lightweight feel.
    • Size: approx. 14 x 2.3 cm (5.5 x 0.9 in).
    • Connector: DC5521 interface; inner diameter 2.1 mm.
    • Rated output: 12V DC required from the matching controller.

    Price note

    The listed price at the time of writing is USD 17.99; please note that prices may change.

    Conclusion

    If you need a compact, pen-style replacement handpiece with adjustable speed up to 35,000 RPM and forward/reverse control, this unit offers a lightweight aluminum option. Verify DC5521 compatibility and 12V output before purchasing, lock the chuck during operation, and keep ventilation unobstructed for safe use. It suits both salon settings and home trimming tasks where portability and ease of handling matter.

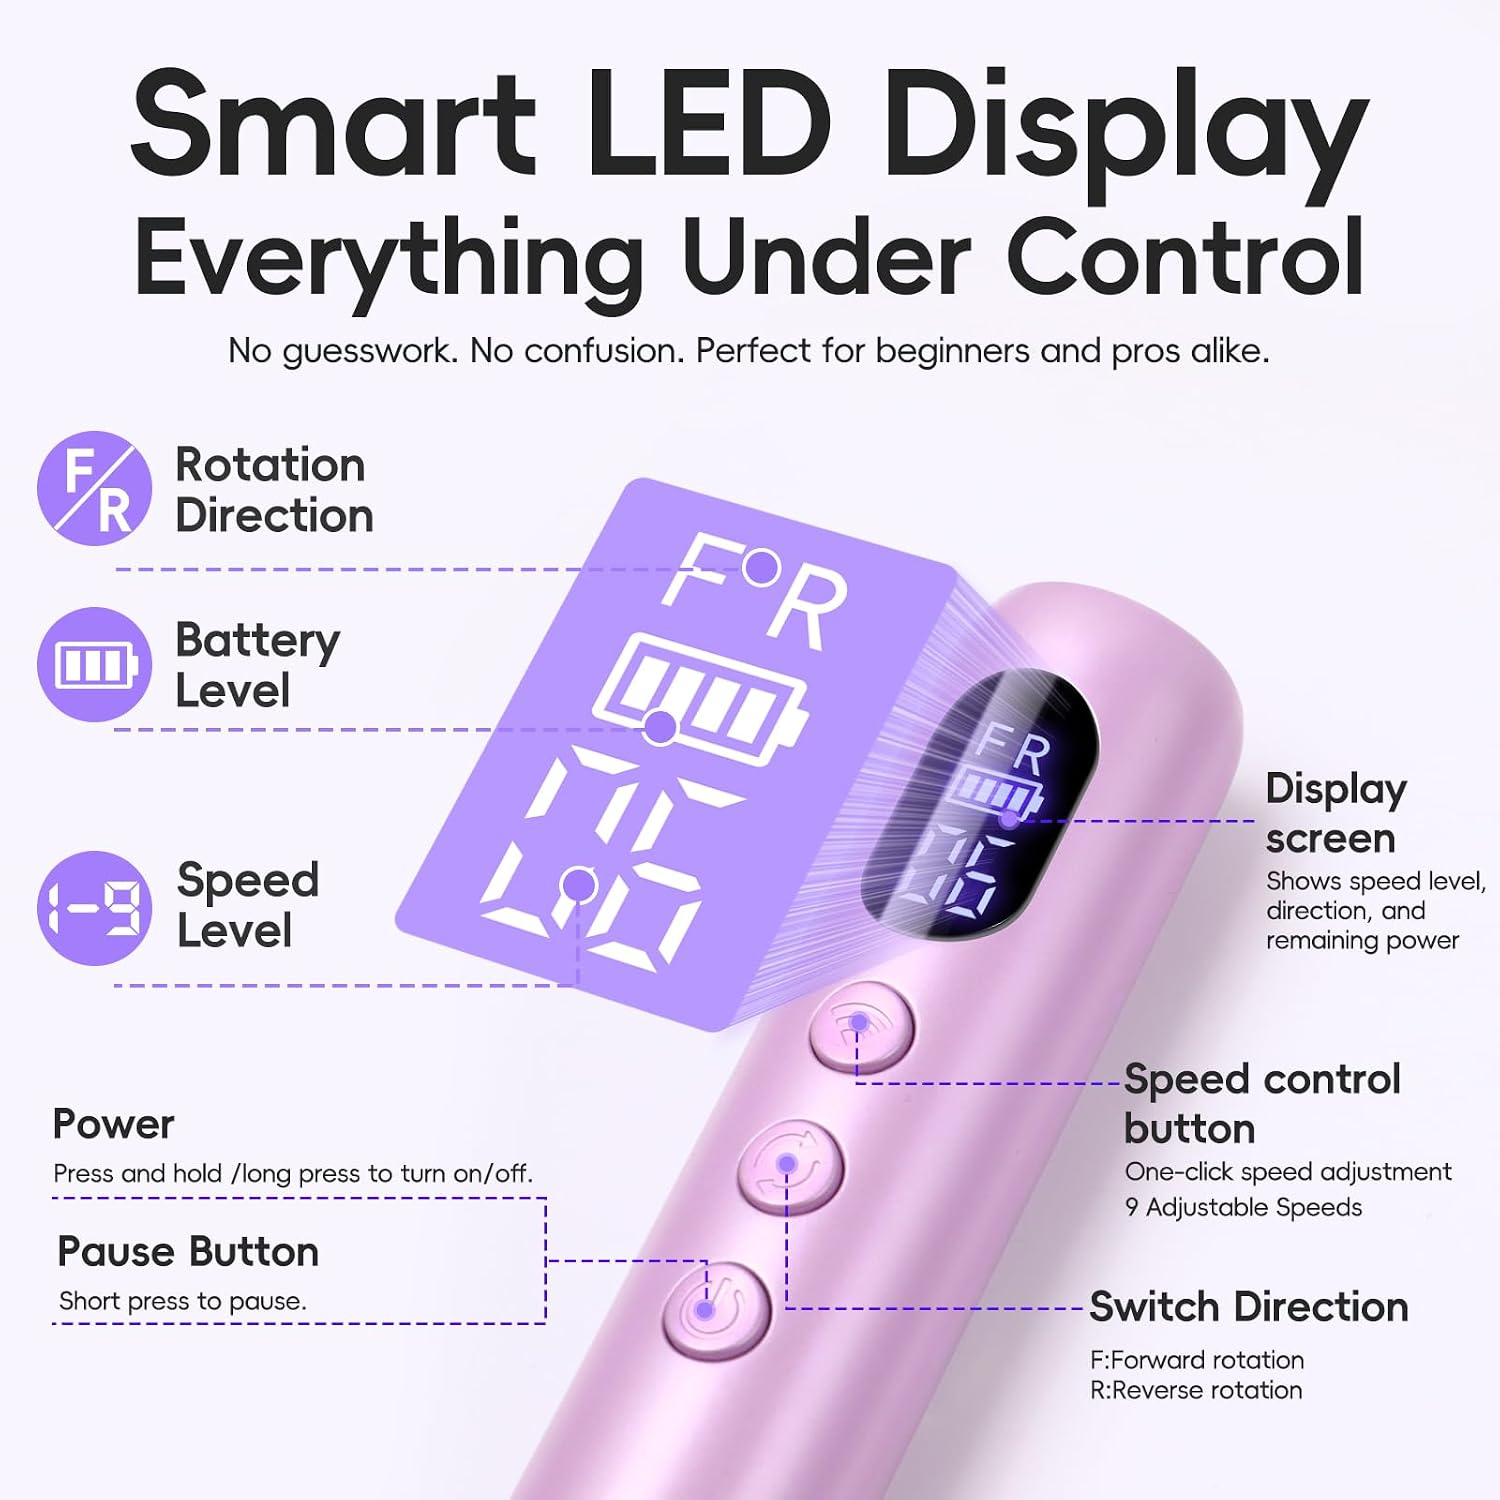
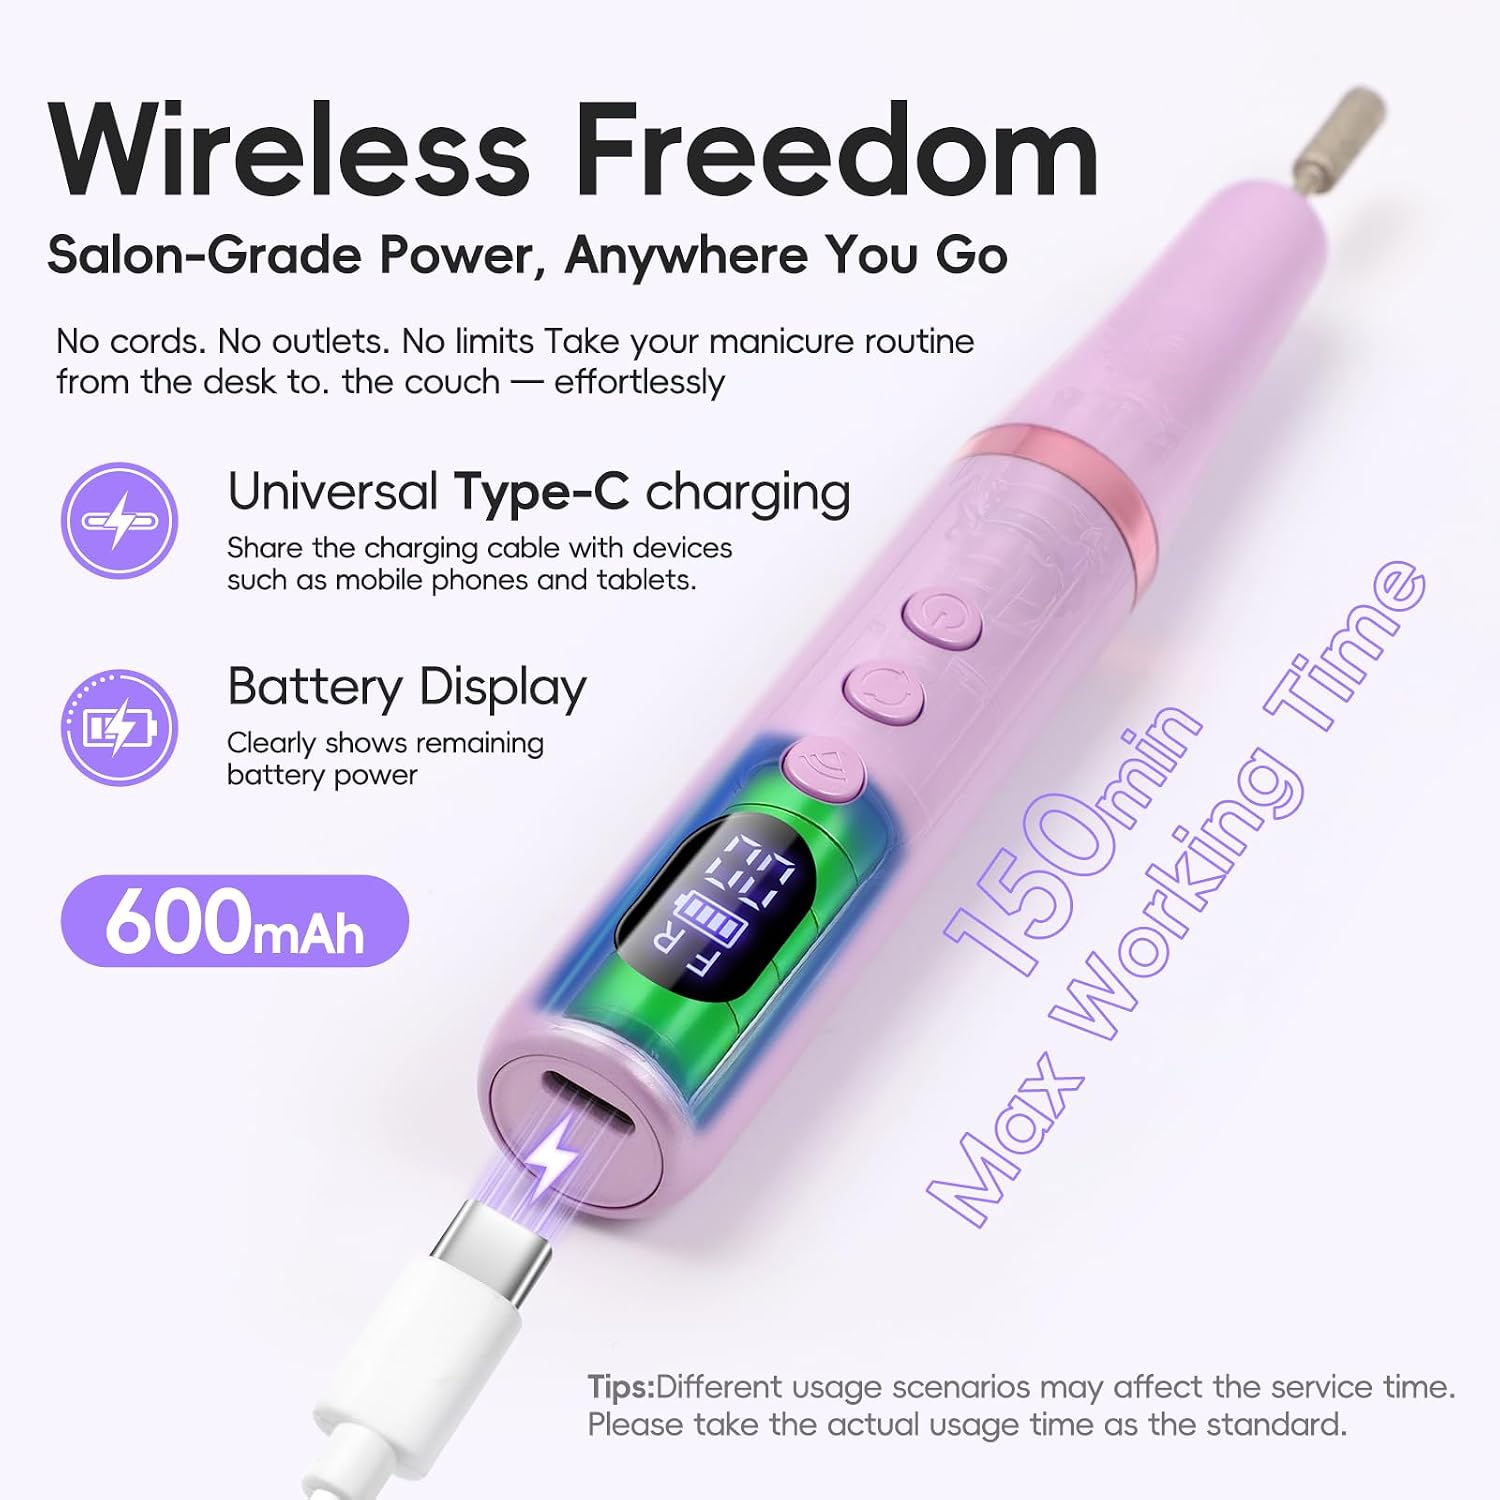
  • cordless electric nail drill kit with USB LED Display

    cordless electric nail drill kit with USB LED Display

    Introduction

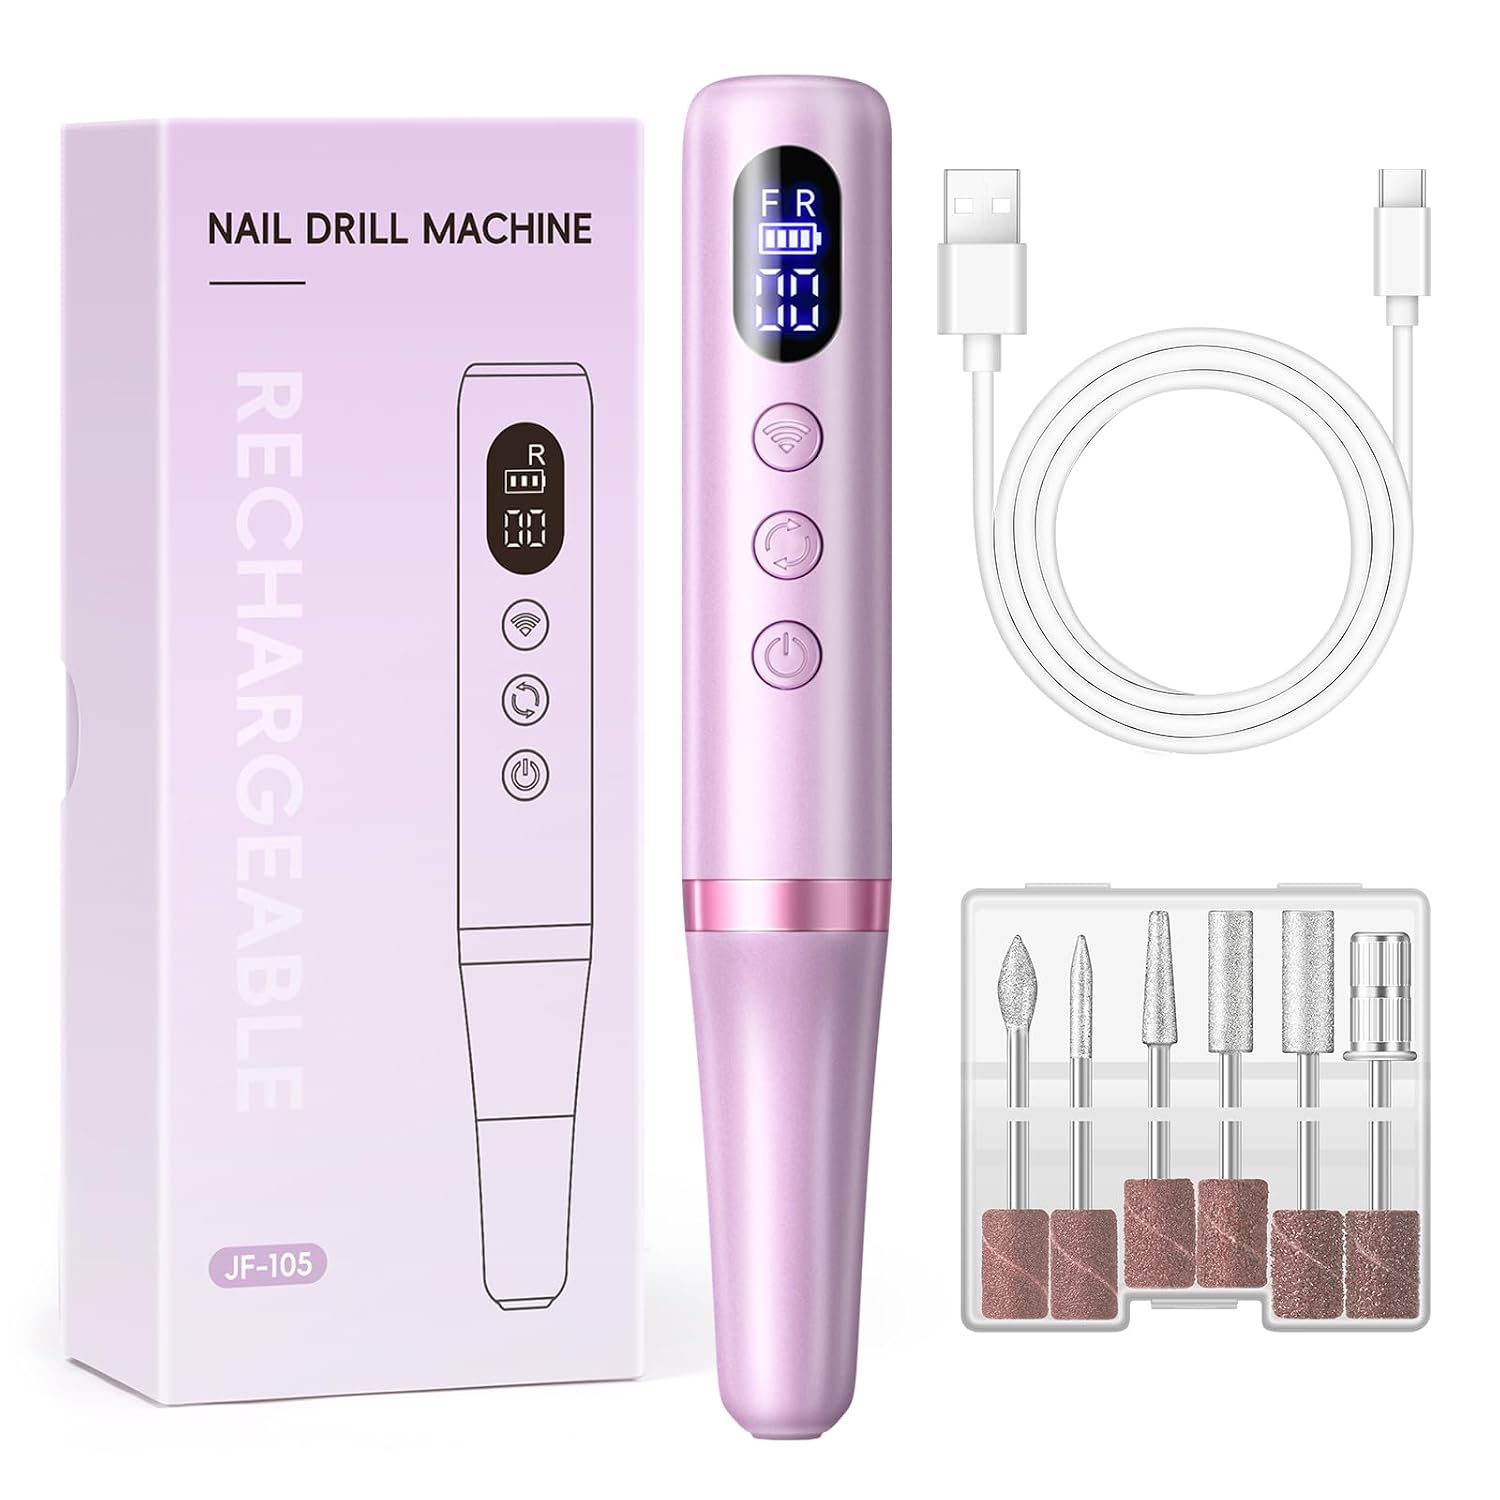
    This cordless electric nail drill kit is a lightweight, rechargeable system designed for home manicures, salon touch-ups and travel. The set includes an e-file, six professional drill bits and twenty sanding bands, so you can shape, buff and remove gel or acrylic products without a bulky power base.

    What’s in the kit

    • One cordless electric nail drill with LED digital power display
    • Six professional drill bits for a range of nail work
    • Twenty sanding bands for filing and surface work
    • USB charging cable for convenient recharging

    Key features explained

    Portable, USB rechargeable body

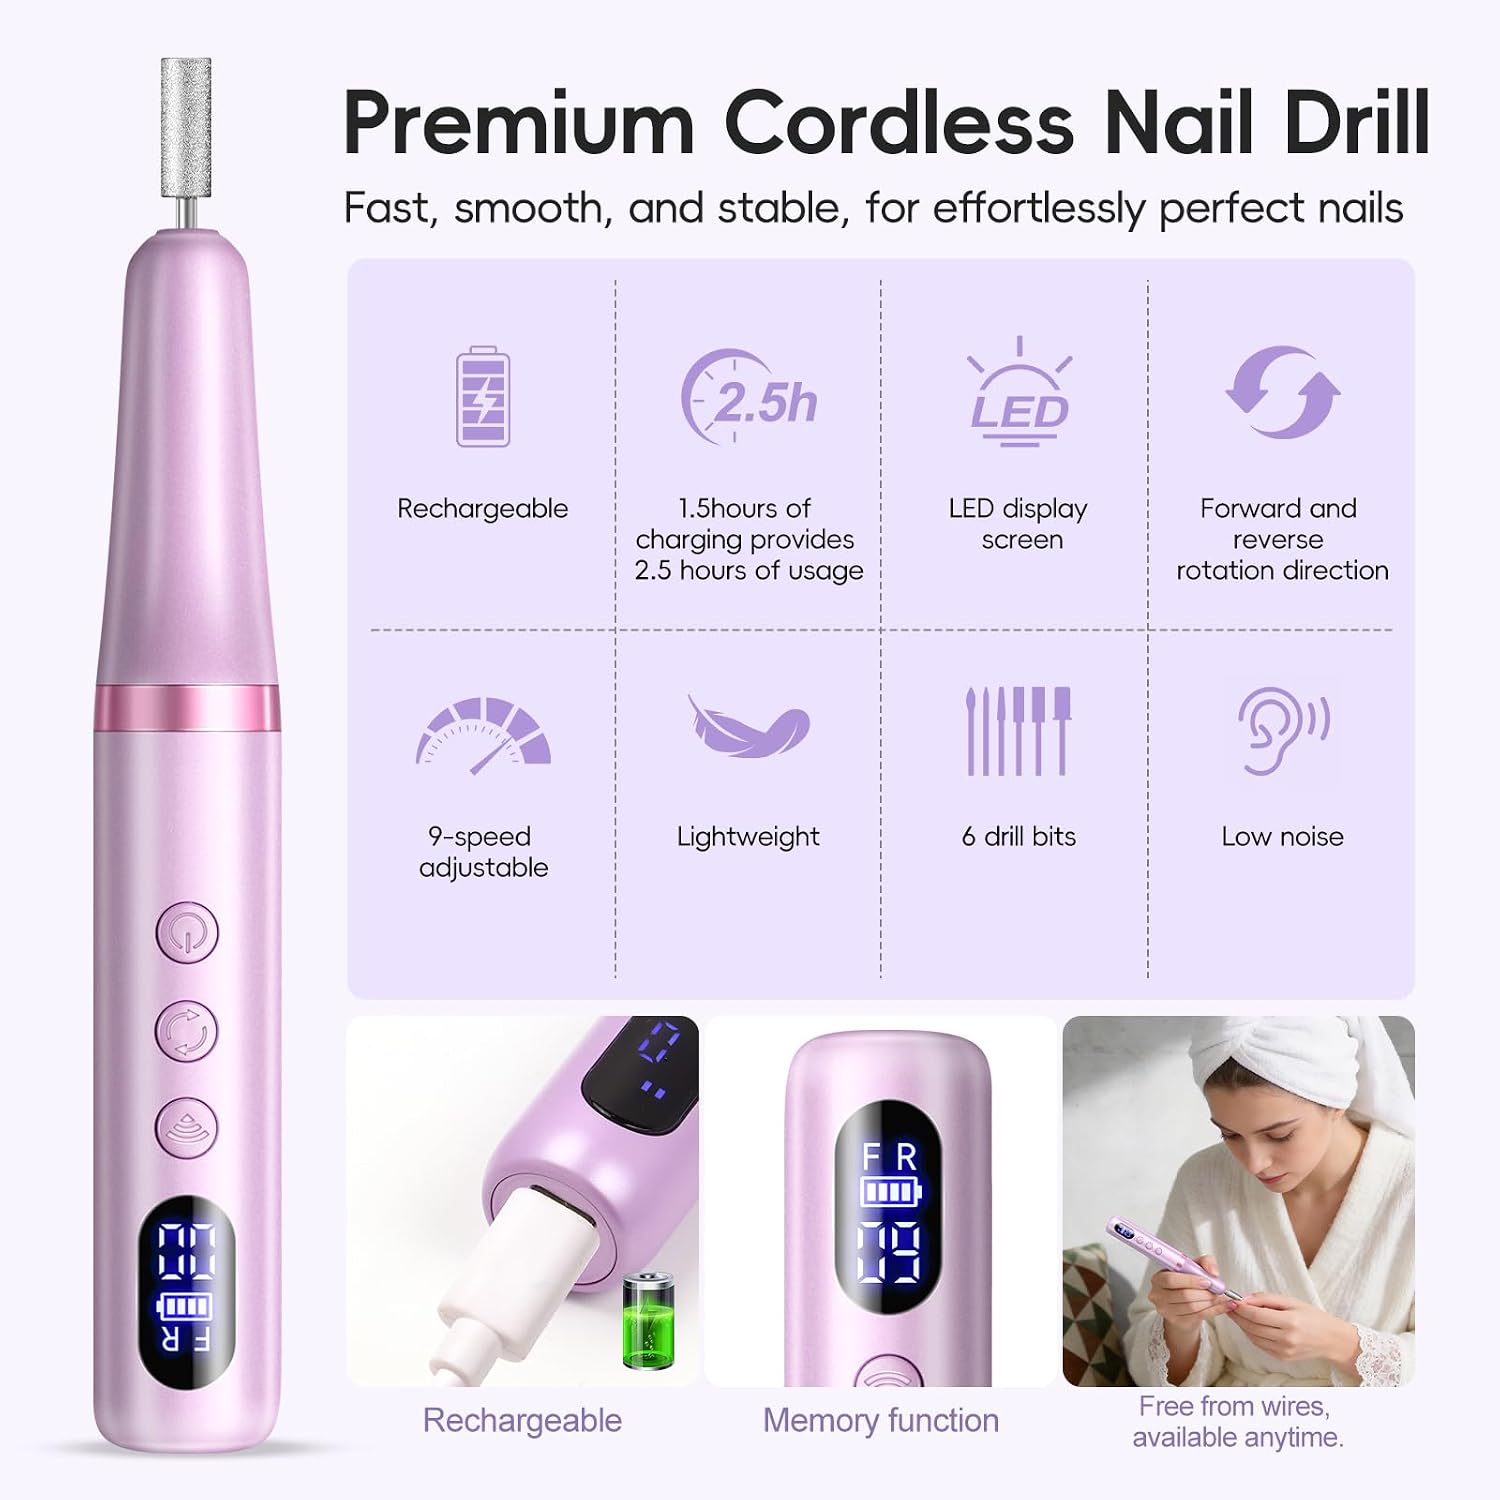
    The handpiece is compact and lightweight. It recharges over USB, so you can power it from a laptop, wall adapter or portable battery. This makes it a practical option for travel or small shops where space and cords are a concern.

    LED digital display

    An intelligent LED readout shows power status. That makes it easier to check battery level at a glance and manage usage without guessing.

    Six professional drill bits

    The kit includes six different bit shapes suited to multiple tasks. The bits are described as having high hardness and wear resistance. They produce lower heat while grinding, which can help reduce discomfort during removal work.

    Sanding bands included

    Twenty sanding bands cover routine filing and smoothing needs. They are useful for surface shaping and for use with the appropriate mandrel bit in the set.

    How to use the drill safely

    • Charge fully before first use and monitor the LED display while working.
    • Select the correct drill bit for the task. Use fine or finishing bits for gentle surface work and coarser shapes for product removal.
    • Work at controlled speeds and avoid prolonged contact on one spot to reduce heat buildup.
    • Keep the handpiece steady; low vibration helps maintain control during precise filing.
    • Replace sanding bands as they wear to maintain cutting efficiency.

    Practical guidance for common tasks

    Shaping and shortening

    Start with a shaping bit to shorten tips and contour free edges. Use gentle strokes and follow the natural curve of the nail to avoid uneven removal.

    Buffing and finishing

    Switch to a finer bit or sanding band for smoothing and blending. Work slowly and inspect the surface regularly for the desired finish.

    Removing gel or acrylic

    Choose the appropriate removal bit and proceed in short passes. The supplied bits are designed to reduce heat and wear while grinding, but it’s still important to lift product gradually rather than force removal in a single pass.

    Who is this kit best for?

    • Beginners: Easy setup and a complete starter assortment of bits and bands make it approachable for new users.
    • Home users: USB charging and a small footprint suit at-home nail care routines and occasional touch-ups.
    • On-the-go pros: Portable design and low noise are useful when space is limited or for travel appointments.
    • Salon backup: Handy as a compact secondary or travel unit for mobile services.

    Limitations to consider

    • The kit is compact and designed for convenience; it may not replace higher-torque, heavy-duty salon machines for constant, professional removal work.
    • Bit life and sanding band longevity depend on frequency of use and technique. Regular replacement will be necessary with heavy use.
    • While the LED display shows power status, the set does not include a separate foot pedal or large control base.

    Safety and maintenance tips

    • Keep bits clean and disinfect between clients or uses. Remove dust and debris after each session.
    • Allow the device to cool if you notice any unusual heat. The bits are made to limit heat generation, but monitoring temperature is prudent.
    • Store the kit in a dry place and avoid exposure to moisture while charging.
    • Use the USB cable supplied and follow any charging guidance to preserve battery life.

    For a higher-power alternative that targets heavier salon workloads, consider checking a professional unit such as the ONAIL Precision Portable AI Nail Drill. ONAIL Precision Portable AI Nail Drill

    Price and availability

    Listed price: USD 13.29; prices may change.

    Conclusion

    This cordless electric nail drill kit offers a complete, portable package for shaping, buffing and removing gel or acrylic at home or on the go. It pairs a USB-rechargeable handpiece with six durable bits and twenty sanding bands, and includes an LED display for simple battery monitoring. The set works well as a starter kit for newcomers, a travel option for mobile techs, or a compact backup for salon professionals who need a small, low-noise device. Keep in mind it is designed for convenience rather than continuous heavy-duty removal.