
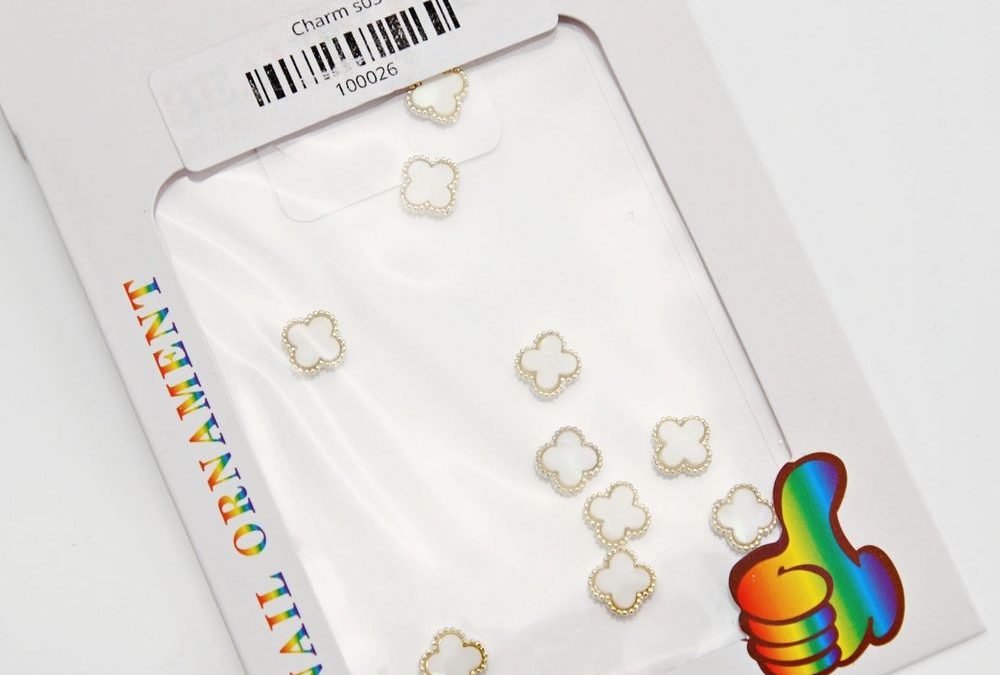
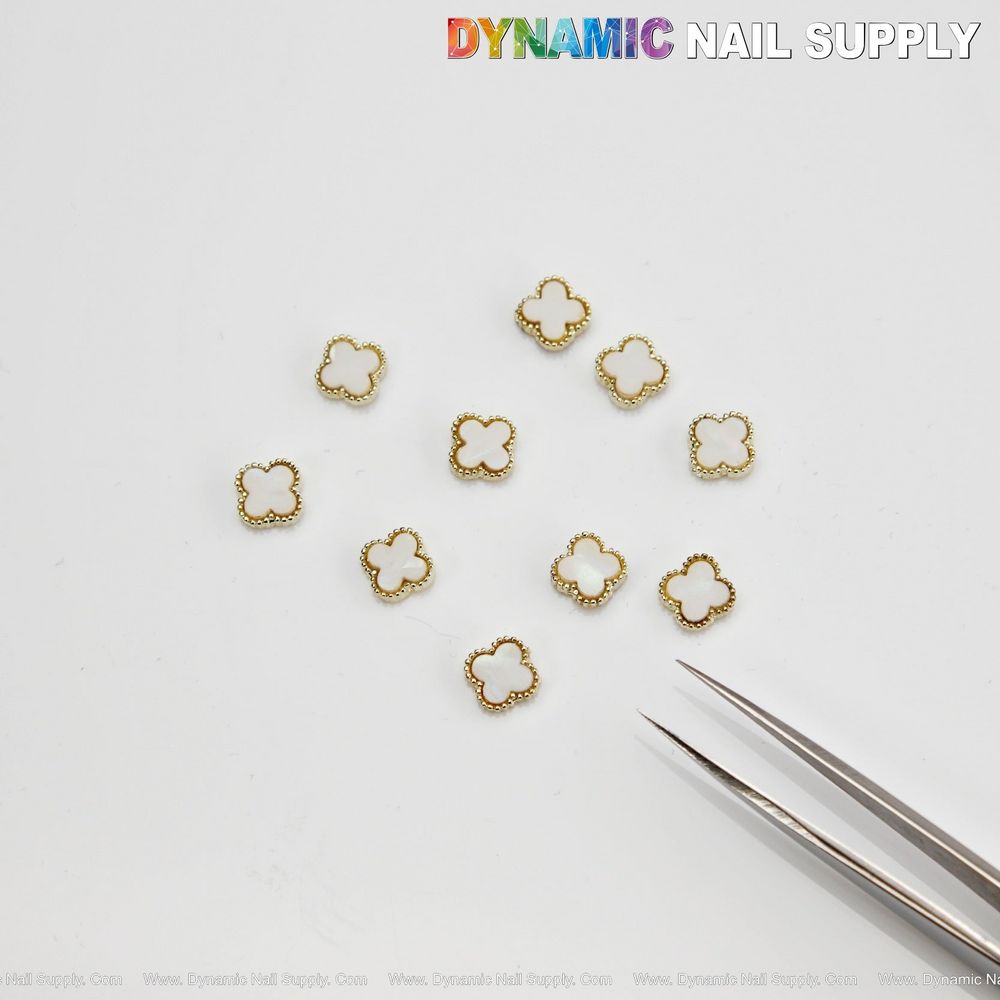
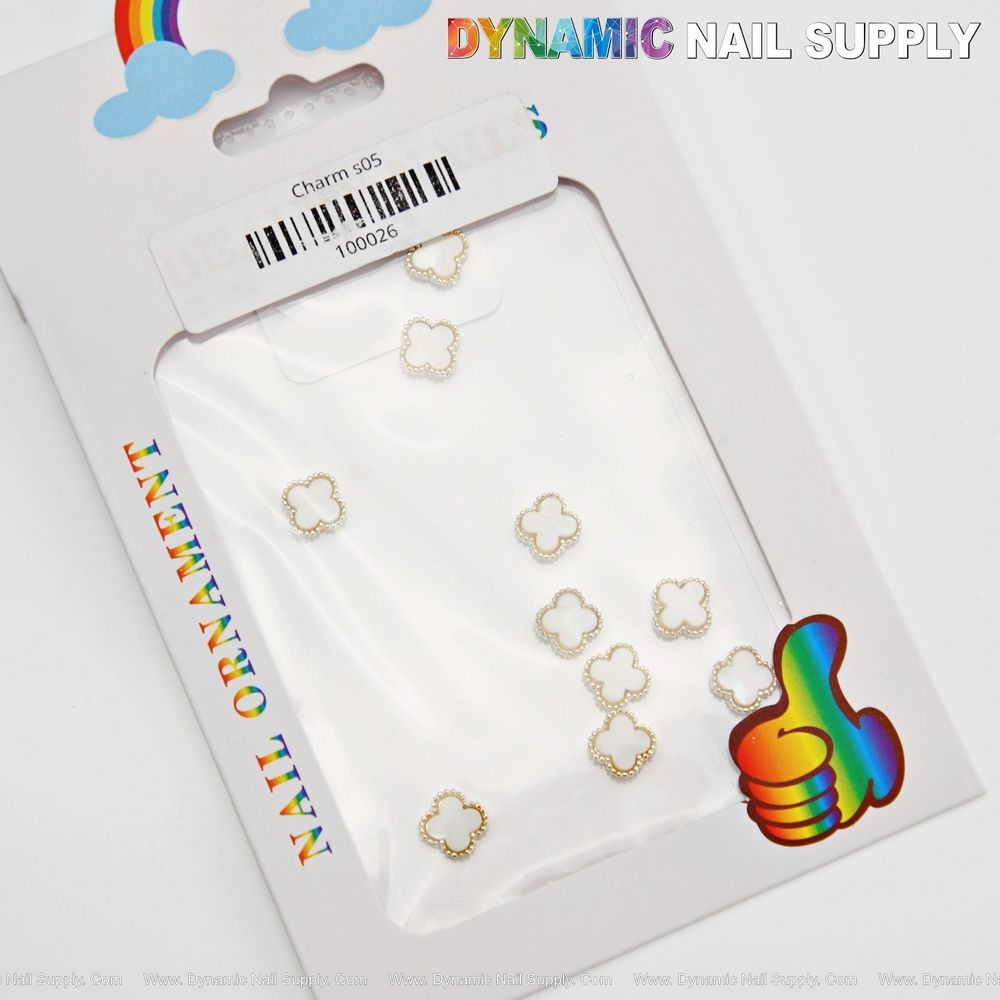
How does a soft white French with a warm-gold smile line compare to a busy, overworked nail? One is airy and bridal-ready; the other competes with the client’s outfit. This guide focuses on the White Small Embossed V4n Cl3ef Retro Four Leaf Clover Nail Charms design and how to avoid the mistakes that undo a refined smile-line accent.
For exact product details and current availability, see White Small Clover Charms to review the White Small Clover Charms and confirm stock.
How to avoid poor placement that ruins balance?
What happens when the clover sits too high or too low? The nail reads off-center and the delicate pearly center loses its impact. Where is the correct spot? Place the small pearlescent clover directly at the smile line’s midpoint or just slightly off-center toward the ring-finger side for traditional accents.
How to check placement before committing? Use tweezers to rest the charm on the cured gel surface and view the hand as a whole. How to set once the position is right? Pick up the charm with flat-tip tweezers and touch it to a small dab of brush-on builder or gel adhesive on the smile line; then cure to lock it down.
How to stop a thick gold smile line from overpowering the charm?
Why do techs paint a wide metallic band? Because it’s quicker to load a striping brush and drag. Why is that a mistake for this look? The charm’s tiny beaded gold border and pearly center need a thin warm-gold line to read elegant, not clunky. How thin should the smile line be? Aim for a fine, hairline band—enough to echo the charm’s beaded edge but not compete with the mother-of-pearl sheen.
How to get a consistent thin line? Use a long, fine striping brush and a paint pot of warm-gold gel or polish with medium viscosity. How to steady the stroke? Anchor the technician’s hand on the client’s finger or on the table and work in one smooth pass; if the first pass is faint, cure and add a second micro-pass rather than painting a single heavy stroke.
How to prevent lift around the charm?
Why does lift happen after the charm is set? Because edges trap uncured product or adhesive, or because topcoat surface tension creates gaps. What’s the correct approach? Before placing the charm, finish the smile line and fully cure. How to seal the charm? Apply a thin bead of builder gel around the base edge—leave the pearlescent center visible—then light-cure and finish with a controlled topcoat application.
How to apply topcoat without fogging the pearly center? Use a glossy, medium-viscosity topcoat and drag from cuticle to free edge in a single, confident pass; avoid brushing back-and-forth over the charm which can lift or dull the metal trim.
How to avoid using the wrong base contrast for the clover?
What makes the White Small clover sing? Its mother-of-pearl center and warm-gold beaded trim. What base colors mute it? Busy or highly textured bases that hide the pearlescent sheen. What base colors suit it best? A soft white French, an ivory ombré, or a clean pearl-white gel base that lets the clover’s sheen read luminous without competing tones.
How to test for contrast in the salon? Place one charm on a cured sample tip set to the client’s proposed base and view under salon lights. How to adjust if the clover looks flat? Slightly warm the smile line’s white with a creamy off-white or very pale ivory so the gold trim reads warmer and the pearl catches light.
How to avoid mismatched scale and over-clustering?
Why does clustering feel like a mistake with these charms? Because the White Small design is sized for single-nail accents; clusters can read bulky. What’s the right approach for scale? Use one clover per nail—typically on the ring finger or at the smile line of both ring and index for symmetry. How to create a luxe look without overcrowding? Combine one clover with a fine gold dot or micro-stud rather than adding multiple full charms.
How to prevent finish inconsistency between pearl and metal?
What causes the pearl to look dull and the gold flat? Excessive buffing or wrong topcoat chemistry. How to preserve the pearlescent inlay and the glossy gold trim? Minimize aggressive mechanical buffing over the charm and use a non-yellowing, glossy topcoat formulated for embellishments. How to layer the topcoat? Two thin layers, cured between passes, deliver a smooth finish without filling the textured beaded trim.
How to handle tiny parts safely and keep them service-ready?
How to limit handling issues with small metallic charms? Use flat-tip tweezers for placement and store charms in a shallow magnetic or compartment tray. Why is scale shown with tweezers in the photo useful? It reminds the tech that these are small, uniform charms and that placement tools are essential for precision. What basic safety note applies? Keep charms away from children and do not inhale dust from any powder used during prep.
One tiny, well-placed pearly clover beats several crowded charms every time.
How to finish a service for durability and presentation? After sealing the charm base and final topcoat, wipe the nail with isopropyl alcohol to remove any residue from tacky gels and inspect the bead line where the gold meets the polish. How to communicate value to clients? Offer the White Small pearlescent clover as an upscale single-accent option on the salon menu; the small charms are economical and elevate the soft French without adding bulk—prices may vary but this item is commonly listed around $4.99.
How to recap the main checkpoints?
- Verify placement: test on a cured sample before committing.
- Keep the smile line thin: use a fine striping brush and steady, single passes.
- Seal edges: a thin builder-gel bead prevents lift while leaving the pearl visible.
- Select contrast carefully: soft whites or ivory bases show the pearlescent best.
- Respect scale: one White Small clover per nail preserves elegance.
- Finish gently: two thin topcoat layers protect both pearl and beaded gold trim.
- Handle safely: use tweezers and secure storage; keep away from children.
How to learn more or source the exact charm? See White Small Clover Charms for item details.