
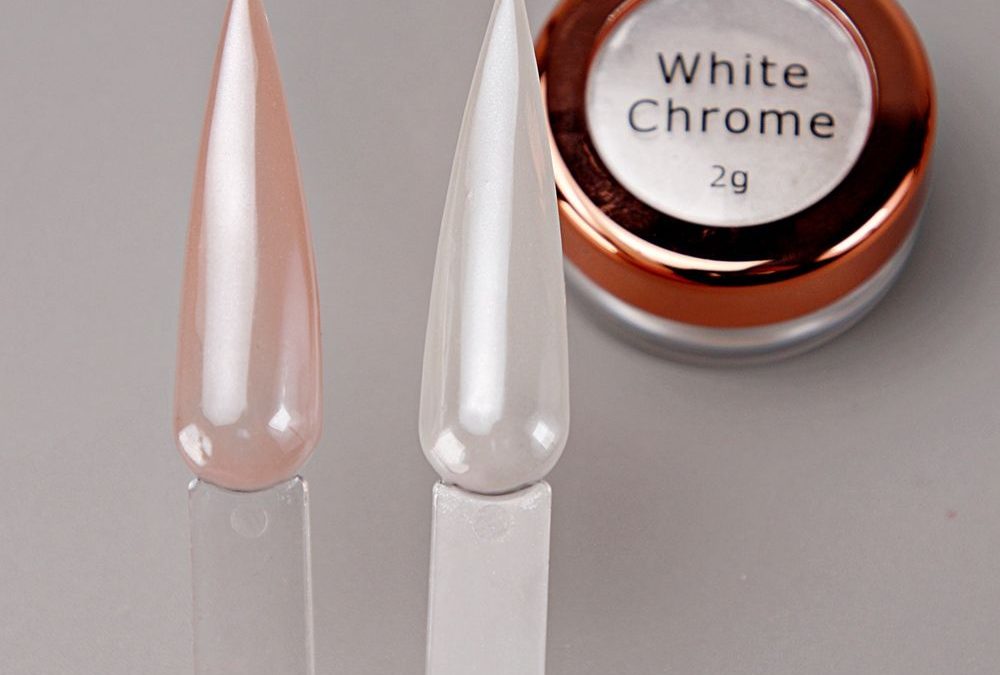
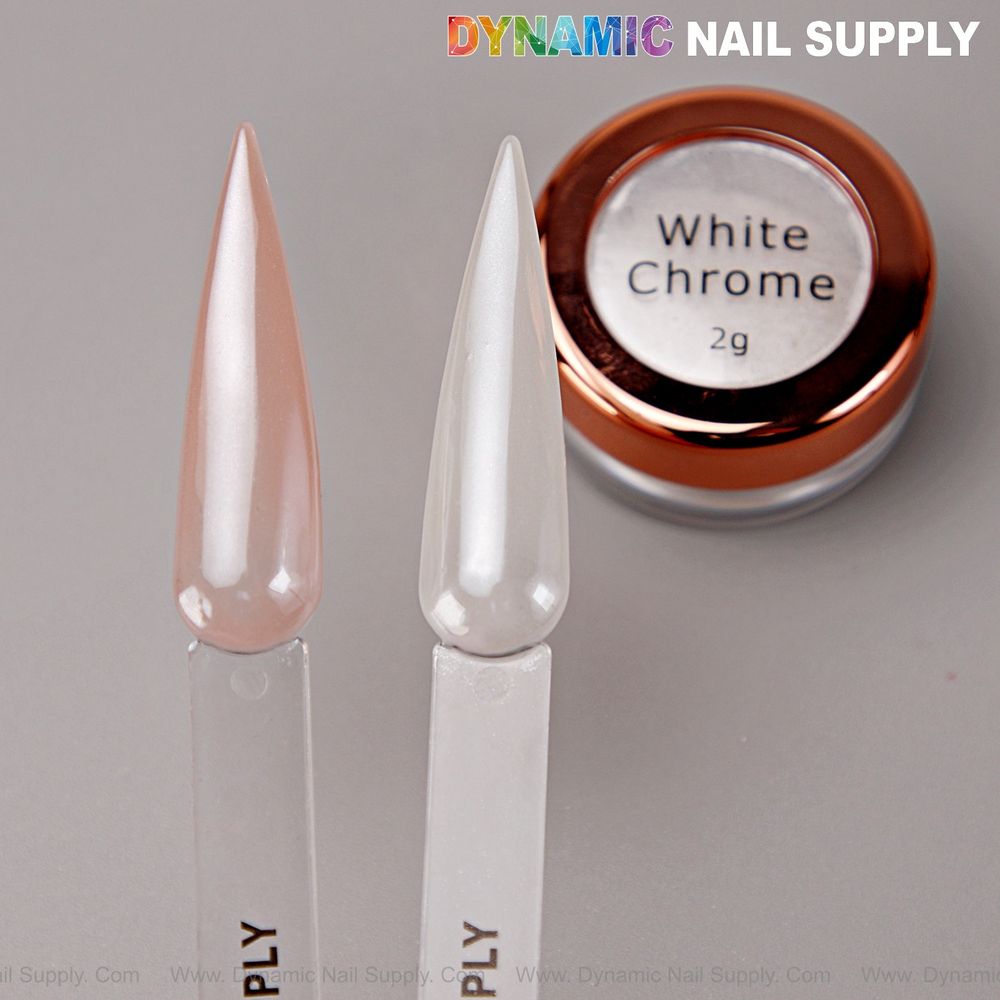
Compare a streaky, dusty pearl finish to a smooth, glassy glazed result. Which does the salon want on the guest’s hand? This article lists the usual missteps when working with a pearl white clear chrome powder and explains the practical correction for each.
How to prepare nails properly before applying pearl chrome powder
Question: Why does chrome appear patchy or uneven even on freshly painted nails? Answer: Because surface prep was skipped or rushed. Pearl powders are ultra-fine and show every texture or residue left on the nail.
- File and refine the free edge; remove lingering ridges with a gentle buffer.
- Clean the nail thoroughly—no oils, no dust. Use the recommended cleaner and allow the surface to dry.
- Buff only enough to create a clean canvas; over-buffing can thin natural nails and change adhesion.
How to choose the right base and color for the desired pearl effect
Question: Why does the pearl shift look wrong against the chosen polish? Answer: Because the powder is translucent and adapts to the base color. The wrong base undermines the intended finish.
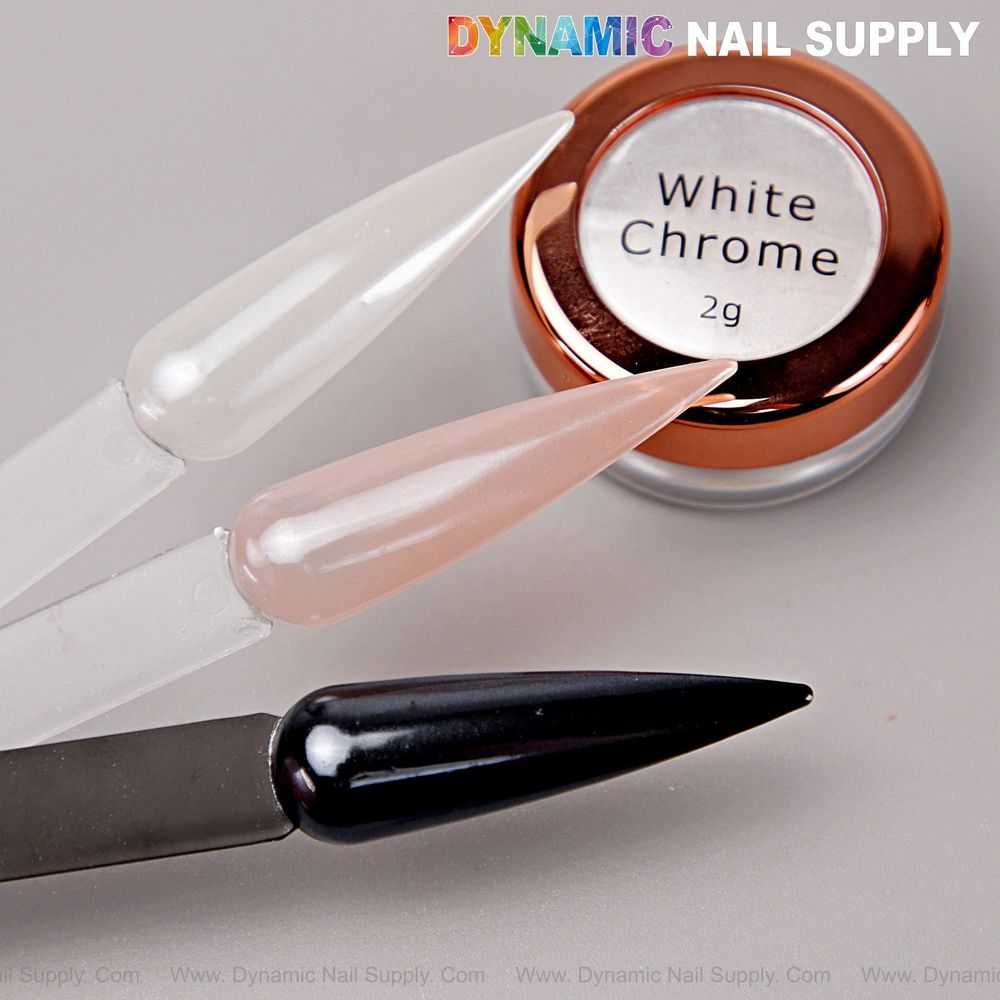
Correction: Match the base to the intended look. A clear base keeps the effect glassy and subtle. A white base yields a pure glazed ceramic tone. A soft pink base warms the pearl to a rose-leaning glow. For a dramatic contrast, a black base reveals a deeper metallic shift. Plan the base color during service setup, not after application.
How to apply the powder without creating dust halos or loose residue
Question: Why is there excess powder around the cuticle and sides after rubbing? Answer: Because application pressure, tool choice, or timing was off.
Correction: Use a soft sponge stick applicator and press gently, buffing in small circular motions. Leave the pre-top coat slightly warm if using a chrome-anchor product so the micro-pigment adheres evenly. Keep a plush dust brush on hand to remove stray particles before sealing.
How to avoid dulling the pearlescent shine when sealing
Question: Why does the shine go flat after the final cure? Answer: Because an incompatible or matte top layer was used, or the sealing technique missed the edges.
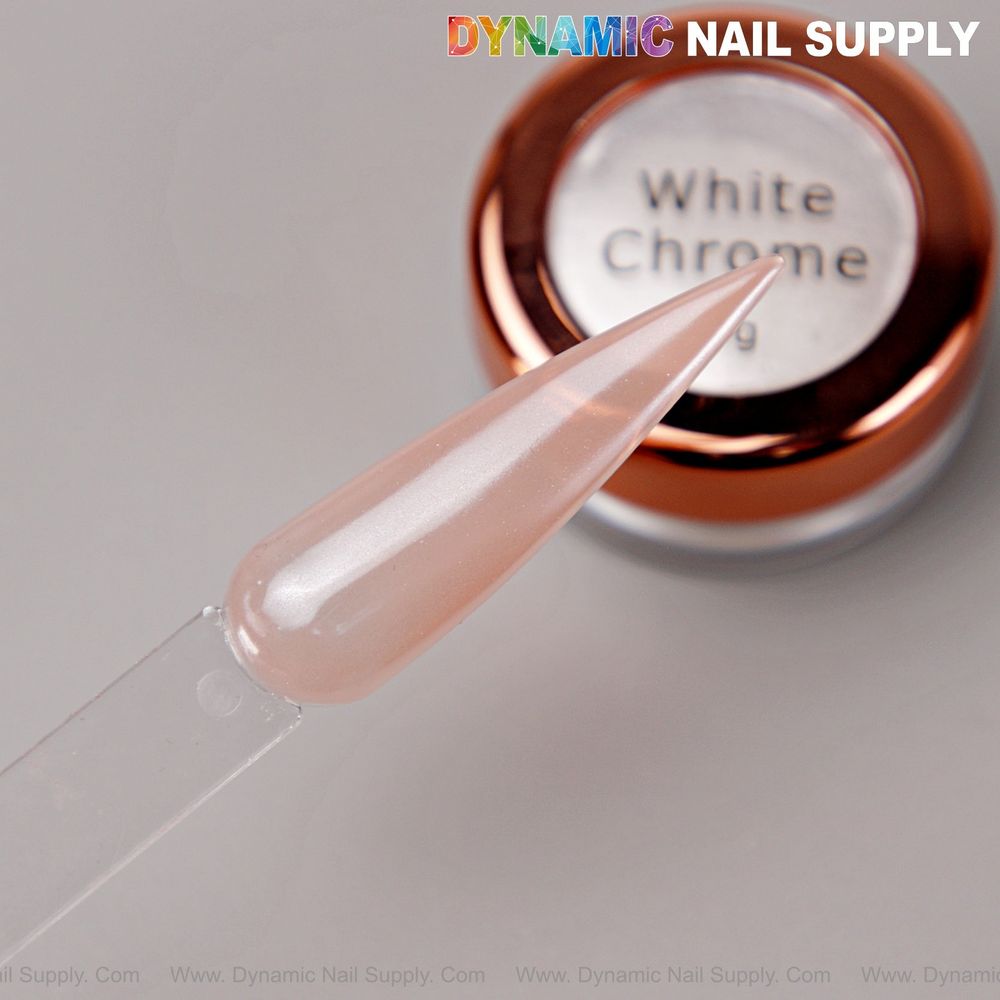
Correction: Finish with a glossy, no-wipe top gel and be sure to cap the free edge. Apply a comfortable, even layer to preserve the mirror-like effect. Fully cure according to the top gel’s directions to lock in the reflective quality.
How to prevent chipping and maintain the chrome effect over time
Question: Why does a peek of chrome wear away at the tips? Answer: Because edges weren’t sealed or thin top layers were applied.
Correction: Cap the free edge with your top gel and use a slightly thicker seal at the tips without overbuilding the nail. Recommend aftercare that avoids harsh scrubbing of the tips for the first 24 hours.
How to handle color transitions and accent nails for a cohesive set
Question: Why do accent nails look disconnected from the rest of the mani? Answer: Because the pearl powder interacts differently with varying base shades and finishes.
Correction: Test small samples when combining a pearly white overlay with sheer nude or black accents. Use the exact same application steps across nails—same pre-top coat type, same pressure and buffing technique—so the multi-dimensional shimmer reads as a single, curated look.
How to avoid tool contamination and maintain product quality
Question: Why does the powder pick up specks or turn slightly muted? Answer: Because tools or work surfaces transferred impurities into the pot or onto the applicator.
Correction: Use clean applicators for each client and avoid double-dipping into the powder. Store the pot tightly closed in a cool, dry place away from direct light. Replace sponge applicators regularly to preserve the ultra-fine glide and avoid introducing grit into the micro-milled powder.
Keep the surface flawless, choose the right base, and seal correctly—those three steps decide whether the pearl finish whispers or looks worn.
How to quick-troubleshoot common salon scenarios
- If the powder drags and leaves streaks: reapply a thin pre-top coat and work with a slightly warm surface.
- If the pearl looks weak: layer strategically over a white or pink base to intensify the glow.
- If stray powder persists: remove residue with a plush brush before final sealing.
How to include this product in salon workflow
Question: How should scheduling and station setup change when offering pearl chrome services? Answer: Allow a few extra minutes for careful buffing, powder application, and cleanup. Prepare tools and a dust brush at the station, and plan the polish base and top coat in advance so there’s no guesswork during service.
How to safety-handle chrome powder
Question: Are there handling basics to protect staff and clients? Answer: Yes. Work in a well-ventilated area and avoid inhaling loose powder. Wipe work surfaces and dispose of excess dust using appropriate salon cleaning methods. Store the pot closed and out of direct sunlight.
How to wrap up the service and confirm satisfaction
Question: How can a salon manager ensure consistent results? Answer: Use a short checklist after each set: inspect edges for caps, check for stray powder, confirm uniform shine across nails, and document the base and top coat used so the next service can reproduce the result.
Final notes: This pearl white clear transparent chrome powder is designed to produce a smooth, luminous pearl finish across a range of bases when used with the right tools and technique. The micro-milled texture and the visible soft pink and milky translucent options in the pot allow for elegant, minimalist looks. Use careful prep, controlled application, and a glossy seal to achieve salon-grade glazed donut and clean-girl styles; for product specifics, see the item here:
How to checklist recap
- Prep: file, buff, and clean the nail thoroughly.
- Base: choose the correct base color to match the intended pearl effect.
- Pre-top: apply the recommended no-wipe or anchor gel and leave slightly warm if advised.
- Application: use a sponge stick applicator; press and buff gently.
- Clean-up: remove stray powder with a plush brush before sealing.
- Seal: finish with a glossy, no-wipe top gel and cap edges.
- Storage and tools: keep pots sealed and change applicators regularly.